VLOG

Soil Testing? What kind of soil testing is right for you?

Soil Testing

Welcome to another informative podcast! Today, we’re delving into the world of soil testing, an essential aspect of ensuring the safety and compliance of your property, especially if you have or have had an underground oil tank. There’s often confusion surrounding soil testing, as there are different types and contexts to consider. Let’s break it down together.

At Simple Tank Services, LLC, we’re committed to providing you with comprehensive solutions for your tank removal and soil remediation needs. When it comes to soil testing, there are four primary types that you should be aware of. Each type serves a specific purpose and helps determine the appropriate course of action.

**1. Existing Tank Soil Testing:**
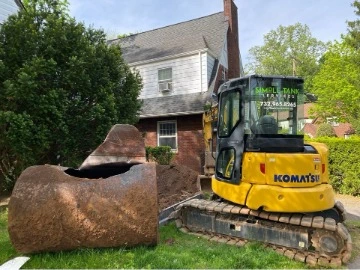
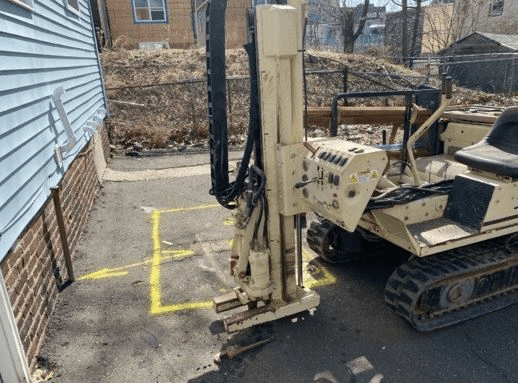
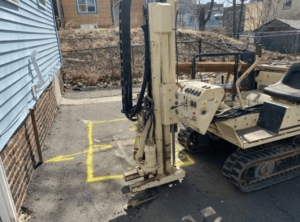
If you have an active or inactive underground oil tank still in place or was previously filled, and you’re concerned about leaks or discharges, soil testing around the existing tank is crucial. Our skilled team performs soil testing by probing around the exterior of the tank, usually about 7 feet below the surface. This process involves taking three borings around each side of the tank, and these samples are then sent to a certified lab for analysis. If contamination is discovered during this process, we will delineate the contamination to determine a fixed price for soil remediation.

**2. Grab Samples:**
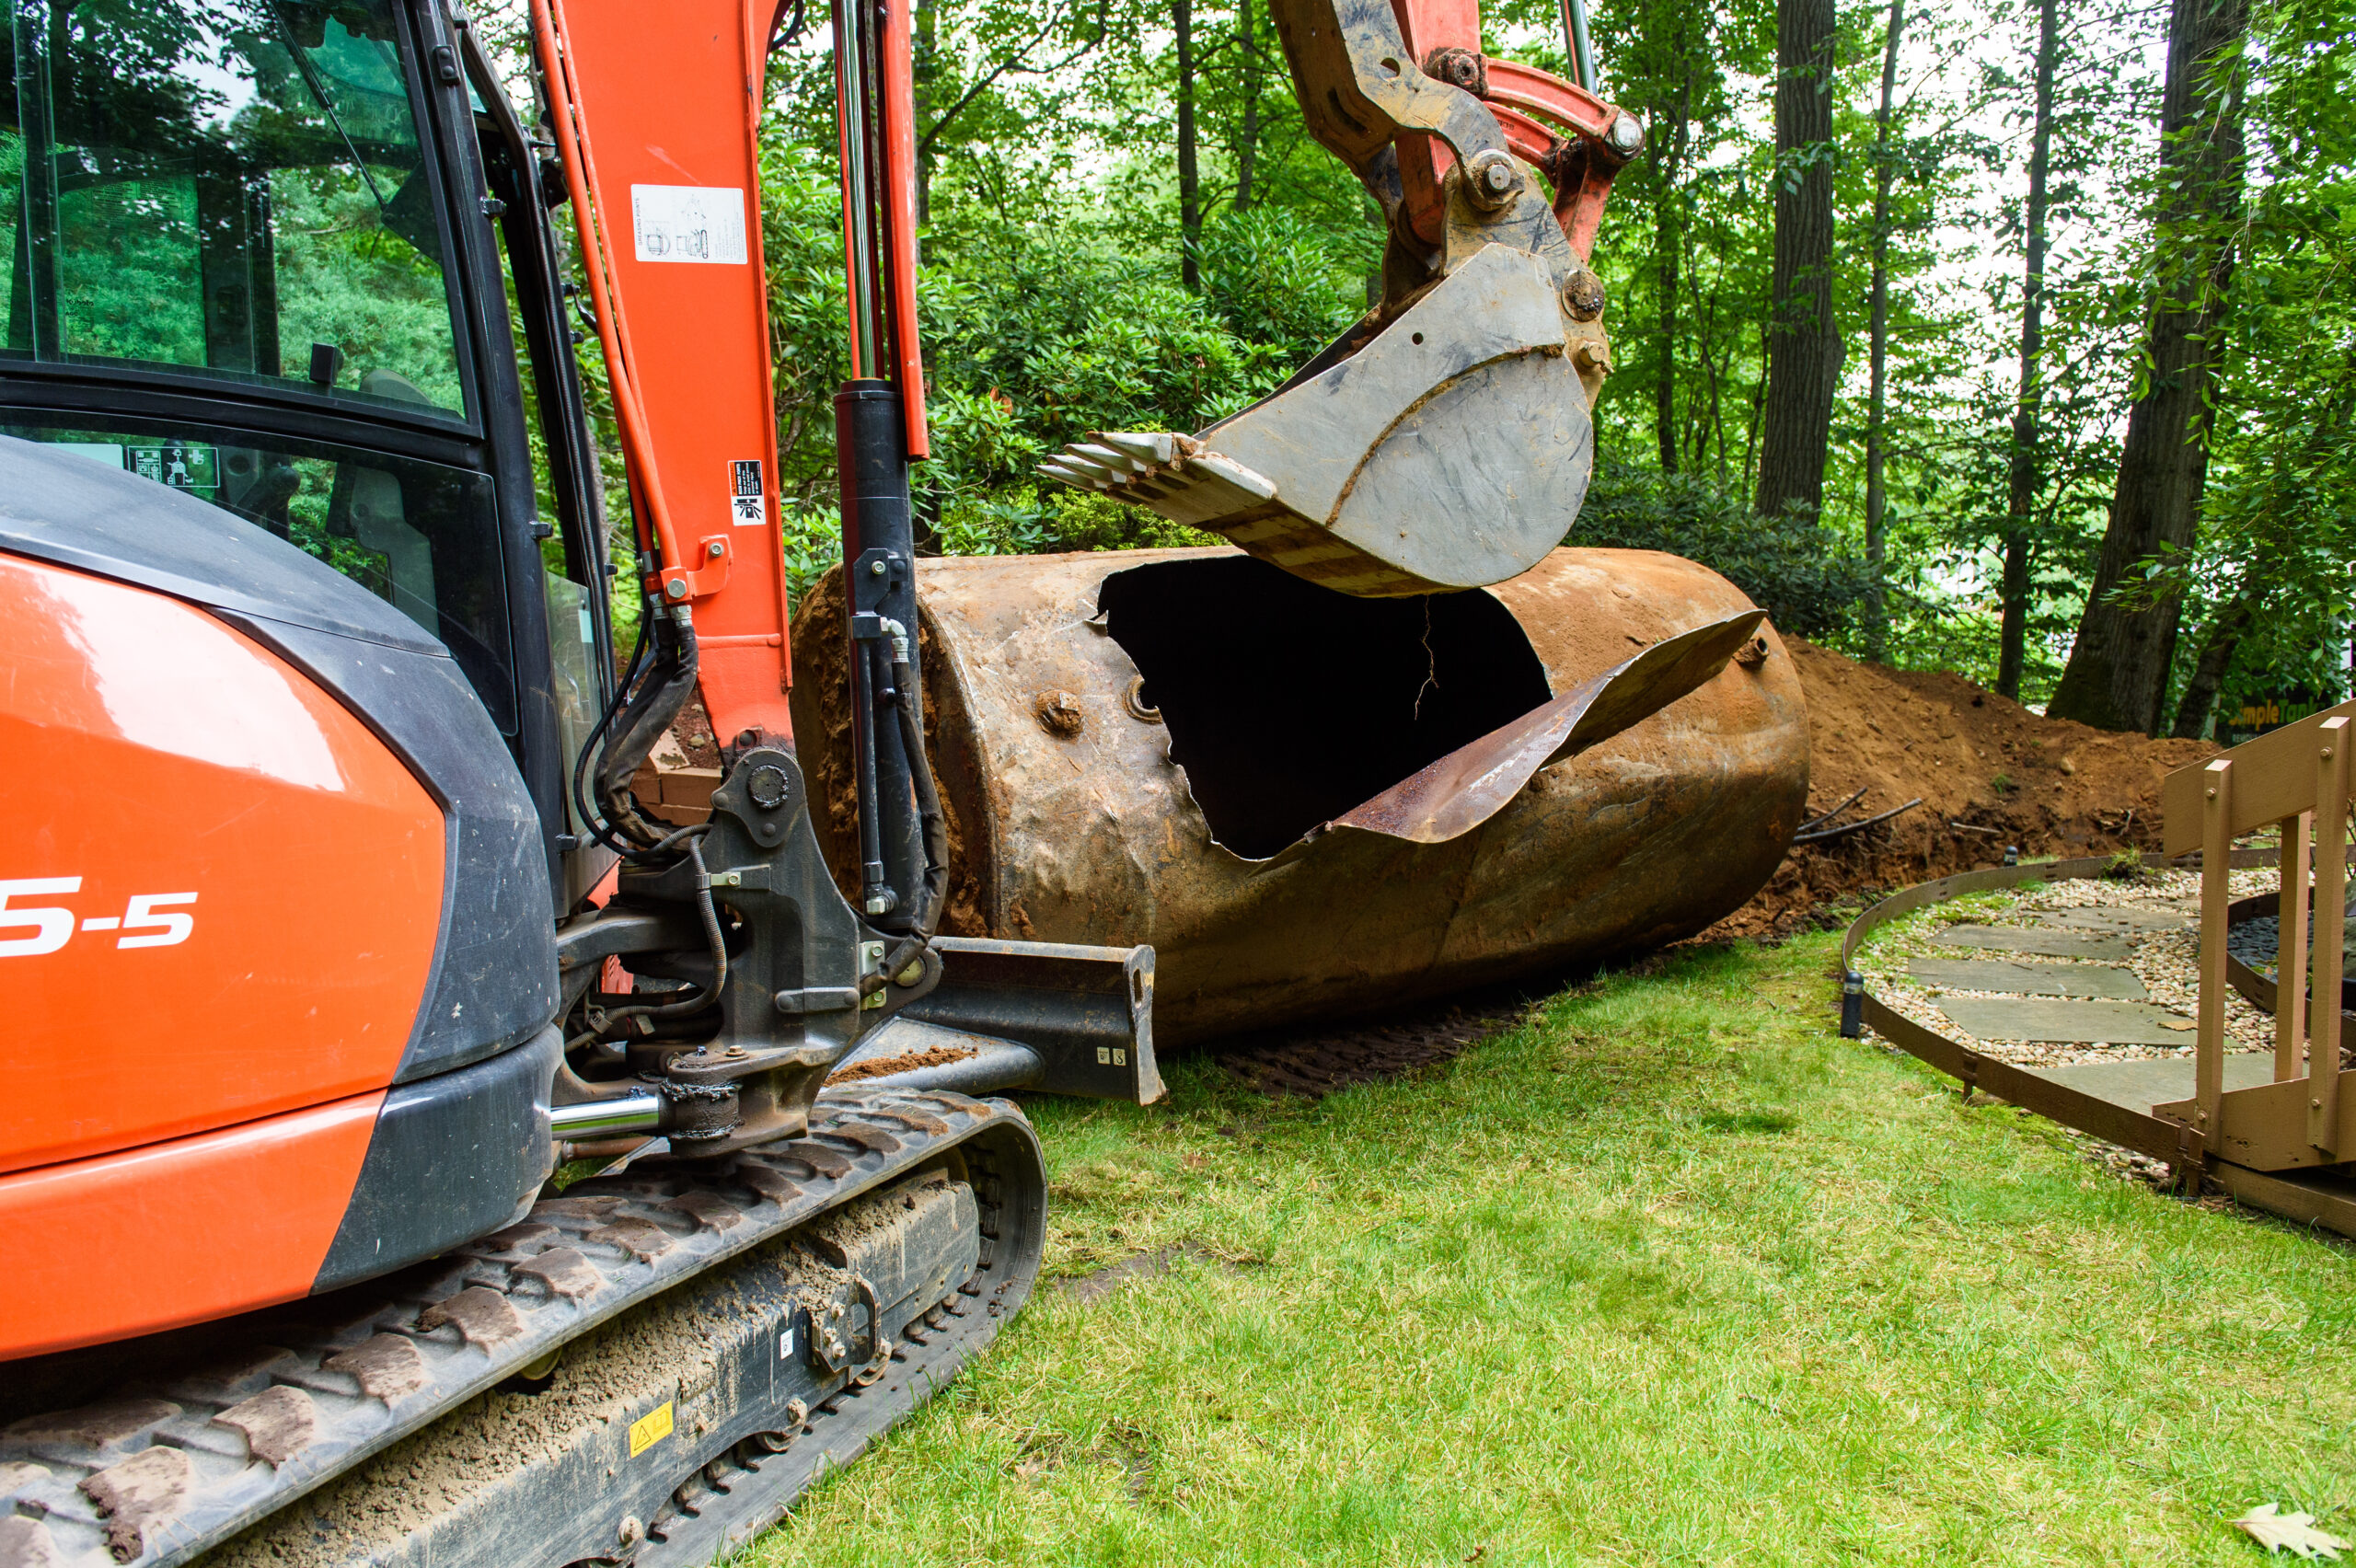
When we remove your underground oil tank, any signs of a discharge such as holes, stained soils, or an odor warrant a grab sample. This entails collecting one sample from the bottom of the excavation. The sample is sent to the lab for a preliminary assessment of contamination levels. This assessment informs the options available for closing your case, which could include proving that contamination is below cleanup standards or undertaking a remediation process.

**3. Post Excavation Soil Samples, NJDEP Close Out:**
After a soil remediation, which involves removing contaminated soil and replacing it with certified clean fill, post excavation soil samples are taken. These samples include sidewall samples and a sample from the bottom of the excavation. Additionally, a sample may be taken from the pipeline connected to the oil tank. This step ensures that the site has been successfully remediated and meets safety standards.

**4. Sampling for NJDEP Close Out:**
We can perform a soil investigation with oversight from our subsurface evaluator to close out your open NJDEP case number. Five to six sample will be required to be extracted from the previous tank grave. All samples must be below the NJDEP cleanup criteria in order to complete a report requesting a No Further Action letter from NJDEP.

When considering soil testing, factors such as the tank’s status, any existing grab sample results, and the scope of remediation play a role in determining the most appropriate type of soil testing for your situation. At Simple Tank Services, we prioritize providing you with accurate and actionable information, guiding you through the testing process and beyond.

Got questions about soil testing or need guidance on which type of testing is right for you? Reach out to us! Our team, led by Teddy, is ready to assist you in ensuring the health and compliance of your property. Contact us at 732-965-8265 for expert insights and reliable solutions.

Stay tuned for more engaging podcasts and valuable insights from Simple Tank Services, LLC!
Tank Talk Episode 003 – We Just Found A Tank! Do I Have To Wait Before I Can List The House For Sale?

Tank Talk


Listen By

In This Episode, Teddy Saves A Potential Client $250 By Doing A “Virtual” Oil Tank Sweep While On The Phone. She Was Inquiring About Her Sister’s Home Where A Potential Oil Tank Was Discovered During An Appraisal.

Questions Answered in this episode.

1. We just found a tank, can I still put my house on the market or should I wait until it’s out? 1:28
2. How much will this oil tank removal cost me? 2:30
3. If there is a leak, do you handle all the paperwork with the state? 6:25

Transcript Below!

Speaker 1:
Hello?

Teddy:
Yes.

Speaker 1:
Hi. I’m sorry. I work for the council of Teaneck, not that it has anything to do with what I’m about to ask you. But somebody just called in about a permit and that transferred from down. I noticed your number. A question I have for you is do you remove oil tanks?

Teddy:
Yes, 100%. That’s what we do.

Speaker 1:
Okay. Do you have like approximate prices? Obviously I know depends on the size, but what else would be factored into that?

Teddy:
It’s really the location of the tank. So is it is an underground or above ground, the tank?

Speaker 1:
Underground.

Teddy:
Where’s it located on the property? Is it front, back, sides?

Speaker 1:
The back, between a garage, which is separated from the house, and the back of the house.

Teddy:
Okay. What does the address? I’m going to try and look it up on Google, real quick.

Speaker 1:
Seventh Street.

Teddy:
And that’s in Teaneck?

Speaker 1:
Yeah.

Teddy:
Okay, perfect. I’m looking at the house right now. It looks like brick on the bottom and white on top?

Speaker 1:
Yes. Aluminum siding.

Teddy:
Yep. So you go down the driveway on the left. It’s in the driveway or it’s in the back of the house?

Speaker 1:
It’s in the back of the house. If you go up that driveway, toward the garage.

Teddy:
Yep.

Speaker 1:
It’s between the garage and the end of the house. In that area.

Teddy:
Okay. And was that tank ever filled in place? Or does it have oil in it?

Speaker 1:
It has oil in it. It is still being used right now.

Teddy:
And what’s the reason for removing it?

Speaker 1:
I’m trying to sell the house.

Teddy:
Okay. I have another option for you, that you may want to consider. It’d be a little bit more cost effective.

Speaker 1:
Okay.

Teddy:
We could come in there and we could probe around that tank, and if I could prove that the soil is clean, we can offer you an extended warranty that would cover you up to $150,000 in potential cleanup costs. What we’re finding is that, buyers are really loving this. It’s basically like an insurance product. It’s $59 a month and it’s transferable to the new owner.

Speaker 1:
Okay. To be honest with you, I did have the soil tested and the tank tested, back in November and it did come up clean.

Teddy:
Okay.

Speaker 1:
But you know, a lot of people, I understand would rather not have the tank underground.

Teddy:
Yeah.

Speaker 1:
And I’m just trying to find out how much it would be to remove it.

Teddy:
So the tank pull itself is about 1600 bucks, in the backyard, that’s what you’d be looking at roughly. But then you’ve got to figure, are you going to convert to gas? Are you going to put a new one above the ground? What are you going to do for a heating source?

Speaker 1:
I was going to leave it up to the new owners.

Teddy:
Yeah. The problem is you’re not going to be able to sell the property like that without a heating source, because they won’t be able to get a mortgage without a heating source.

Speaker 1:
I got you. Okay.

Teddy:
Do you know what I mean? So now you’re looking at, you could be spending close to four or five grand on the low end, between a new tank, pulling that tank. So it gets very costly, that’s why I was saying, we charge 600 to come out to sample it. We would have to do our own investigation. And once I prove that it’s clean, it’s basically 59 bucks a month. That’s very reasonable. And like I said, most buyers are okay with that because it’s basically covering them up to $150,000 in potential losses.

Speaker 1:
Okay.

Teddy:
But you’d have to come in and do your own survey?

Speaker 1:
I would, yeah. We have to use our own equipment. We charge 600 for that service, and then within four or five days, I could come out and do it, and then I could then offer you the program.

Teddy:
Okay. And that would be $59 a month? And then the new owners could have to be transferred and they could remove it?

Speaker 1:
Yeah, exactly. If they want to remove it, they can remove it. If there are any claims … Once they remove it, they hire us to remove it. If we remove it and find that there’s the leak, then they’re covered what that plan, up to 150 grand.

Speaker 1:
There’s a small deductible. If there’s a claim, it’s a $1,500 deductible and then they be covered up to 150 grand, so it’s a very extensive coverage. It’s the best type of warranty on the market right now. There are no loopholes where we don’t cover our clients. We’ve been doing these extended warranties for years. If you check us out online, you’ll see our reviews. We have over 212 Google reviews, with a 4.8 rating.

Speaker 1:
So, if you’re interested in that, I think that’s your most cost effective option. Or if you want us to pull it, we can pull it too. Like I said, you’re looking at 1600 and then roughly 2,500 to put a new tank in, if you wanted to put a new tank in.

Teddy:
I got you. Okay. Well, thank you. Let me think about it. I just want to make sure, your number is (732) 965-8035?

Speaker 1:
Yes. That’s our direct line. Yep.

Teddy:
Okay.

Speaker 1:
And your name is?

Teddy:
My name is Teddy.

Speaker 1:
Teddy? Okay. Thank you.

Teddy:
All right. You’re welcome. Thanks.

Tank Talk Episode 002 – My Oil Tank Leaked And I Am Not Happy With The Contractor Who Removed It! What Are My Options?

Tank Talk


 Listen By

In this episode, Teddy talks with a potential real estate investor client who was referred by the City of Newark. She had her tank removed by another contractor and was not happy with how it was handled.

These are the questions answered!

1. Can you help with soil remediation?
2. Will you be able to tell if groundwater is impacted with your investigation?
3. How much of a deposit do you need for the soil investigation to determine a fixed price?
4. How fast can you schedule the investigation?
5.What happens after I sign the e-contract?

Tank Talk Episode 001 – Removal or Protection Plan. What’s the best option to sell a house with an underground oil tank?

Tank Talk


 Listen By

These are the questions answered in this podcast.

1. Do you remove oil tanks? Do you have an approximate price?
2. I had the soil tested already, do you have to test it again for Simple Guard?
3. Can I remove the tank and sell the house with no heating source, let the buyers deal with it?
4. How much do you charge to investigate the soils around my oil tank?
5. How much is Simple Guard per month?
6. Does Simple Guard transfer to new homeowner? 7. Is there a deductible for Simple Guard if there is a claim?
8. How much to install a new above ground oil tank?

Transcript Below!

Speaker 1:
Hello?

Teddy:
Yes.

Speaker 1:
Hi. I’m sorry. I work for the council of Teaneck, not that it has anything to do with what I’m about to ask you. But somebody just called in about a permit and that transferred from down. I noticed your number. A question I have for you is do you remove oil tanks?

Teddy:
Yes, 100%. That’s what we do.

Speaker 1:
Okay. Do you have like approximate prices? Obviously I know depends on the size, but what else would be factored into that?

Teddy:
It’s really the location of the tank. So is it is an underground or above ground, the tank?

Speaker 1:
Underground.

Teddy:
Where’s it located on the property? Is it front, back, sides?

Speaker 1:
The back, between a garage, which is separated from the house, and the back of the house.

Teddy:
Okay. What does the address? I’m going to try and look it up on Google, real quick.

Speaker 1:
Seventh Street.

Teddy:
And that’s in Teaneck?

Speaker 1:
Yeah.

Teddy:
Okay, perfect. I’m looking at the house right now. It looks like brick on the bottom and white on top?

Speaker 1:
Yes. Aluminum siding.

Teddy:
Yep. So you go down the driveway on the left. It’s in the driveway or it’s in the back of the house?

Speaker 1:
It’s in the back of the house. If you go up that driveway, toward the garage.

Teddy:
Yep.

Speaker 1:
It’s between the garage and the end of the house. In that area.

Teddy:
Okay. And was that tank ever filled in place? Or does it have oil in it?

Speaker 1:
It has oil in it. It is still being used right now.

Teddy:
And what’s the reason for removing it?

Speaker 1:
I’m trying to sell the house.

Teddy:
Okay. I have another option for you, that you may want to consider. It’d be a little bit more cost effective.

Speaker 1:
Okay.

Teddy:
We could come in there and we could probe around that tank, and if I could prove that the soil is clean, we can offer you an extended warranty that would cover you up to $150,000 in potential cleanup costs. What we’re finding is that, buyers are really loving this. It’s basically like an insurance product. It’s $59 a month and it’s transferable to the new owner.

Speaker 1:
Okay. To be honest with you, I did have the soil tested and the tank tested, back in November and it did come up clean.

Teddy:
Okay.

Speaker 1:
But you know, a lot of people, I understand would rather not have the tank underground.

Teddy:
Yeah.

Speaker 1:
And I’m just trying to find out how much it would be to remove it.

Teddy:
So the tank pull itself is about 1600 bucks, in the backyard, that’s what you’d be looking at roughly. But then you’ve got to figure, are you going to convert to gas? Are you going to put a new one above the ground? What are you going to do for a heating source?

Speaker 1:
I was going to leave it up to the new owners.

Teddy:
Yeah. The problem is you’re not going to be able to sell the property like that without a heating source, because they won’t be able to get a mortgage without a heating source.

Speaker 1:
I got you. Okay.

Teddy:
Do you know what I mean? So now you’re looking at, you could be spending close to four or five grand on the low end, between a new tank, pulling that tank. So it gets very costly, that’s why I was saying, we charge 600 to come out to sample it. We would have to do our own investigation. And once I prove that it’s clean, it’s basically 59 bucks a month. That’s very reasonable. And like I said, most buyers are okay with that because it’s basically covering them up to $150,000 in potential losses.

Speaker 1:
Okay.

Teddy:
But you’d have to come in and do your own survey?

Speaker 1:
I would, yeah. We have to use our own equipment. We charge 600 for that service, and then within four or five days, I could come out and do it, and then I could then offer you the program.

Teddy:
Okay. And that would be $59 a month? And then the new owners could have to be transferred and they could remove it?

Speaker 1:
Yeah, exactly. If they want to remove it, they can remove it. If there are any claims … Once they remove it, they hire us to remove it. If we remove it and find that there’s the leak, then they’re covered what that plan, up to 150 grand.

Speaker 1:
There’s a small deductible. If there’s a claim, it’s a $1,500 deductible and then they be covered up to 150 grand, so it’s a very extensive coverage. It’s the best type of warranty on the market right now. There are no loopholes where we don’t cover our clients. We’ve been doing these extended warranties for years. If you check us out online, you’ll see our reviews. We have over 212 Google reviews, with a 4.8 rating.

Speaker 1:
So, if you’re interested in that, I think that’s your most cost effective option. Or if you want us to pull it, we can pull it too. Like I said, you’re looking at 1600 and then roughly 2,500 to put a new tank in, if you wanted to put a new tank in.

Teddy:
I got you. Okay. Well, thank you. Let me think about it. I just want to make sure, your number is (732) 965-8035?

Speaker 1:
Yes. That’s our direct line. Yep.

Teddy:
Okay.

Speaker 1:
And your name is?

Teddy:
My name is Teddy.

Speaker 1:
Teddy? Okay. Thank you.

Teddy:
All right. You’re welcome. Thanks.

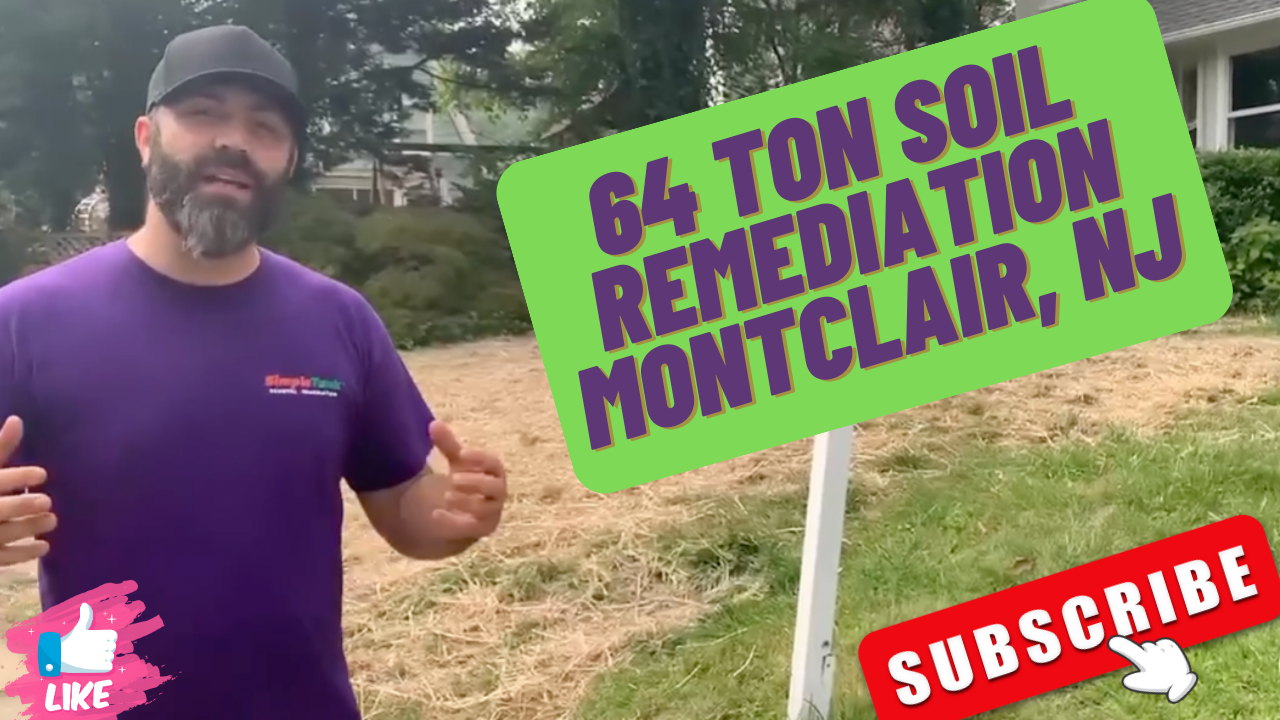
Tank TV Episode 22 – 64 Ton Soil Remediation Montclair, NJ


Welcome to Montclair, New Jersey, where we embark on a day-long journey of a soil remediation project. We encountered a thousand-gallon oil tank plagued by severe leakage. Our mission today is to remove the clean fill and separate it from the contaminated soil beneath. The contaminated soil will be excavated and disposed of at a local disposal facility.

Join us as we witness the meticulous process guided by a subsurface evaluator. With their expertise, we will dig, sample, and assess the soil, striving to reach a clean zone. Once achieved, we will backfill the area with certified clean fill. Our dedicated team will be hard at work for an estimated 8 to 10 hours, expecting to transport anywhere from one to six truckloads of contaminated soil.

Throughout the project, we conduct on-site soil tests. By smelling the soil, we detect any signs of heating oil odor. Additionally, we employ a PID meter to identify volatile organics associated with heating oil. Based on the field screening results, we determine whether to continue excavating or halt the process.

Witness the efficiency of our tri-axle dump truck, capable of carrying up to 26 tons of material. We emphasize the significance of hiring contractors with appropriate equipment. Smaller trucks can hinder progress, leading to extended project durations and increased expenses. Our fleet of tri-axle and tandem dump trucks ensures swift soil removal, keeping costs manageable.

As we conclude this job, admire the completed area adorned with meticulously laid seated hay. The property owner, preparing to sell, eagerly awaits the final paperwork, known as the remedial action report. Within one week of completing the site work, we guarantee the submission of this report. Upon receiving clean post-excavation samples, the property owner will obtain the coveted “no further action” letter from the NJDP, facilitating the property’s closure.

This project involved the extraction of approximately 64 tons of contaminated soil, which we replaced with an equivalent amount of certified clean fill. Remarkably, we accomplished all these tasks within a single day, surpassing industry standards. The client’s satisfaction is paramount, as their property can proceed towards closure by month-end.

Join us as we celebrate another successful soil remediation project and eagerly prepare for our next project. Experience the efficiency, expertise, and commitment that set us apart in the field of excavation and remediation. Subscribe now to stay updated on our upcoming ventures.


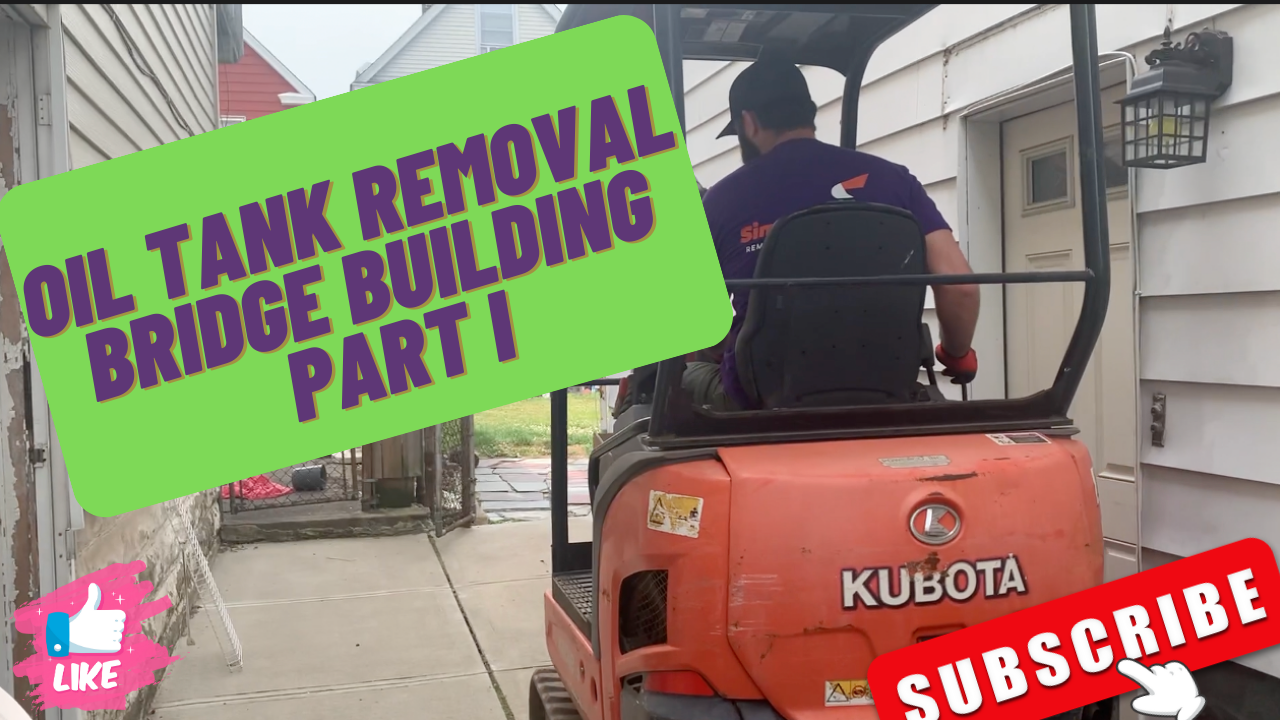
Tank TV Episode 21 – Oil Tank Removal Bridge Building Part I

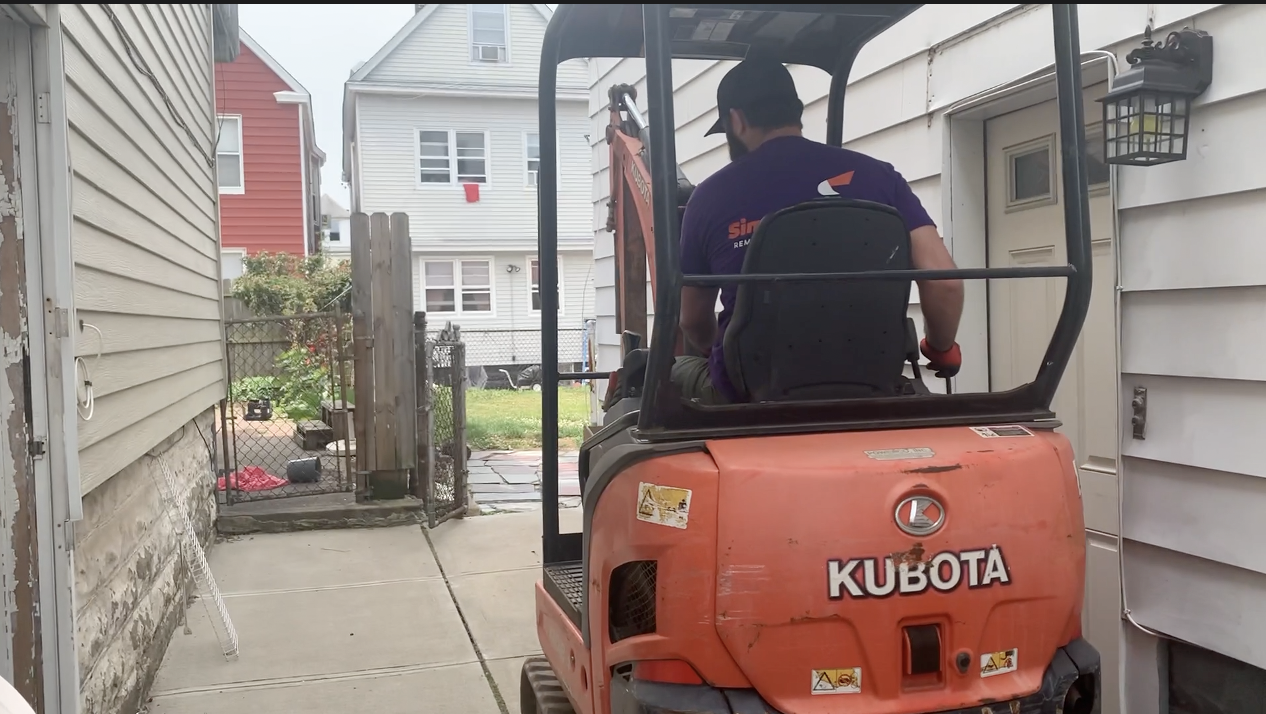
Join us in this challenging excavation project as we confront the possibility of a leaking tank and potential soil contamination. Our main focus today is to safely remove the tank and assess the extent of the damage. We’ll take you through the process of maneuvering our machine up narrow steps and cutting a fence post to gain access to the backyard. Our priority is to excavate the tank, but the real challenge lies ahead if contamination is detected. We’ve taken soil samples and sent them to the lab for analysis to determine the contamination levels. Our goal is to meet clean standards with levels below 1000 parts per million. In the meantime, we’ve covered the contaminated areas with protective plastic while we await the lab results. Stay tuned to witness the outcome and our strategic plan to remediate the soils if needed. It’s a tough job, but we’re ready to tackle it head-on!

Tank TV Episode 20 – Tight Access Oil Tank Removal Bayonne Part II

Join us in Bayonne for another exciting episode as we complete the backfilling process after successfully removing a 550-gallon underground oil tank situated on a challenging retaining wall.

Witness our efficient method of scooping soil from the back of the truck and pushing it over the wall to backfill the excavation. This approach not only saves time but also significantly reduces costs compared to manual labor.

Stay tuned as we head to our next job with tight access and overcome another intriguing obstacle. Don’t miss a moment of our thrilling tank removal adventures! #Bayonne #OilTankRemoval #Backfilling #ChallengingJob #Excavation

Youtube Video

Tank TV Episode 19 – Tight Access Oil Tank Removal

Welcome to Tank TV, Episode 19! In this exciting episode, we tackle the challenging task of removing an oil tank situated atop a retaining wall. You won’t believe the steps we take to access it.

First things first, we need to cut the railing to create a pathway over the retaining wall. Don’t worry, we discussed this with the client beforehand to ensure they were aware of the necessary modifications. By cutting the railing, we save them thousands of dollars that would have been spent on manual excavation. Once we’re done, a skilled welder will restore the railing to its original condition.

With preparations complete, it’s time to locate the tank. Using a metal detector, we pinpoint its exact position. As we begin excavating, we discover a patch and remnants of foam, indicating previous maintenance. These findings are not uncommon, but they add to the intrigue of the job.

Working in tight quarters between two houses presents its own set of challenges. To complicate matters, there’s limited space for soil disposal. Our small excavator requires significant digging to extract the tank, which is filled with foam, making it heavier and more difficult to handle.

Prior to excavation, we take precautions to ensure utilities are safely out of the way. We confirm the location of the waterline, gas lines, and sewer lines by examining the basement and verifying their paths. This meticulous process guarantees the safety of the property and our crew.

As we approach the tank, we cut the oil lines connecting it to the furnace. This step is crucial to facilitate a smooth removal process. With the lines severed, we’re ready to extract the tank.

Cutting two holes in the top of the tank allows us to gain leverage and secure our equipment for the removal. It takes some effort, but we successfully extract the tank from the ground, ensuring no damage is caused in the process.

Job complete! The tank is out, and upon inspection, it appears there was no discharge into the soil. The homeowner got lucky this time. We’re wrapping things up for now, but we’ll return on Tuesday to backfill the excavation. Due to the access challenges posed by the retaining wall and tight space between the houses, this has been a two-day job.

Stay tuned for more exciting content as we continue our tank removal adventures. Thanks for watching, and we’ll see you next time!

Oil Tank Removal Cost and Understanding the Contracts

Hey everyone, it’s Teddy from Simple Tank Services, and in today’s vlog, we’re delving into oil tank removal proposals and the real cost behind them. It’s crucial to understand the estimates you receive, beyond the eye-catching total at the bottom, as that won’t reflect your final invoice.

Join me as we uncover how 99% of the industry quotes projects compared to Simple Tank’s approach. When you reach out for estimates to remove your tank, various contractors follow different processes. But what truly matters is the content of the estimate, not just the final number. Don’t be deceived by a seemingly low price without examining the line items.

Permits play a significant role, with townships charging anywhere from $75 to $500. Additionally, the contents of the tank are essential to address. Is it filled with wood, oil sludge, or even water? Proper disposal is crucial, with most companies charging around a dollar per gallon for waste removal. If the tank contains sand or foam, extra disposal fees may apply, ranging from $900 to over $3000.

At Simple Tank, we make things simple. We quote 95% of our projects over the phone, allowing us to provide a flat rate price that includes everything. Permits, tank contents, sand, and foam disposal are all covered. The only potential additional cost is if police presence is required for inner-city projects, and we pass that cost through to you without any additional fees.

Let’s talk numbers. For a 550-gallon tank with easy access, our flat rate price is $1400. If you have a 1000-gallon tank, the price is $1800. However, please note that these prices are for projects with straightforward accessibility. If your situation involves more complex factors like fences, retaining walls, or limited access, reach out to us for a custom quote. We’re here to gather the details of your project, and in most cases, provide a proposal within minutes.

Remember, the contractor’s process matters as much as the price. Be sure to watch our video on the removal process for underground oil tanks, linked in the description. If your tank passes inspection, our quoted price remains unchanged. However, if it fails, a separate project and a different process will be necessary.

If you have any questions about the contract or the cost of removing your underground oil tank, don’t hesitate to fill out the form below or call our office. We’re available Monday through Friday, 9 to 5. We can’t wait to hear from you. Thank you!

Tank TV Episode 18 – Fixed Price Remediation

Join us in our latest company vlog as we venture into Highland Park for an exciting oil tank removal and site remediation project. Witness the efficient removal of a significant amount of contaminated soil, totaling approximately a hundred tons. Stay tuned as we await the arrival of certified clean fill to complete the backfill process and restore the site to its original condition.

During our site remediation endeavors, we rely on a remarkable device called a Photo Ionization Detector (PID) to screen soil samples and accurately assess trace contamination levels. Keep an ear out for the distinctive beeping sound that alerts us to potential issues.

Experience the meticulous execution of our tasks and learn about our partnership with Clean Earth, where all contaminated soil finds its proper disposal.

As we near the conclusion of this project, we eagerly anticipate the backfilling process to bring the excavation back up to grade. Join us as we wrap up another successful job, demonstrating our commitment to excellence in oil tank removal and responsible remediation practices.

Subscribe to our vlog and join us on this thrilling journey as we showcase our expertise in Highland Park. Stay informed and be part of our ongoing adventures!

Why would you want a fixed price soil remediation contract? 

Experience the peace of mind with our fixed price contracts, providing you with complete clarity on project costs from the very beginning. Unlike open-ended contracts, where estimates can vary, our fixed price contracts eliminate uncertainty, allowing you to rest easy knowing the final invoice is predetermined before any site work begins.

Investors, particularly those involved in house flipping, appreciate the benefits of fixed price contracts. They can confidently assess their liabilities, leveraging this information during negotiations with sellers, secure in the knowledge that costs won’t fluctuate during the project.

Our fixed price contracts also cater to clients seeking transparency and certainty in their project expenses. Whether you’re an investor or homeowner, our commitment to fixed prices ensures you know exactly what to expect, giving you full control over your budget and peace of mind throughout the process. Choose the certainty and predictability of fixed price contracts for your next project.

Episode 17 – Install a New Oil Tank in 2020?

In this episode, Teddy talks about why some clients would want to install a new oil tank in 2020. If you have an active underground heating oil tank and you want to sell your home, you can upgrade to an aboveground oil tank. The new aboveground oil tank will come with a $1,000,000 insurance policy from the manufacturer.

In this episode, we remove two 1,000 gallon underground oil tanks and install two new 400 gallon aboveground oil tanks. We explain the cost of oil tank replacement.

Each underground heating oil tank was removed from the site and scrapped at a local scrap metal yard. The new aboveground heating oil tanks were installed the same day the old tanks were removed. We removed the oil from the underground tanks and pumped into new tanks. The location of the tanks were back filled to grade all the same day. The client only had no heat for six hours.

You can find additional info about Roth tanks here http://Www.roth-USA.com


Episode 16 – Concrete Filled 5k Gal Oil Tank

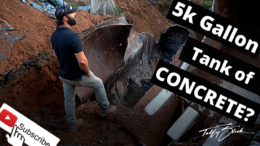
In this episode of Tank TV, we were hired to remove one 2,500 gallon previously sand filled tank. After uncovering the tank, we found that it was 5k gallon filled with concrete. We mobilized a second excavator that had a jack hammer attachment. We eventually blew a hydraulic hose on the 2nd excavator and had to mobilize a third excavator in order to get the tank out of the ground. We started the project at 8am and it took until 7pm for us to get the tank out of the ground!

Episode 15 – Oil Tank Leak, Insurance Pays?

In this episode of Tank TV, STS performs an open ended soil remediation at a residence in Bedminster. Simple Tank removed this active 550 gallon heating oil tank and found that is was covered with corrosion holes.

We started to remediate the soils and found that the oil made its way down to fractured rock. The oil also reached groundwater table. After removing 200 tons of contaminated soil, we still had free floating product (heating oil) on top of the groundwater.

This was after removing 2,000 gallons of groundwater via vacuum truck during the remediation.

Since the homeowner has lived in this house for 28 years, we recommended that they call their homeowner’s insurance company to see if they could be covered under the 3rd party liability coverage portion of the policy. This was part of every homeowner’s insurance policy up until about 2012.

If you recently bought your house, you will not be eligible for any insurance coverage unless your tank is active and you took the coverage your oil provider offers. The insurance company for this residence gave us the green light to perform the 3rd party investigation which consists of us installing a temp monitoring well to determine if the groundwater is impacted.

Stay tuned to see what happens with this project.

Tank TV Episode 014 – Soil Borings, the Simple Way!

In this episode, our operations manager Matt Haines performs soil borings at three different locations in the same day. Two of the locations, he was testing the soil around an existing underground oil tank. The last location, we knew there was contamination since the tank had already been removed. The client wanted us to provide them with a fixed price to remediate it.

Video shot and edited by Malik Lopes
Instagram – @squeakyleaky

Tank TV Episode 012 – Leaking Oil Tank! Cleanup Not Required.

In this episode of Tank TV, we removed a 550 gallon underground oil tank that failed the visual inspection by the township. This tank had obvious corrosion holes. After we investigated the soil directly below the tank, we found that the contamination was very minor. We recommended that our subsurface evaluator grab the required six samples so he could write the remedial action report requesting the NFA from the NJDEP. If you hire a tank removal contractor who only recommends a soil remediation when your oil tank fails the inspection, you need to get a second opinion. This client received their NFA letter within 10 days of the job being completed. Industry standard turn around is 30-45 days.

Tank TV Episode 011 – Bait & Switch Soil Remediation

Don’t get caught with a bait & switch soil remediation. Some companies are advertising “flat rate” soil remediation services. They don’t explain to potential clients that it’s not in all in price for the project. Most of the contracts include 20 tons of soil and anything over that, you will be charged additional fees. If groundwater is impacted, you will be charged additional fees to investigate it. No company can ethically quote you a a true fixed price for your cleanup without investigating the soils. The price of a remediation is directly correlated with the amount of soil that needs to be replaced. They cannot know the amount of soil without figuring out how deep the contamination is and how far it spread in each direction. Simple Tank charges $600 to properly investigate the contamination plume so we can provide you with a real fixed price that will not change once we start the project. Call us today for more information of the program.

Tank TV Episode 010 – Addition on Top of Oil Tank?!

In this episode, Simple Tank was contacted about removing a 550 gallon underground oil tank that was located under a concrete garage floor. This part of the house was recently built over the top of a previously filled oil tank. The clients are trying to sell their home and the new buyer does not want the tank on the property. Simple Tank mobilized the proper equipment to remove a 550 gallon tank only to find out that the tank was actually 1k gallons! The tank was removed successfully with no prior leaks! This could of been a lot worse for the client! Everything was completed in one day and the clients can now sell their home!

Tank TV Episode 009 – False Negative Soil Sample Result

In this episode of Tank TV, our client had a soil sample result showing slight contamination around their existing underground oil tank. Since the reading was very low (less than 100 PPM), we explained that most likely once the tank is out there should be no issues.

We were hired to remove two underground tanks and one above ground oil tank. After digging around, we realized that the second underground oil tank was actually a previously filled septic tank.

The other underground tank was filled with sand which was clean and the soil around the tank was also clean. As we explained over the phone to the client, his low sample results were meaningless. Everything passed the township inspection and NJDEP did not have to get involved.

Tank TV Episode 008 – Sand Filled Underground Oil Tank SCAM!

In this episode, Simple Tank was hired to remove a 550 gallon underground heating oil tank that was previously filled in place with sand. The tank was located in the rear yard of a house under a deck.

The deck was removed by another contractor before we arrived on site. Once we excavated to the top of the tank, we realized that the tank was a 1,000 gallon tank filled with sand that was contaminated.

This tank was filled back in the 90’s by another contractor who took out all the proper permits. This is a perfect example of a tank filled with sand that was not cleaned out properly.