Older oil tanks can create serious problems for homeowners when they begin to corrode, crack, or leak underground. Many residential properties across New Jersey still have aging heating oil tanks buried beneath yards, driveways, or basements. Over time, these tanks may release oil into the surrounding soil, leading to contamination, environmental concerns, and structural risks.
Proper oil tank removal is one of the most effective ways to protect homes from hidden leaks and long-term damage. By safely removing outdated tanks and addressing contaminated soil early, homeowners can reduce environmental risks and maintain the value and safety of their properties. This guide explains how professional oil tank services help prevent leaks, improve environmental safety, and support healthier residential properties throughout New Jersey.
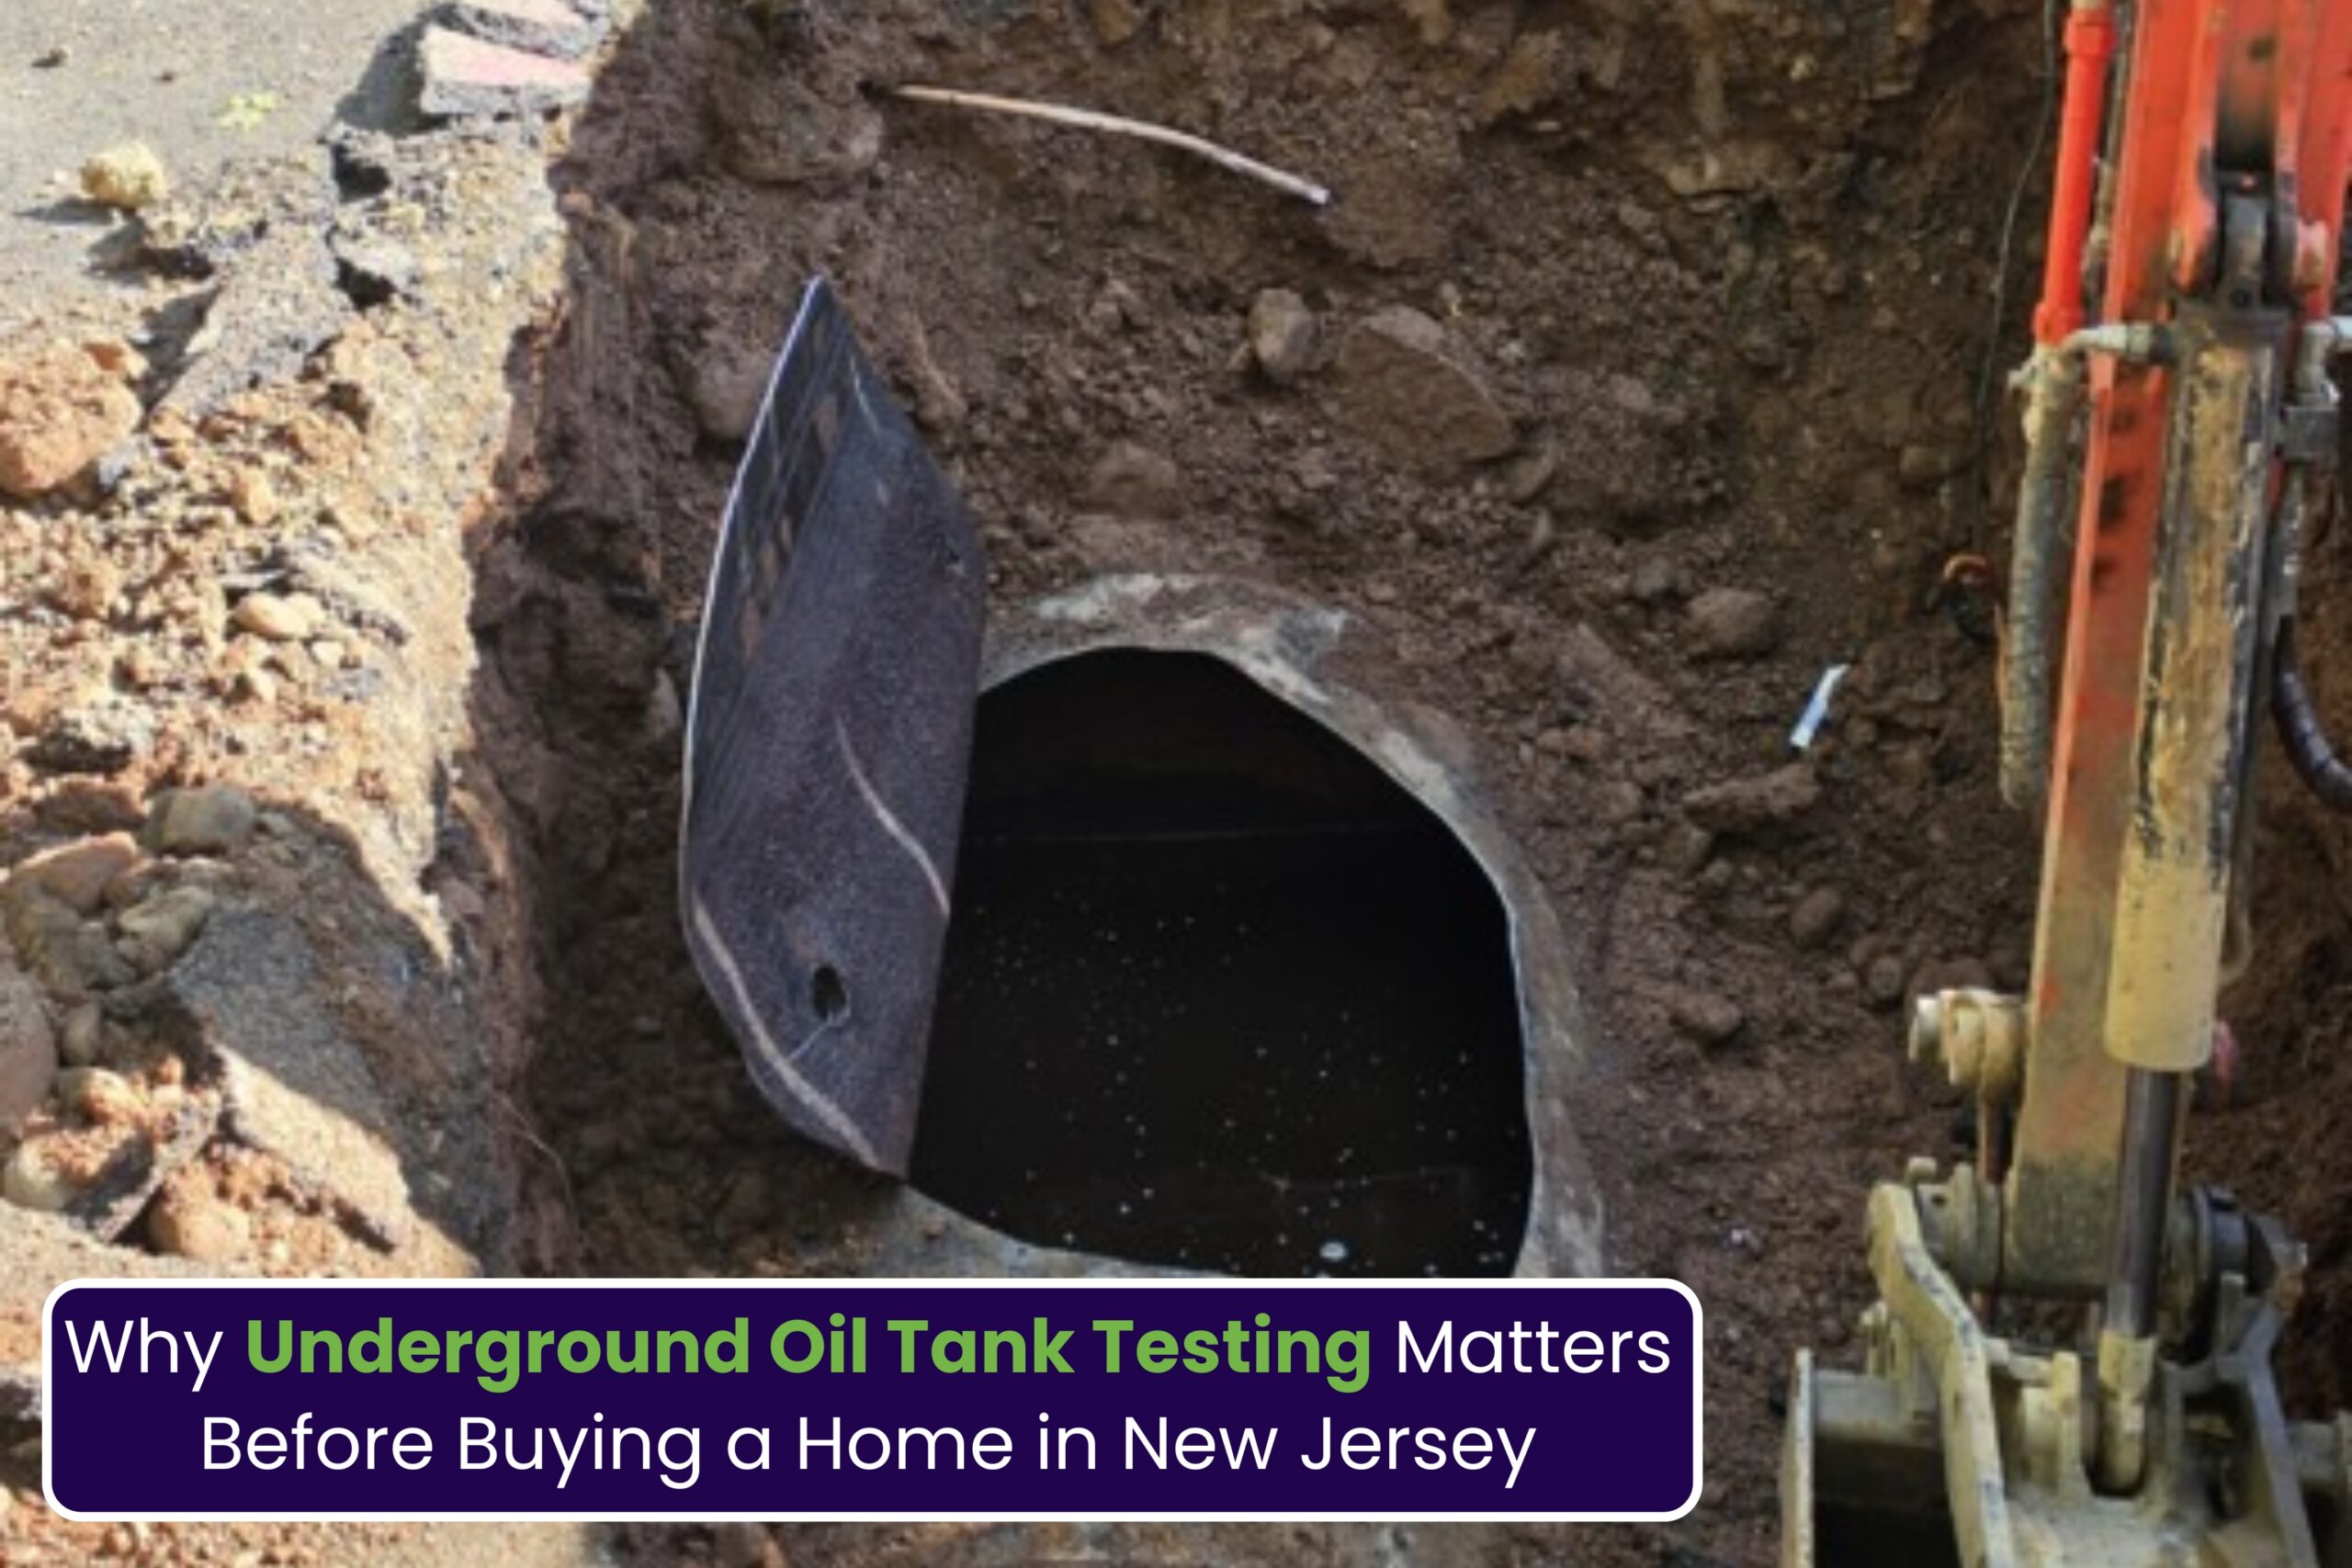
Understanding Underground Oil Tank Removal and Why It Matters
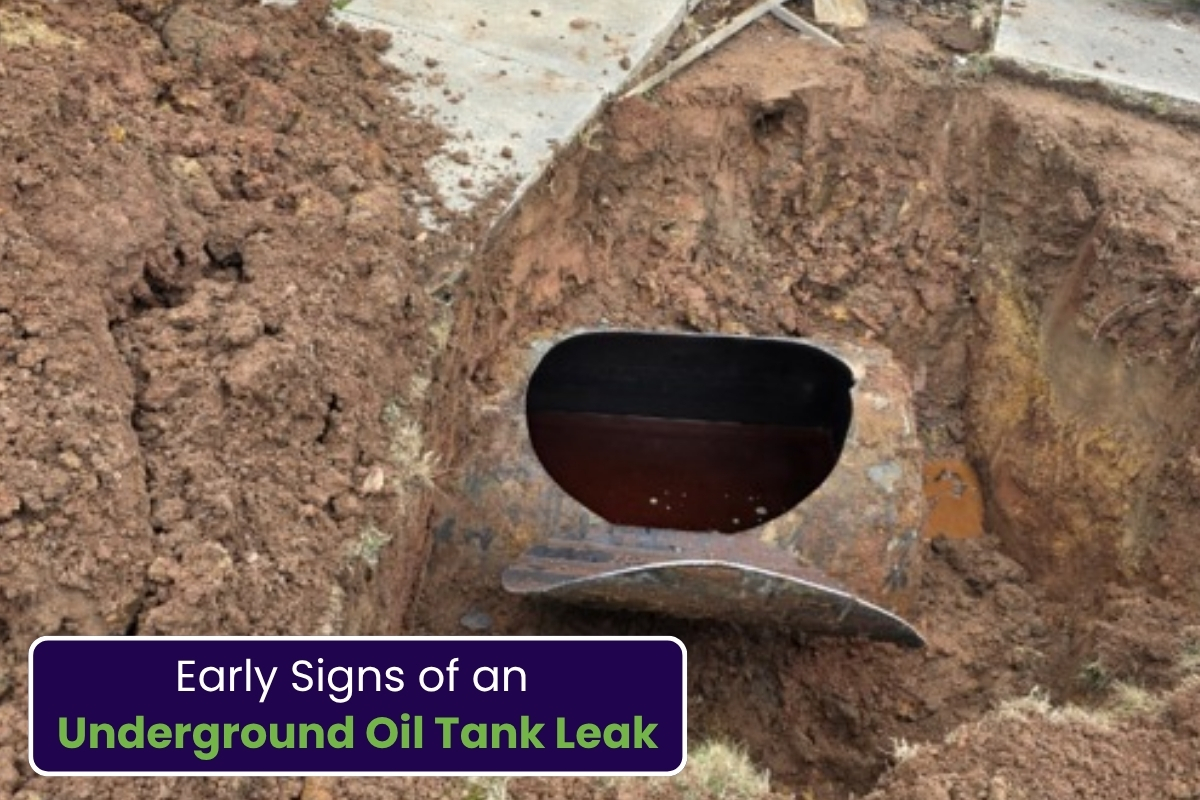
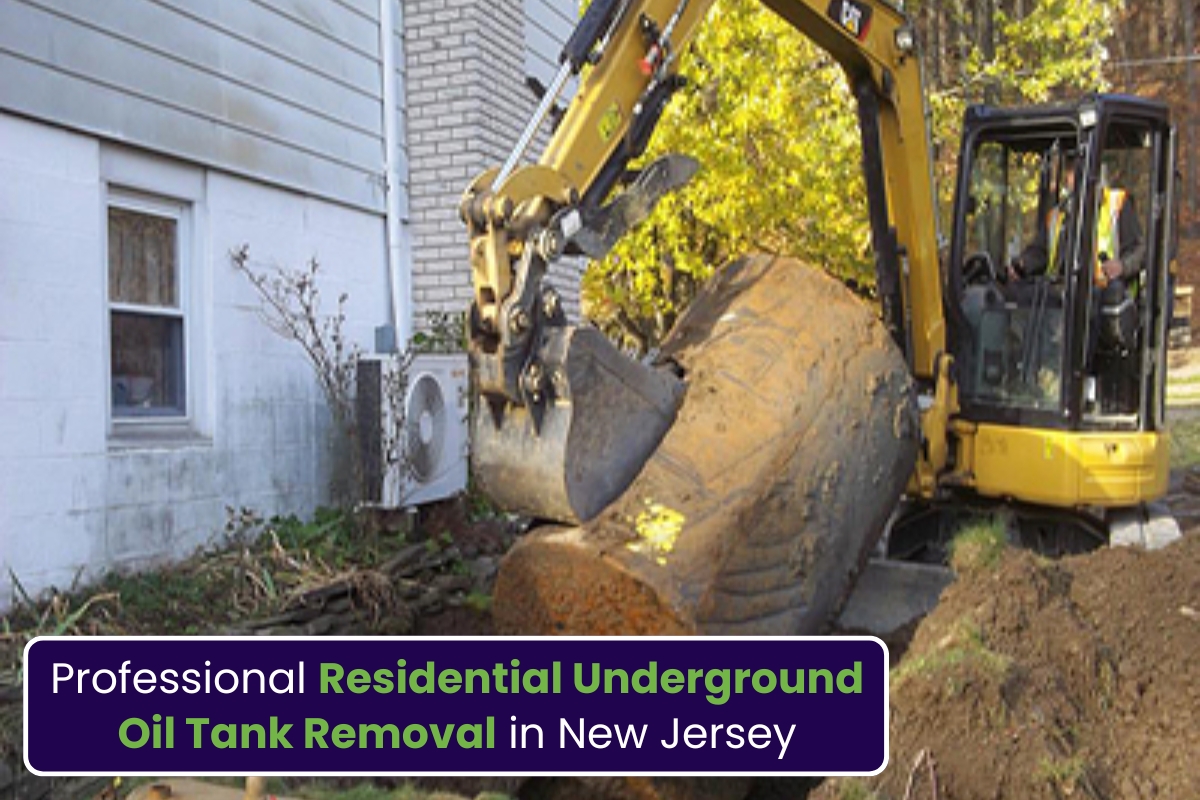
Many homes built decades ago used underground oil tanks to store heating fuel. While these systems were common in the past, aging tanks can eventually rust and leak beneath the surface. Since underground damage is often difficult to detect early, small leaks may continue for years before homeowners notice signs of contamination.
Professional underground oil tank removal helps eliminate this hidden risk by safely excavating old tanks before they fail completely. Removing outdated tanks also helps homeowners avoid environmental complications that may affect future property sales or renovations. Common warning signs of an aging underground tank include:
-Unusual fuel odors around the property
-Dying grass or dark soil patches
-Increased heating oil consumption
-Rust or corrosion near exposed piping
-Soil discoloration around the tank area
Early removal can prevent larger environmental problems and protect nearby groundwater from contamination.
The Importance of Oil Tank Leak Prevention for Residential Properties
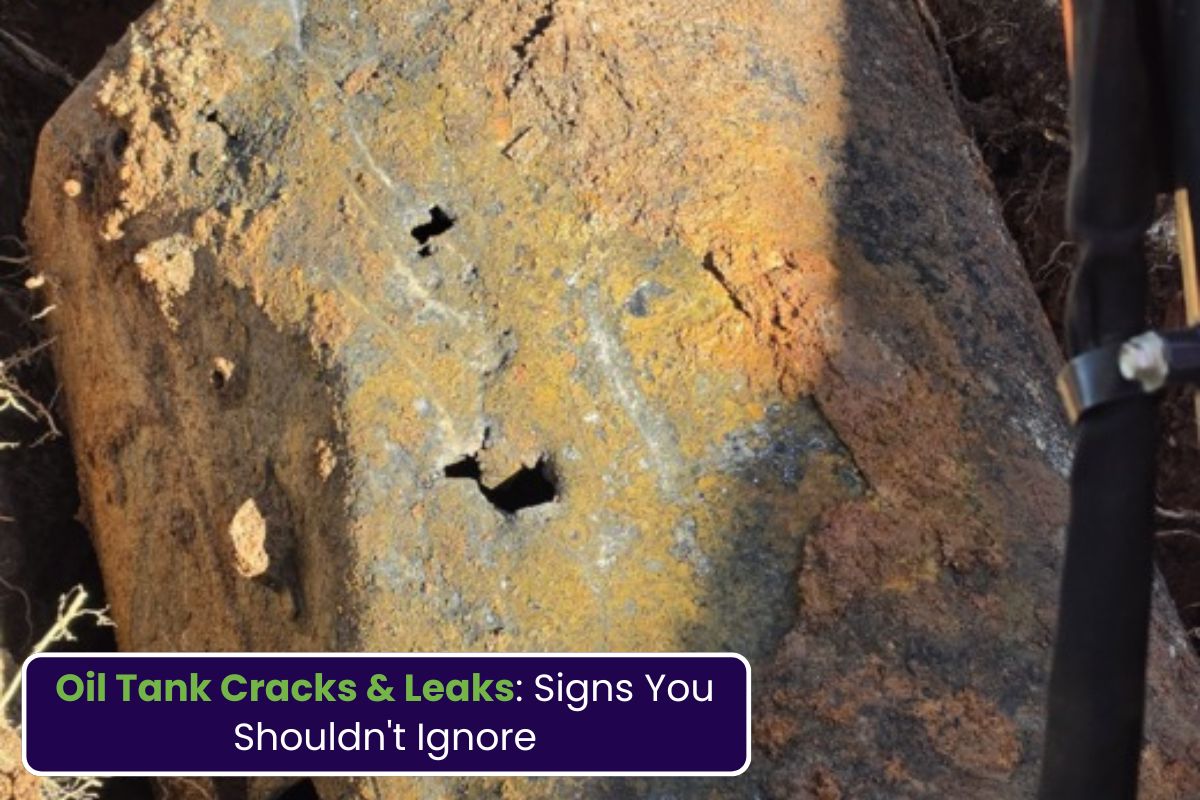
One of the biggest concerns with old heating systems is the possibility of fuel leaks. Even a small amount of leaking oil can spread into surrounding soil and create long-term environmental hazards. Effective oil tank leak prevention starts with regular inspections and timely tank replacement. Homeowners who remove aging tanks before they fail can avoid major contamination issues and reduce risks to nearby structures and landscaping.
Signs of a Leaking Oil Tank
-Strong petroleum smells indoors or outdoors
-Oil stains near the tank area
-Heating system performance issues
-Wet or contaminated soil near buried tanks
-Sudden increases in fuel usage
Preventive action is always safer than waiting for visible contamination to appear.
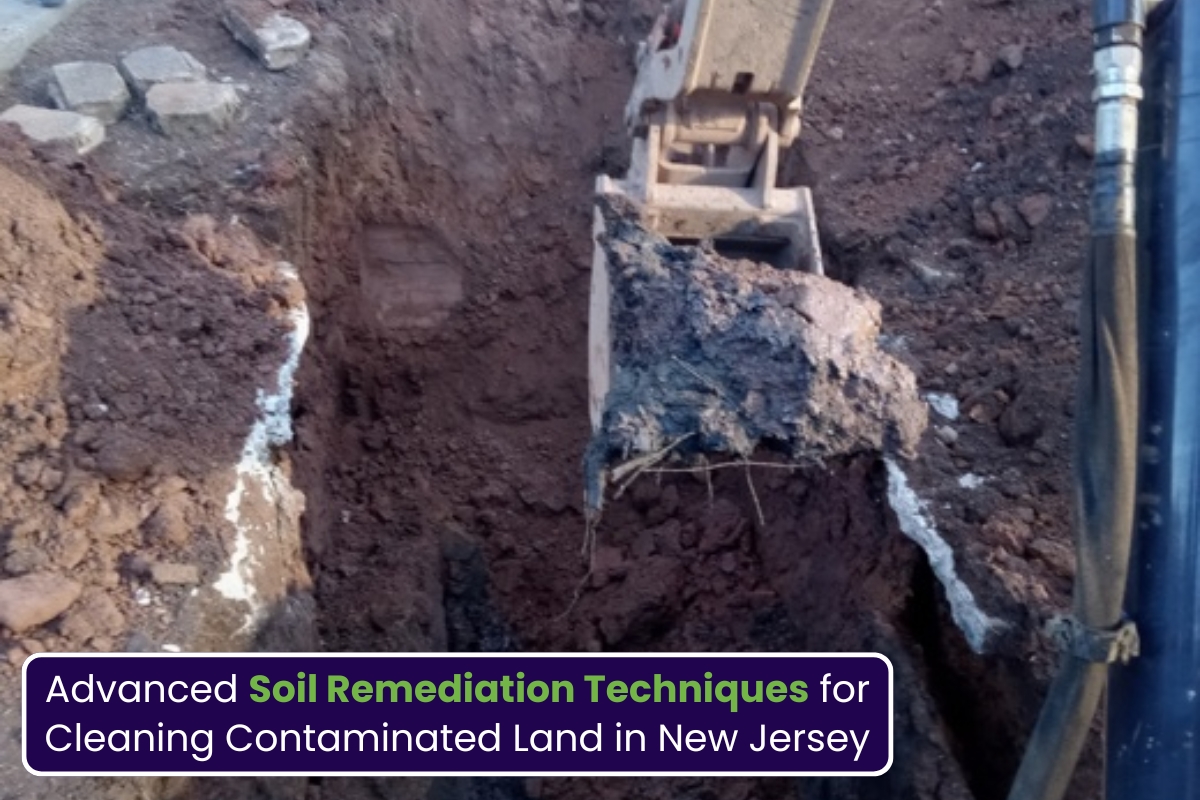
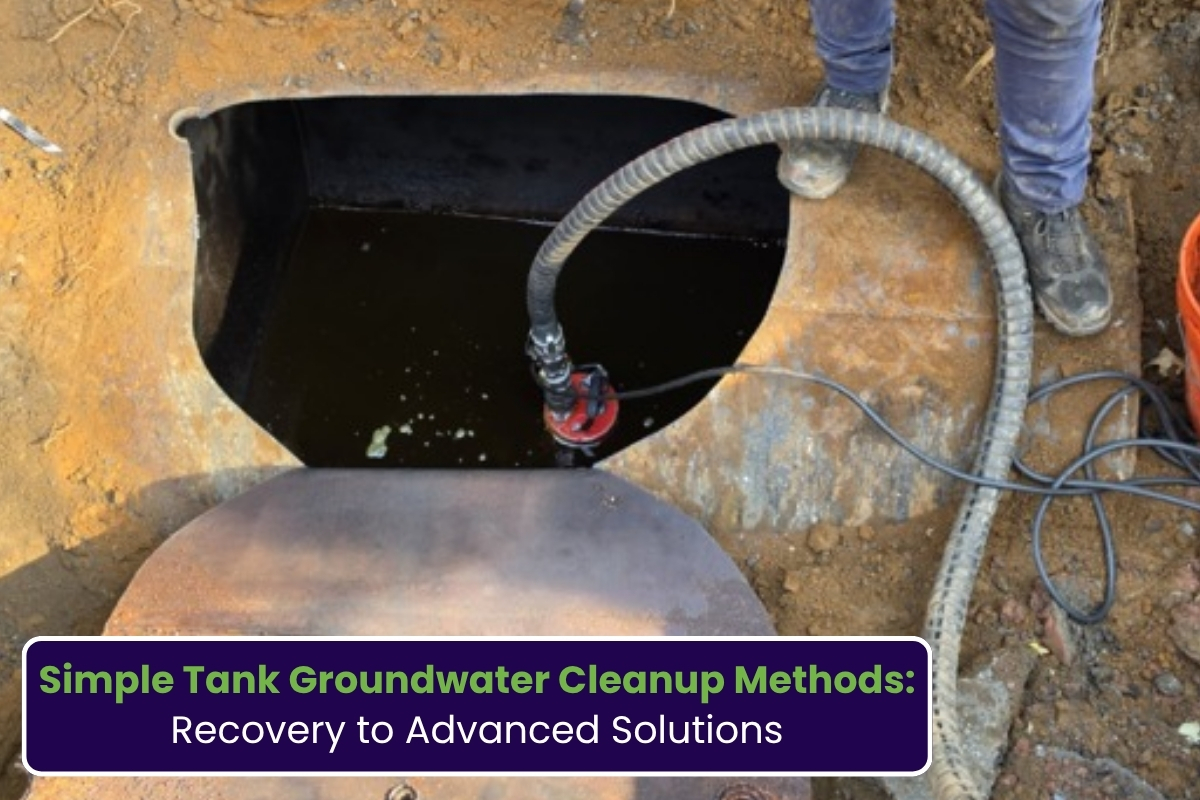
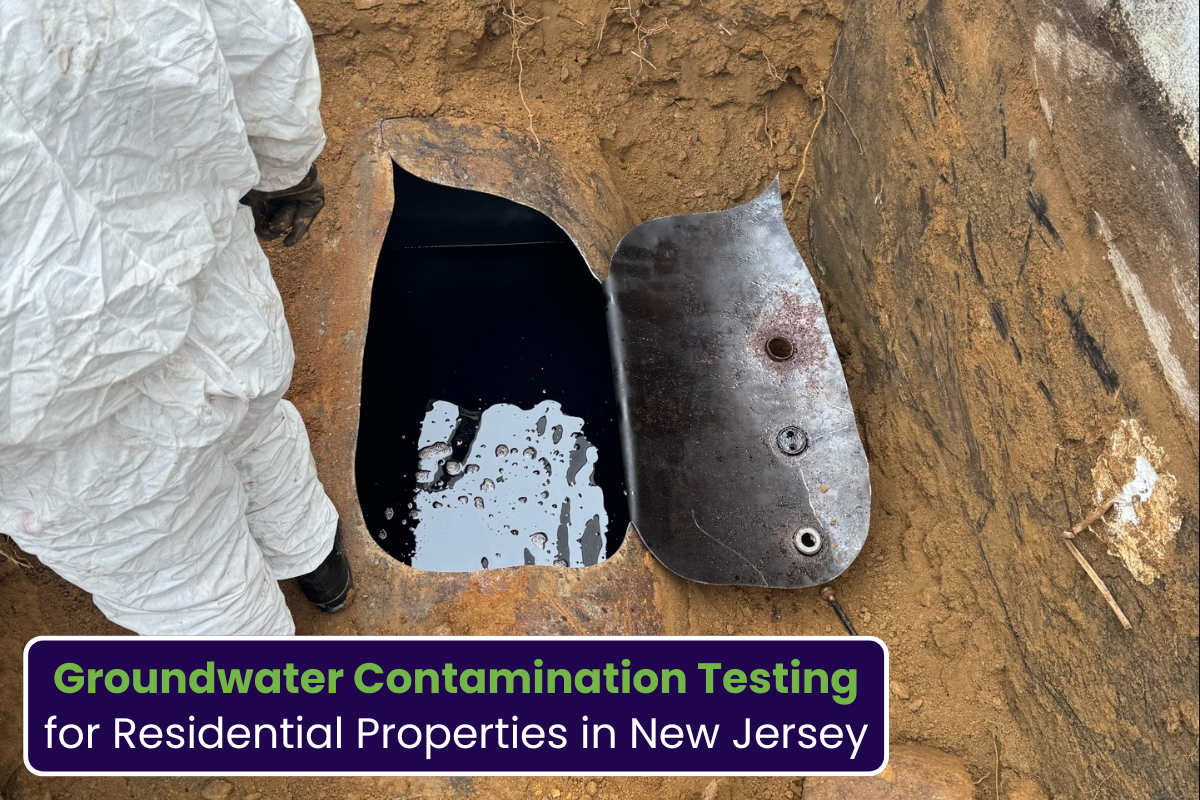
Why Soil Contamination Cleanup Is Essential After a Leak
When heating oil enters the ground, it can affect both soil quality and nearby water sources. Fuel contamination may spread quickly beneath the surface, especially during periods of heavy rain or flooding. Professional soil contamination cleanup helps restore affected areas by removing polluted soil and preventing further environmental damage. Cleanup professionals use specialized equipment and environmental testing methods to identify the extent of contamination and safely remove impacted materials. Ignoring contaminated soil may lead to:
-Environmental hazards
-Unpleasant odors around the property
-Damage to landscaping
-Groundwater pollution
-Difficulties during property transactions
Timely cleanup helps restore safety and reduces long-term environmental concerns.
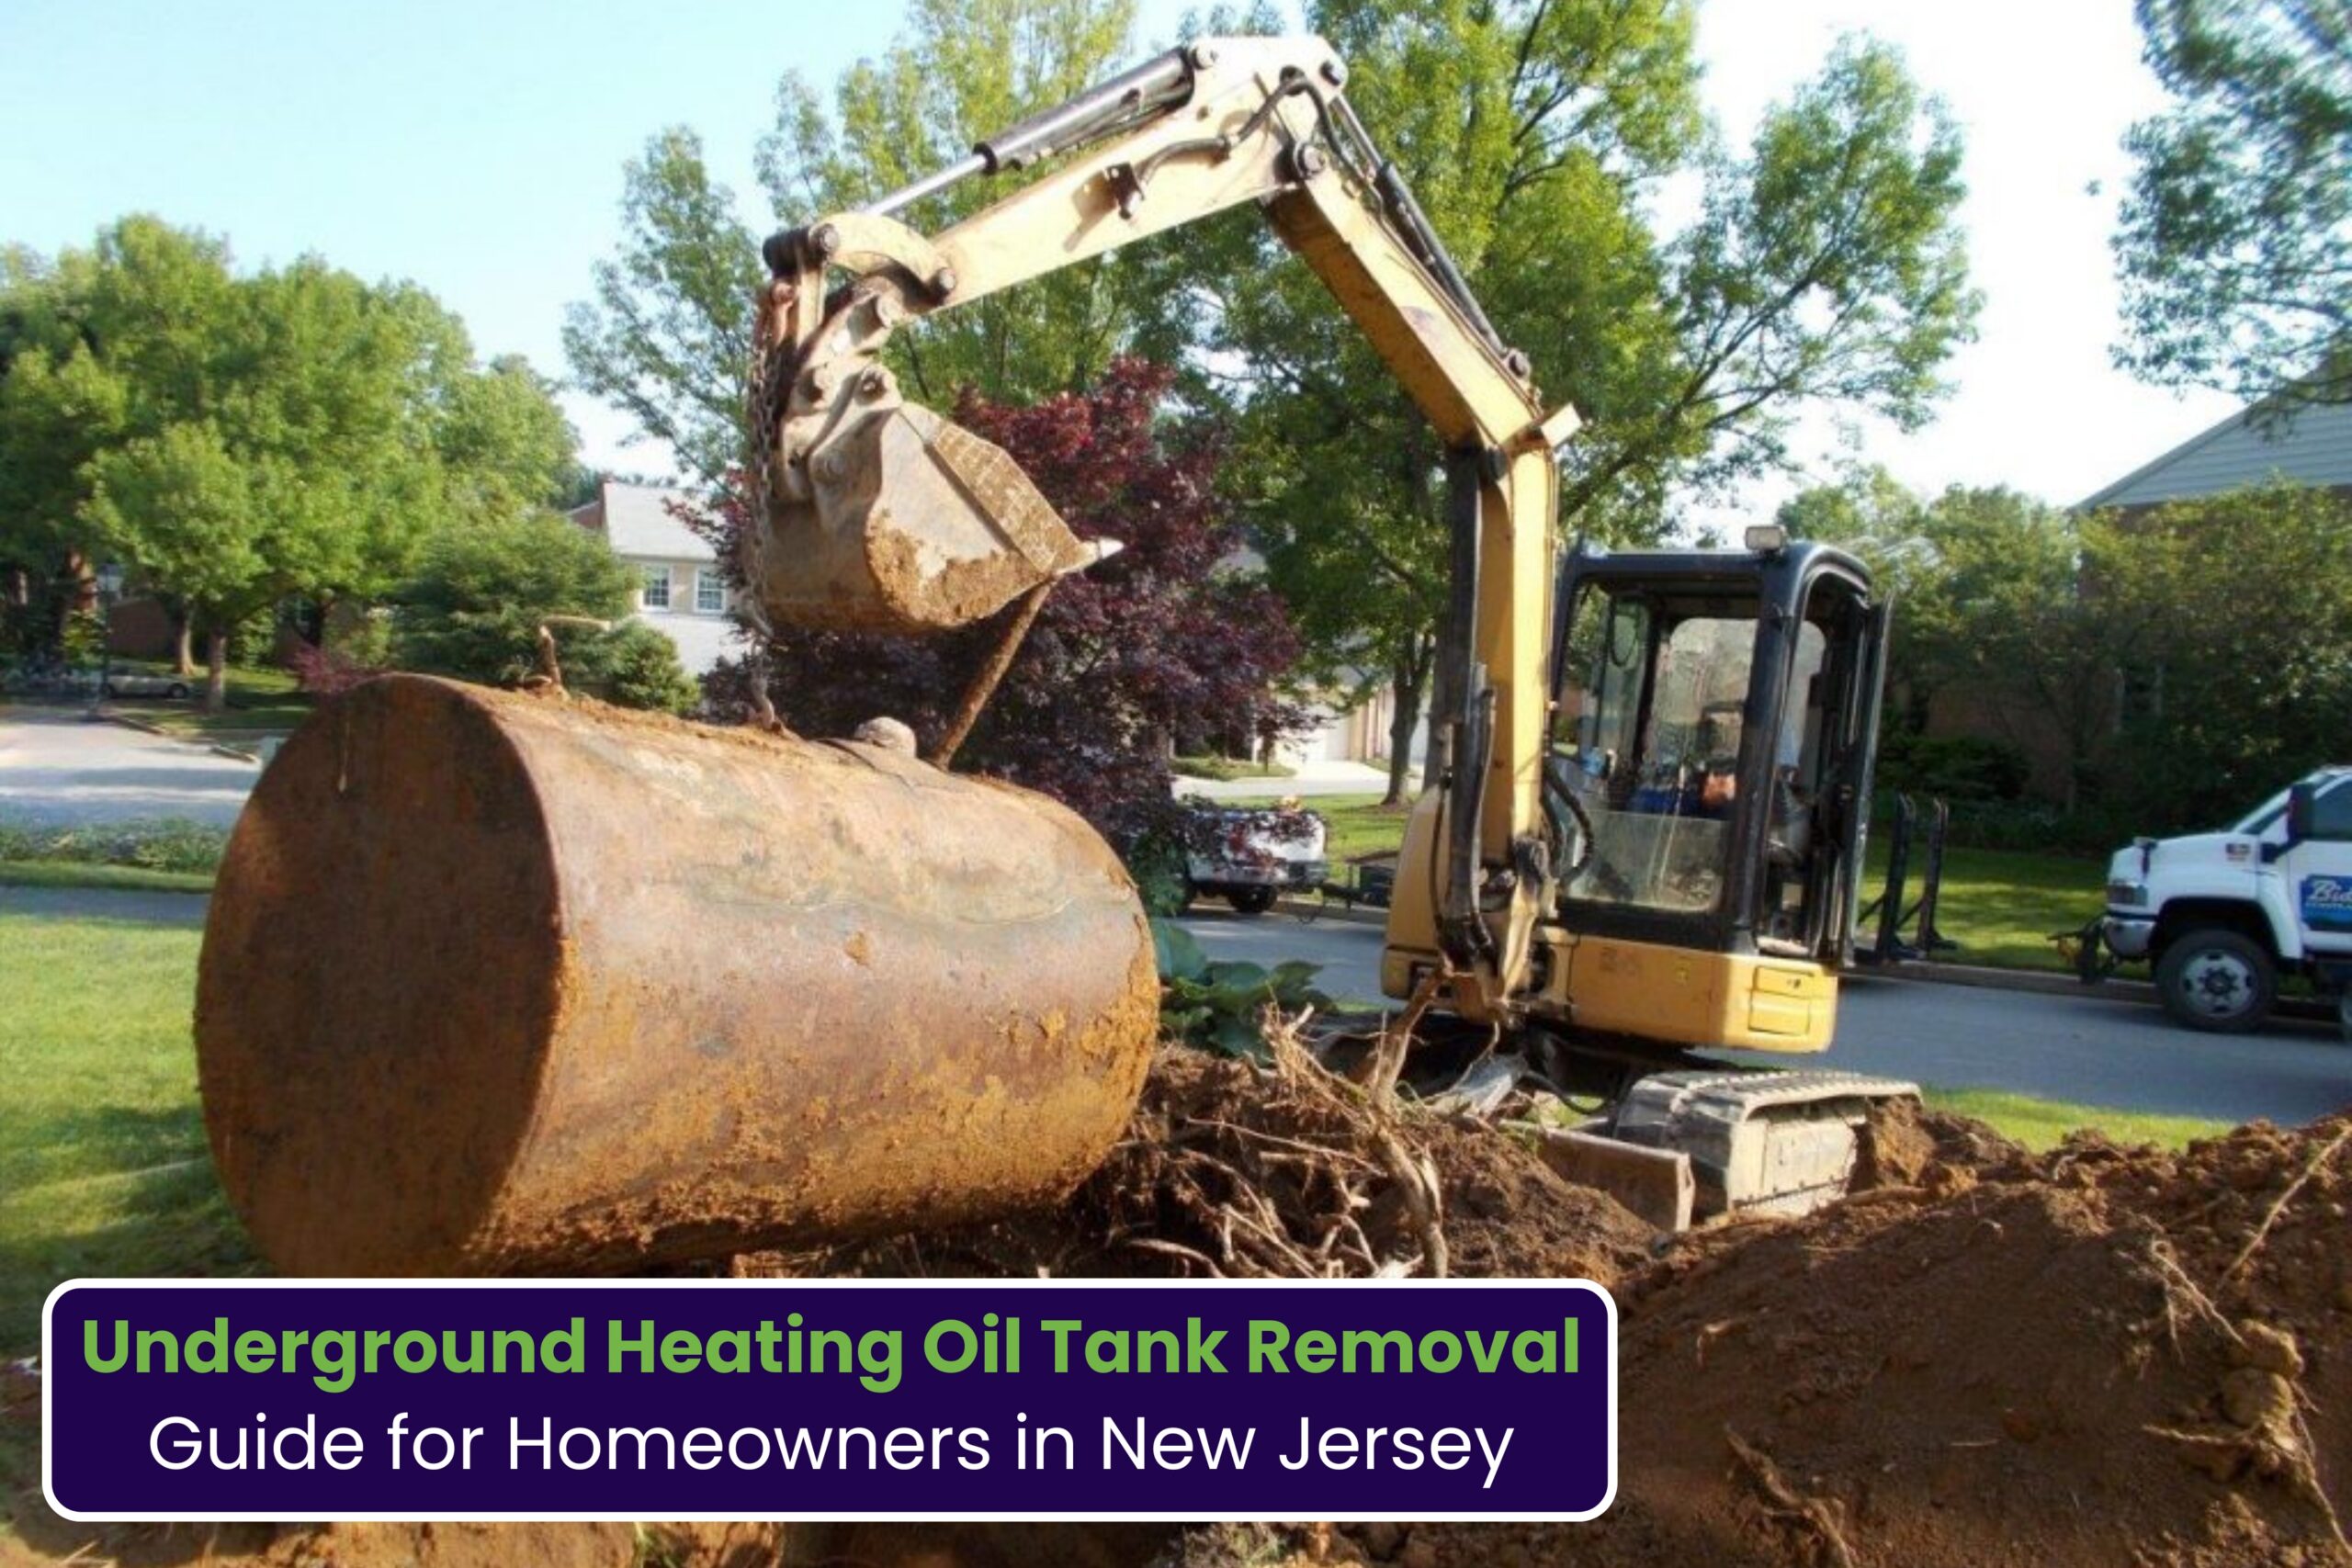
How Heating Oil Tank Removal Supports Long-Term Property Safety
Aging heating systems often become unstable as tanks weaken over time. Corroded tanks can eventually collapse or leak unexpectedly, especially when exposed to moisture underground. Professional heating oil tank removal improves long-term property safety by eliminating outdated systems before they become hazardous. Removing old tanks also creates opportunities for homeowners to upgrade heating systems and improve energy efficiency.
At this stage, many homeowners researching oil tank removal in New Jersey also look for ways to prevent future contamination risks and maintain property value through proper environmental protection measures. Removing old tanks before problems develop is one of the most effective ways to avoid future structural and environmental complications.
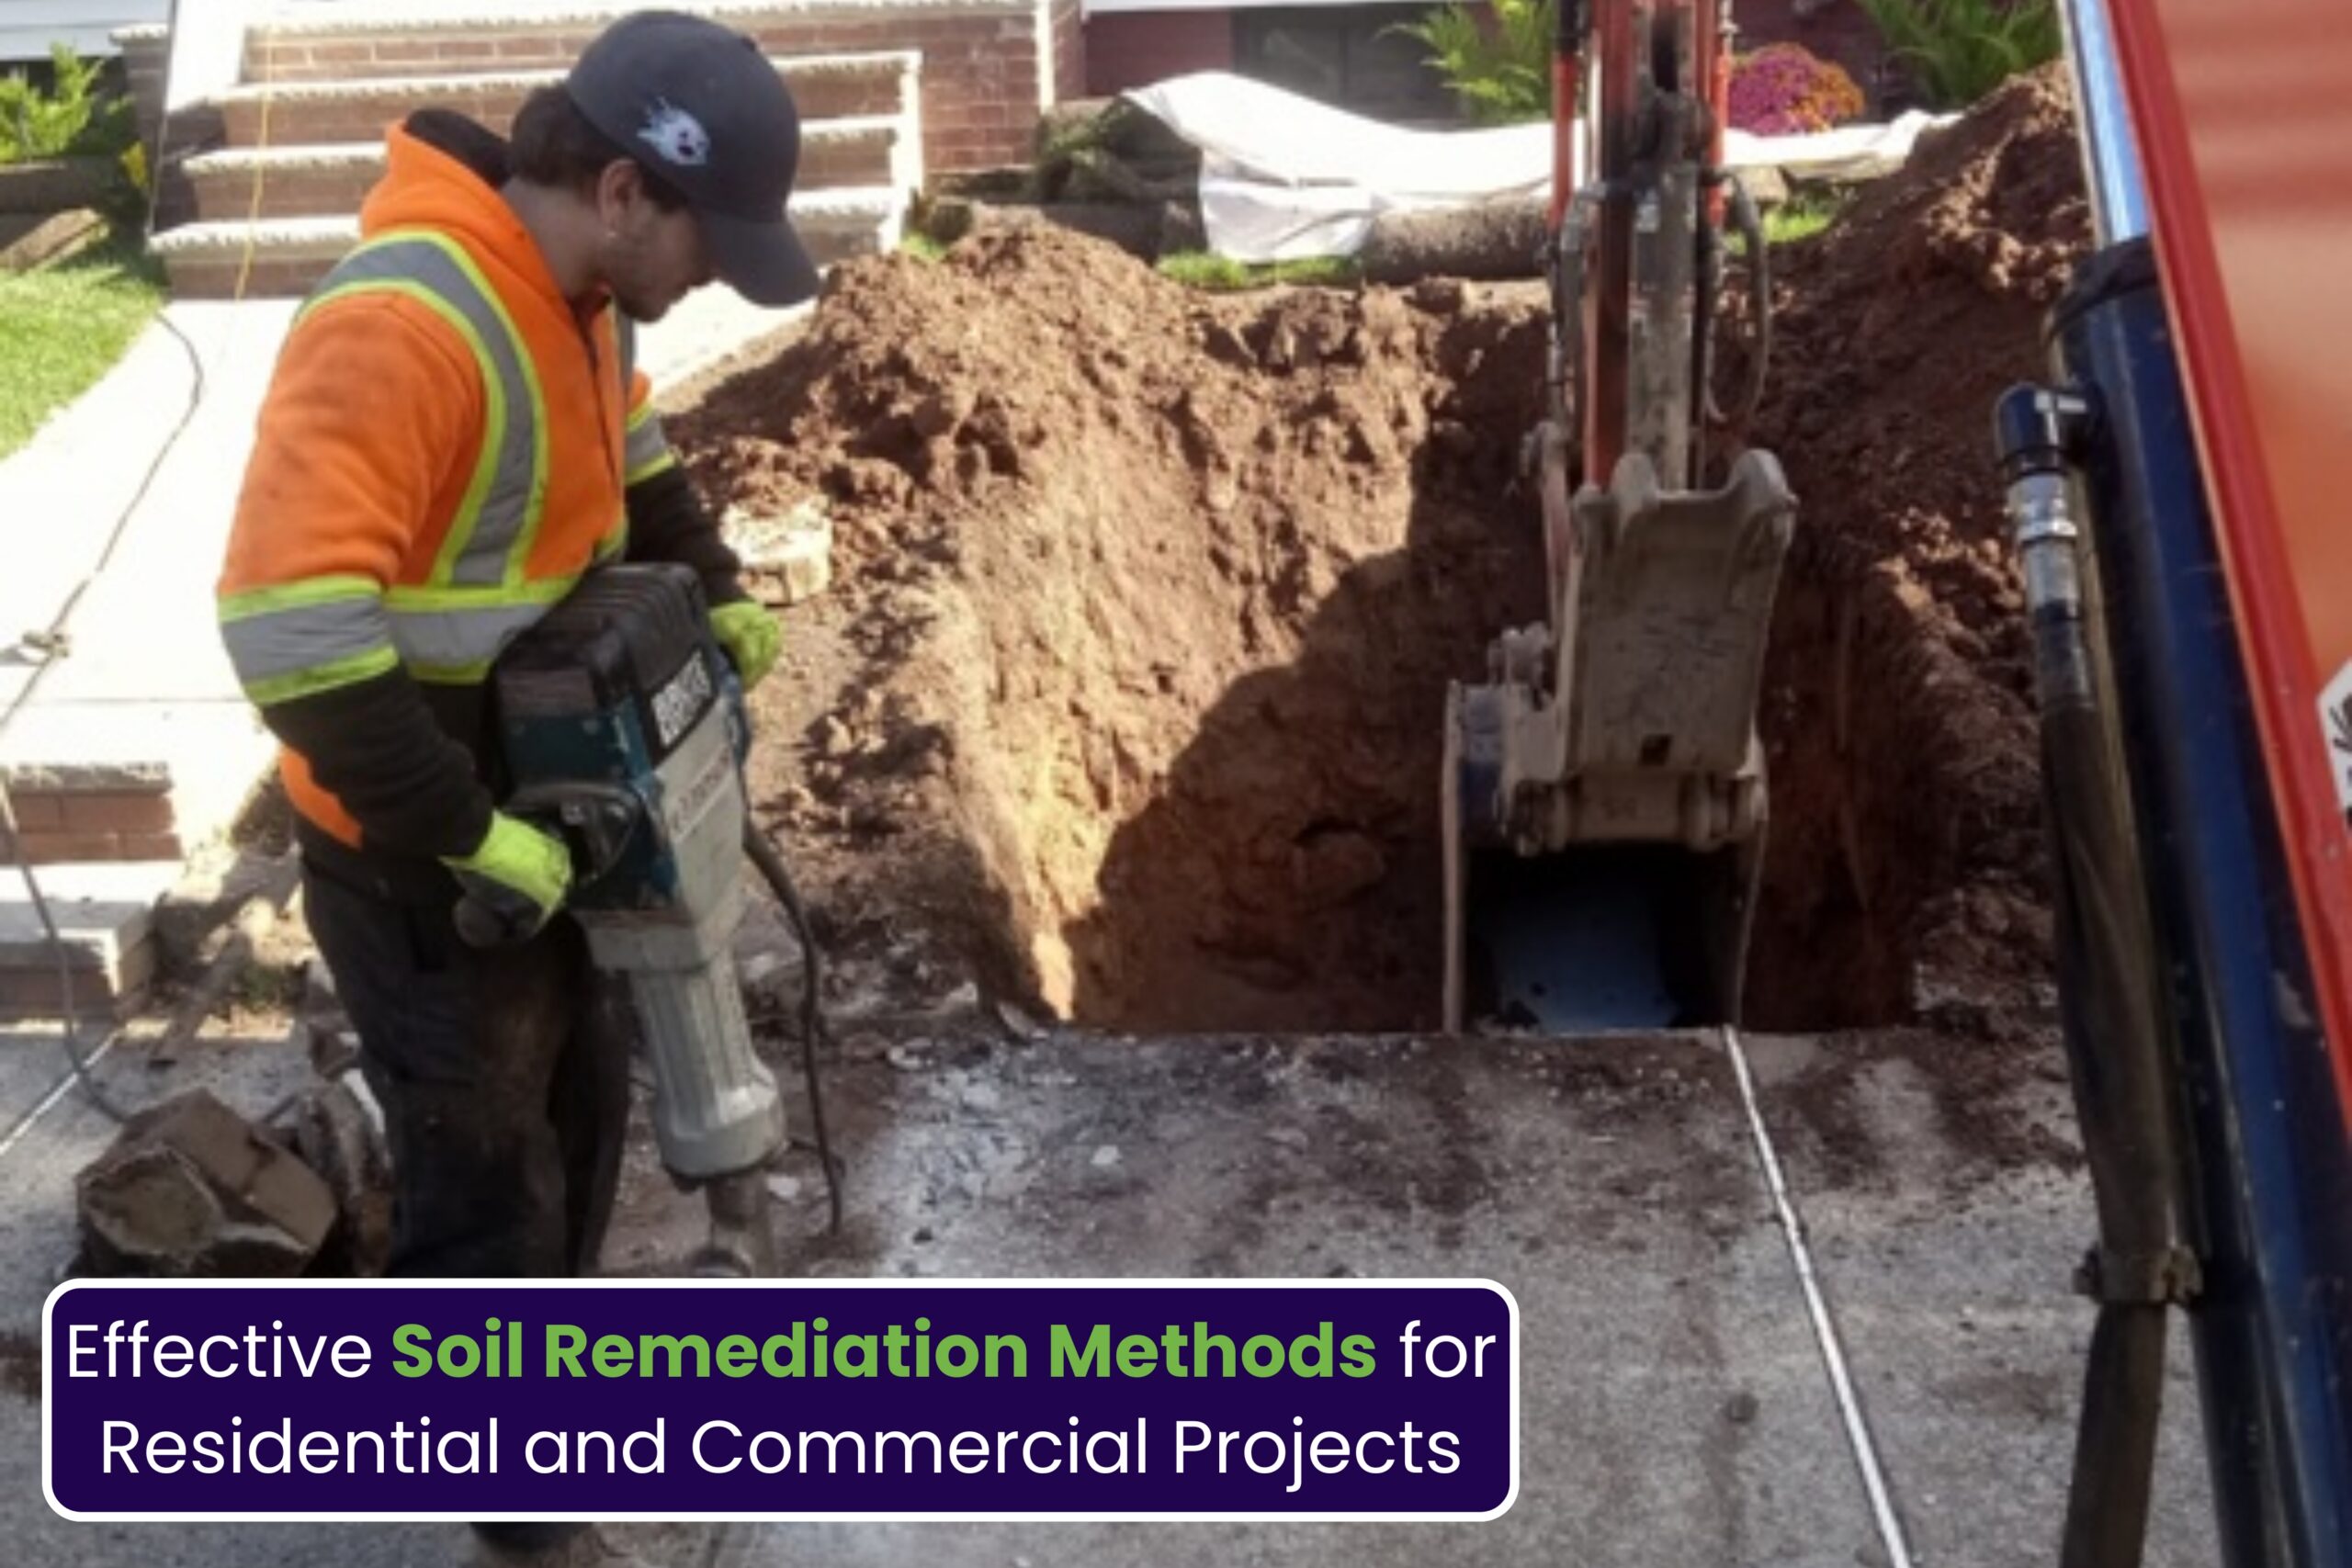
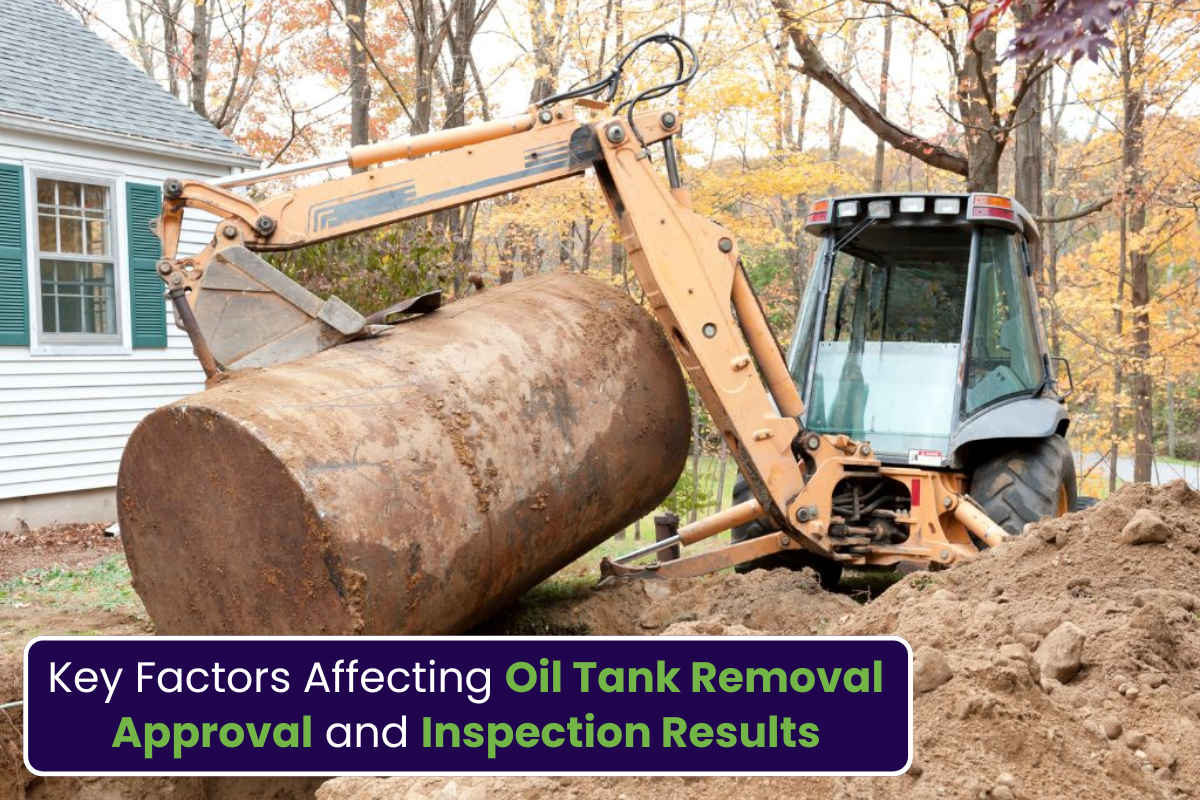
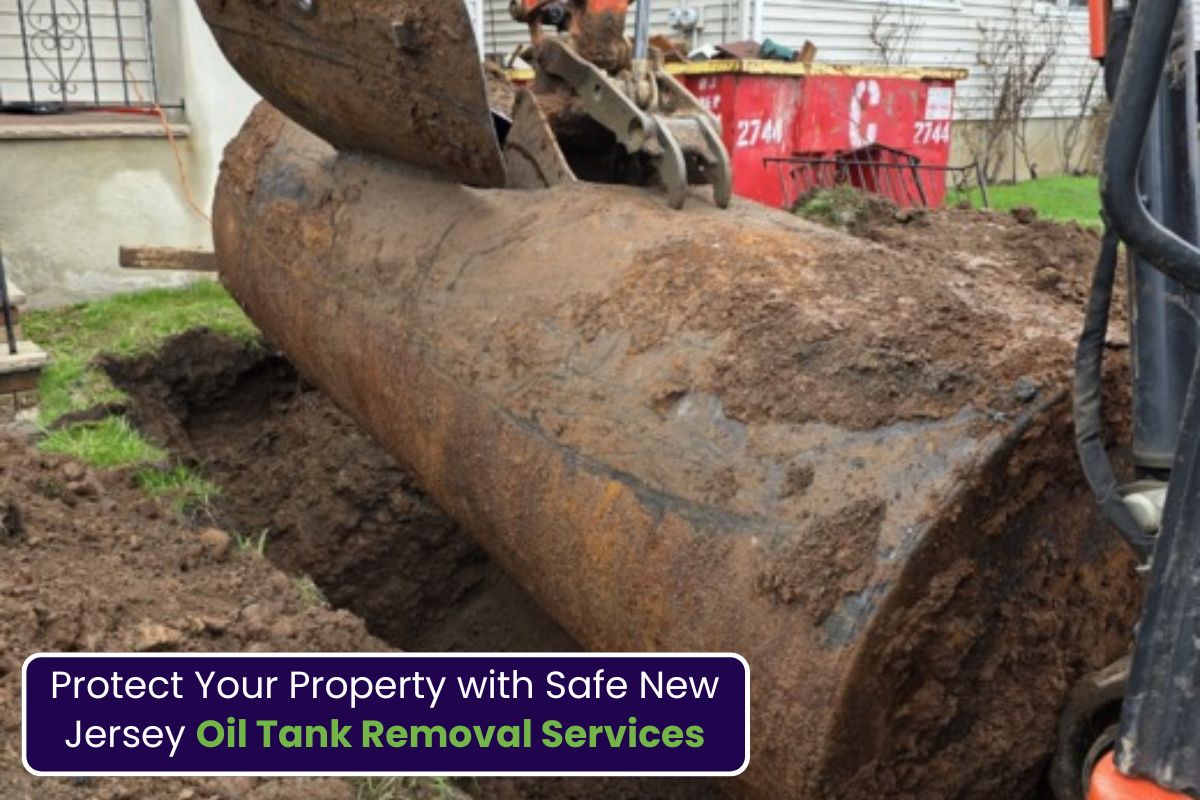
Safe Oil Tank Excavation and Environmental Protection
Professional oil tank excavation requires careful planning and specialized equipment to avoid unnecessary property damage. Excavation teams follow environmental safety guidelines while removing underground tanks and surrounding contaminated materials. During excavation, professionals typically:
-Locate the underground tank
-Remove remaining oil safely
-Excavate surrounding soil carefully
-Inspect the tank for leaks or corrosion
-Dispose of the tank according to environmental regulations
Proper excavation protects nearby landscaping, underground utilities, and neighboring properties from additional risks.
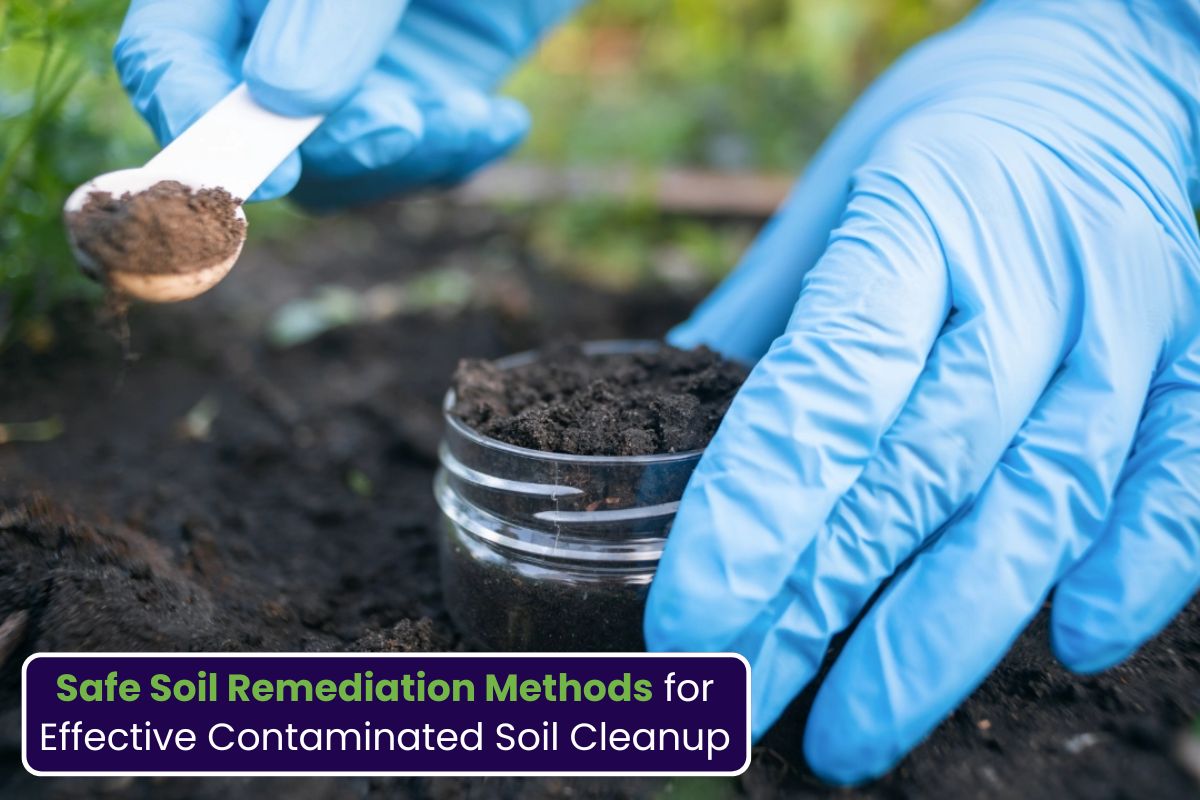
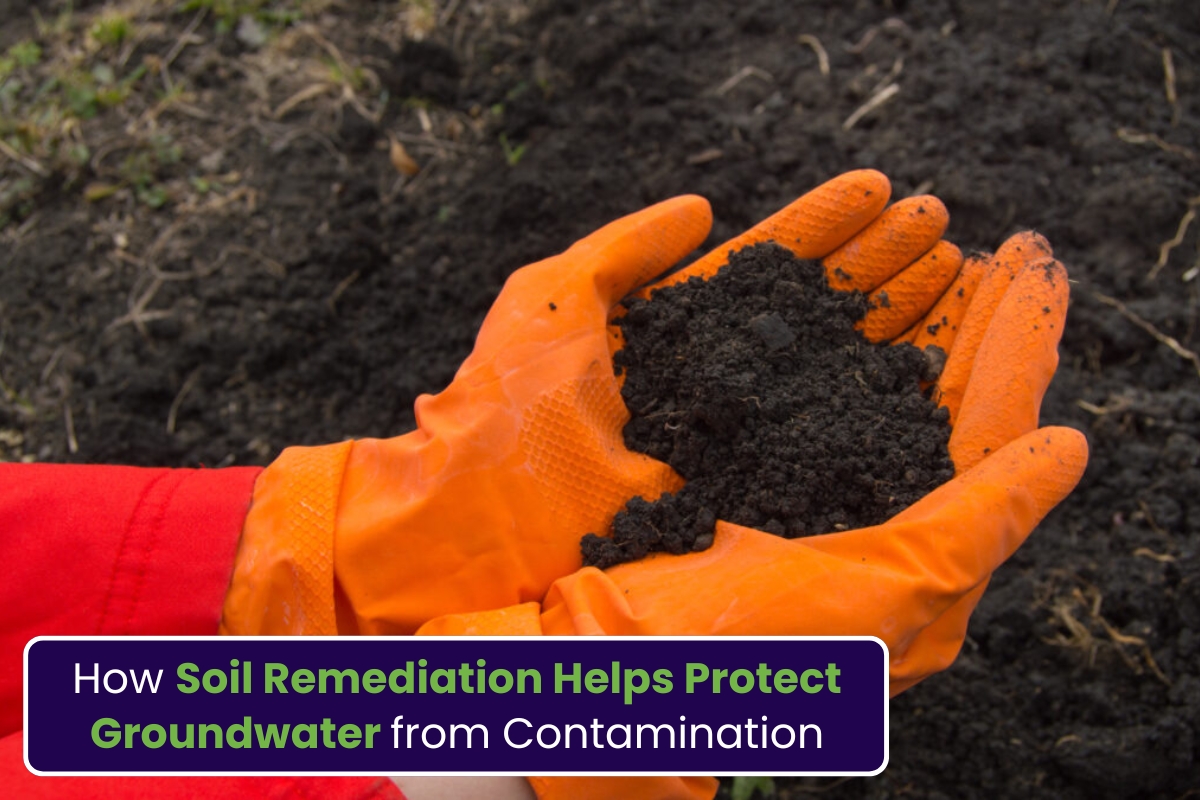
Why Contaminated Soil Removal Helps Prevent Further Damage
If a leaking tank has already affected the ground, contaminated soil removal becomes an important part of the restoration process. Removing polluted soil helps stop contamination from spreading deeper into surrounding areas. Specialized cleanup crews identify affected sections of soil and remove contaminated materials using approved environmental procedures. Once removal is complete, replacement soil may be added to restore the property safely. This process supports:
-Healthier outdoor environments
-Improved soil quality
-Safer residential conditions
-Reduced environmental liability
-Better long-term property protection
Removing contaminated soil early also helps reduce complications during future construction or landscaping projects.
Environmental Cleanup and Property Protection After Oil Tank Removal
Comprehensive environmental cleanup is often necessary when old oil tanks leak underground. Environmental professionals may conduct inspections, testing, and remediation services to restore affected areas safely. Cleanup efforts focus on:
-Preventing contamination spread
-Protecting groundwater quality
-Restoring soil conditions
-Meeting environmental safety requirements
-Reducing future property risks
Environmental restoration helps homeowners regain confidence that their property is safe for long-term use.
How Home Oil Tank Services Support Safer Residential Properties
Reliable home oil tank services involve more than just removing old tanks. Professional providers also inspect systems, identify potential environmental concerns, and recommend proper remediation steps when needed. Comprehensive services may include:
-Tank inspections
-Leak detection
-Soil testing
-Tank excavation
-Environmental assessments
-Site restoration
Working with experienced professionals helps homeowners address hidden risks before they become major environmental issues.
Finding the Right Leaking Oil Tank Solution for Older Homes
Every property requires a different leaking oil tank solution depending on the age of the tank, location of contamination, and surrounding environmental conditions. Professional environmental specialists evaluate the situation carefully before recommending the safest approach. Solutions may involve tank removal, remediation services, soil replacement, or additional environmental testing.
Benefits of Professional Tank Removal
-Reduced environmental risks
-Improved property safety
-Protection against future contamination
-Safer outdoor conditions
-Better long-term property maintenance
Addressing leaks early is critical for minimizing environmental damage.
Property Contamination Prevention Starts with Early Action
The best form of property contamination prevention is proactive maintenance and timely oil tank removal. Waiting too long to remove aging tanks increases the risk of hidden leaks and soil damage. Homeowners can help protect their property by:
-Scheduling regular inspections
-Monitoring fuel usage patterns
-Replacing outdated systems
-Investigating unusual odors immediately
-Removing abandoned underground tanks
Preventive measures support safer residential environments and reduce the chances of major environmental cleanup projects later.
Why Oil Tank Cleanup Services Are Important After Tank Removal
Professional oil tank cleanup services help ensure contaminated materials are handled safely after removal. Cleanup crews follow environmental guidelines to remove polluted soil, clean affected areas, and restore the property. Cleanup services are especially important when:
-Tanks show signs of corrosion
-Fuel odors remain after removal
-Soil testing reveals contamination
-Nearby groundwater may be affected
Complete cleanup reduces long-term environmental concerns and supports safer property conditions.
The Importance of Safe Oil Tank Removal Practices
Professional safe oil tank removal protects homeowners, workers, and the environment throughout the removal process. Improper handling of old tanks may increase contamination risks or create safety hazards. Licensed professionals follow strict environmental procedures to:
-Drain remaining oil safely
-Remove hazardous materials properly
-Prevent additional spills during excavation
-Dispose of tanks according to regulations
Safe removal practices help minimize environmental damage while protecting surrounding structures and landscaping.
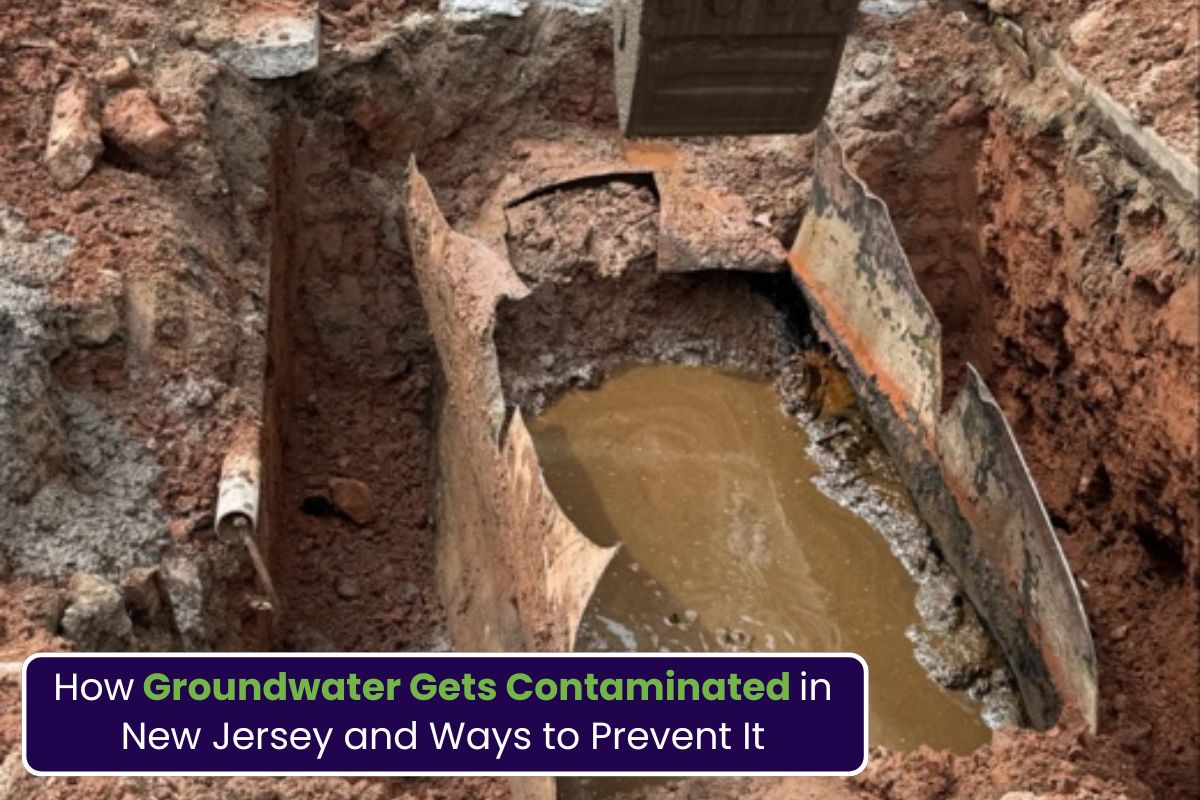
Understanding Oil Tank Environmental Risks for Homeowners
Many homeowners underestimate the potential oil tank environmental risks associated with aging underground systems. Leaking fuel may contaminate soil, groundwater, and nearby ecosystems if left untreated. Environmental risks may include:
-Soil degradation
-Groundwater contamination
-Harm to nearby vegetation
-Structural foundation issues
-Long-term environmental liability
Understanding these risks encourages homeowners to act early before contamination spreads further.
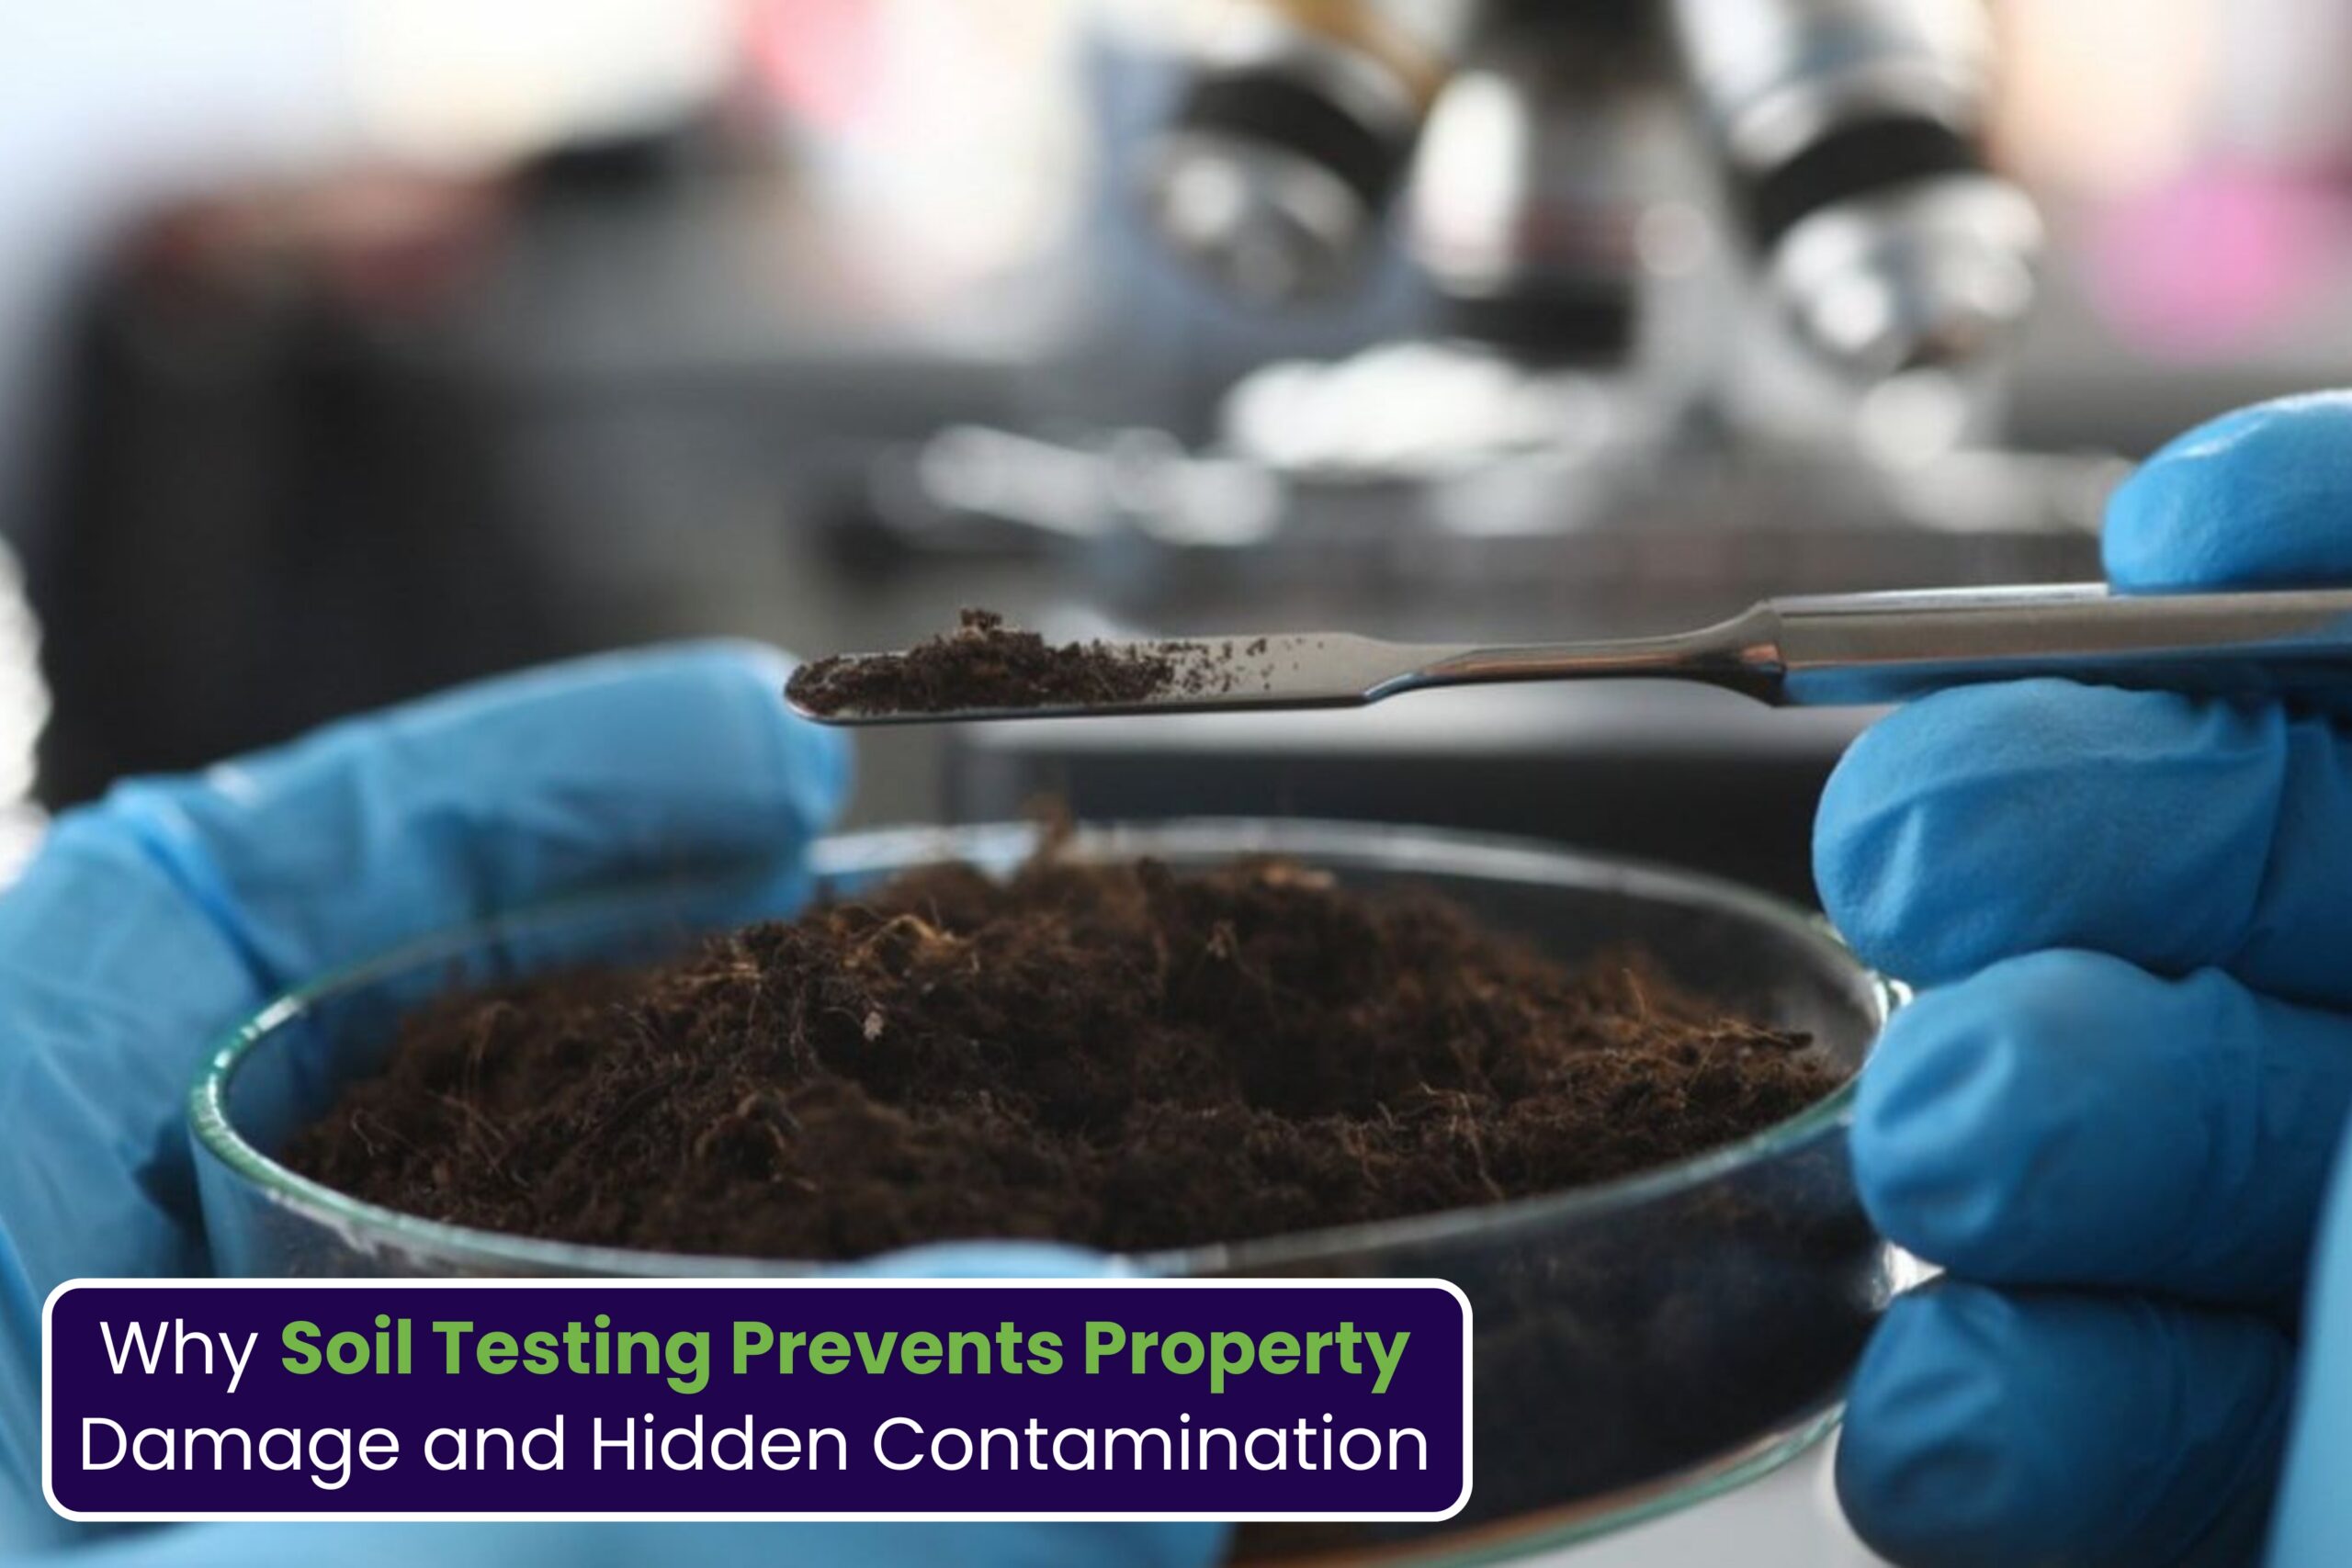
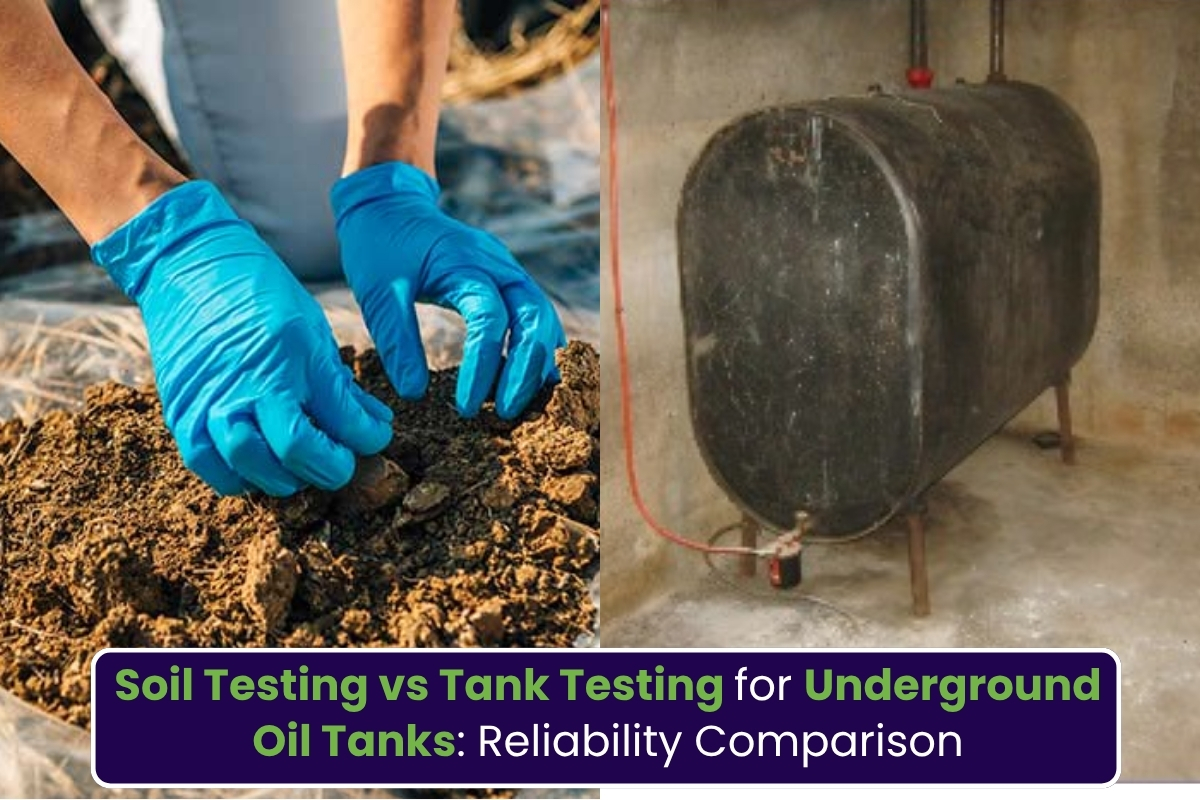
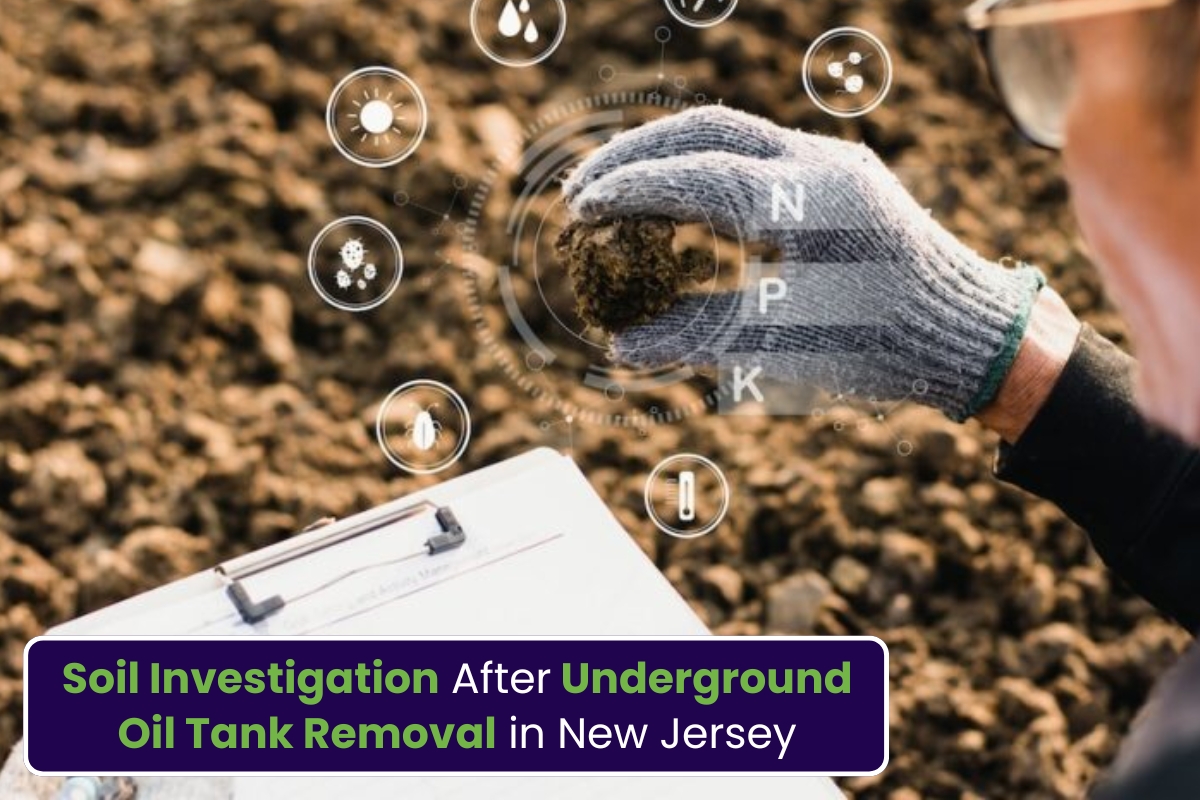
Why Soil Testing After Oil Leak Is Necessary
Professional soil testing after oil leak helps determine the extent of contamination beneath the property surface. Testing allows environmental specialists to identify affected areas and develop the most effective remediation strategy.
Why Soil Testing Matters
-Detects hidden contamination
-Supports proper cleanup planning
-Helps prevent future environmental issues
-Confirms restoration effectiveness
-Protects long-term property safety
Testing is often one of the most important steps after discovering a leaking underground tank.
How Oil Tank Remediation Services Restore Contaminated Properties
Professional oil tank remediation services focus on restoring contaminated areas after leaks occur. Remediation specialists use environmental cleanup methods to remove pollutants and improve soil safety. These services may include:
-Soil excavation
-Environmental testing
-Groundwater assessments
-Contaminated material disposal
-Site restoration work
Remediation helps homeowners protect both their property and the surrounding environment from long-term contamination effects.
FAQs
Q1. What are the signs that an underground oil tank may be leaking?
Common signs include fuel odors, dead vegetation, soil discoloration, rusted pipes, and unexpected increases in heating oil usage.
Q2. Why is underground oil tank removal important?
Removing old underground tanks helps prevent leaks, soil contamination, and environmental damage that may affect residential properties.
Q3. What happens if contaminated soil is found during tank removal?
Environmental professionals typically remove polluted soil and perform remediation services to restore the affected area safely.
Q4. Is soil testing necessary after an oil leak?
Yes. Soil testing helps identify contamination levels and guides proper cleanup and restoration efforts.
Q5. How does oil tank removal help protect property value?
Removing aging tanks reduces environmental risks and helps prevent complications during future property sales or renovations.
Summary
Protecting residential properties from leaks and contamination starts with proactive oil tank maintenance and safe removal practices. From underground tank excavation to environmental cleanup and soil testing, every step plays an important role in preventing long-term property damage. Professional remediation and cleanup services help homeowners maintain safer living environments while reducing environmental risks associated with aging heating oil systems. For homeowners looking for trusted environmental support and responsible tank removal solutions, Simple Tank Services provides professional assistance focused on safety, compliance, and long-term property protection.