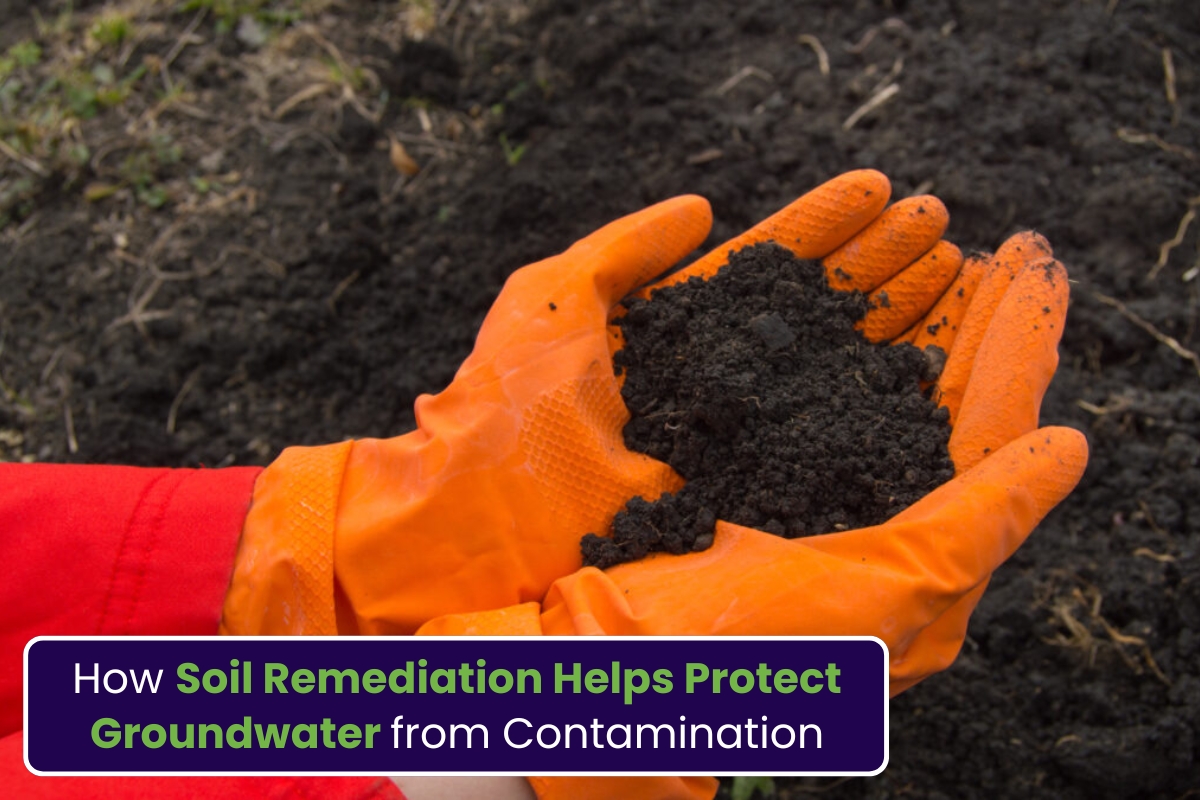
Groundwater is one of the most important natural resources for homeowners and communities. It supplies drinking water, supports ecosystems, and plays a major role in maintaining environmental balance. However, pollution from underground sources, aging infrastructure, and leaking tanks can affect water quality over time.
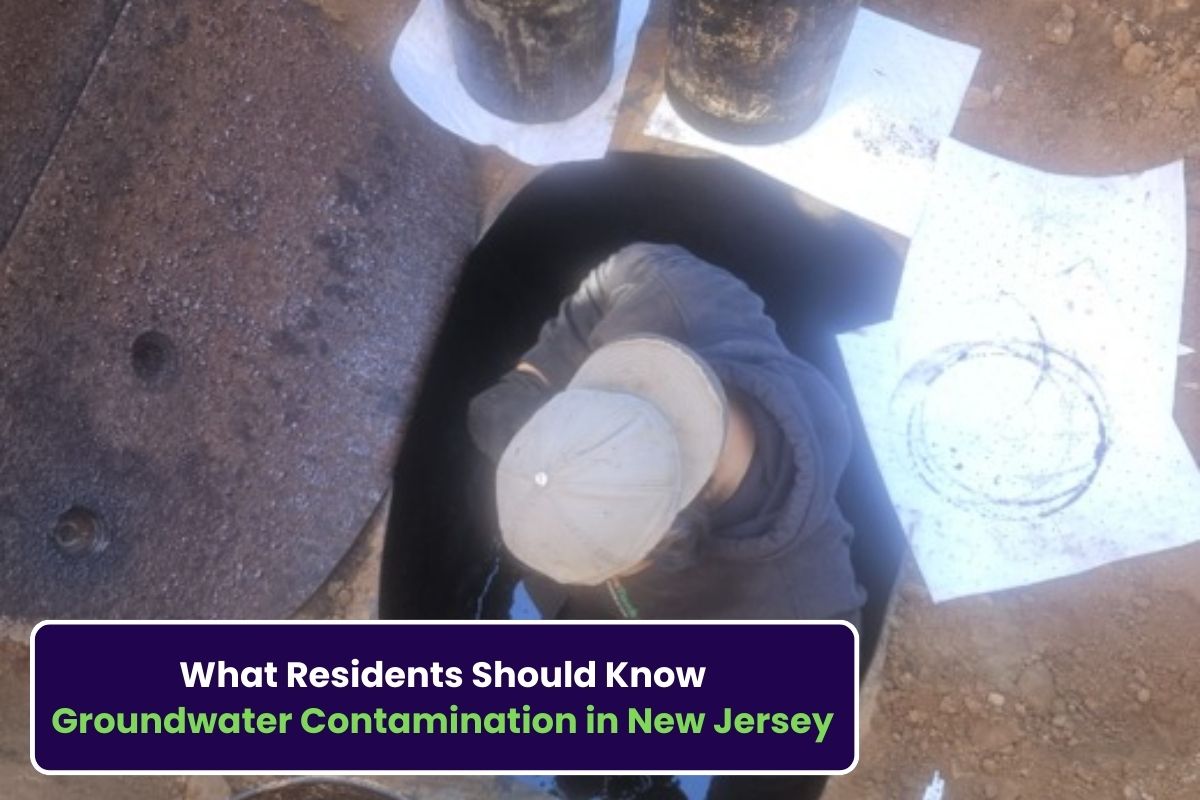
For many homeowners, understanding the risks associated with Groundwater Contamination in New Jersey is essential. The state has a long history of residential heating oil tanks and industrial activity, both of which can contribute to groundwater issues if not properly managed. Knowing the causes, warning signs, and prevention strategies can help protect both property value and environmental safety.
Understanding Groundwater and Why It Matters
Groundwater is water stored beneath the earth’s surface in soil and rock layers called aquifers. Many homes rely on groundwater sources for drinking water, irrigation, and household use. When contaminants enter the soil, they can eventually reach these aquifers.
Once pollution reaches groundwater, it can spread slowly through the soil and remain for years if not properly addressed. This makes early detection and prevention extremely important for homeowners.
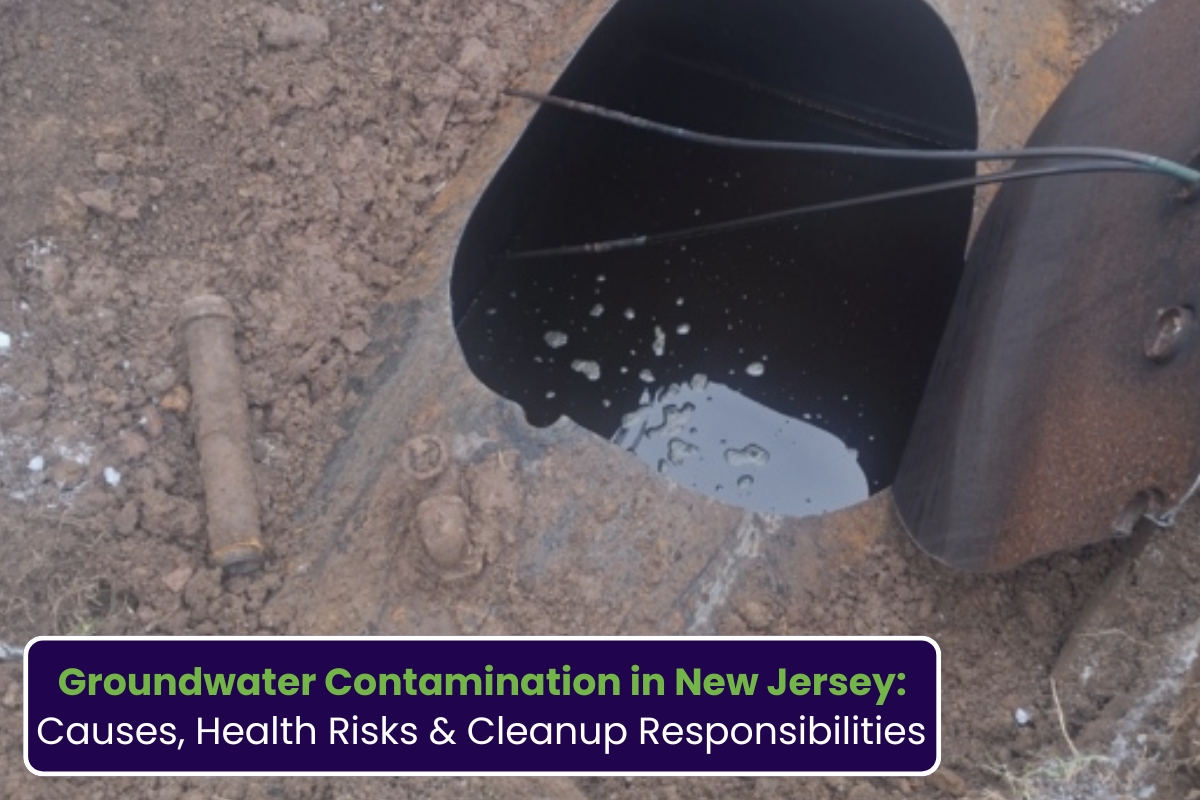
Contamination often begins with small issues such as underground oil tank leaks, chemical spills, or improper disposal of hazardous materials. Over time, these pollutants seep into the soil and move toward groundwater reserves.
Common Causes of Groundwater Issues in Residential Areas
Underground Oil Tank Leaks
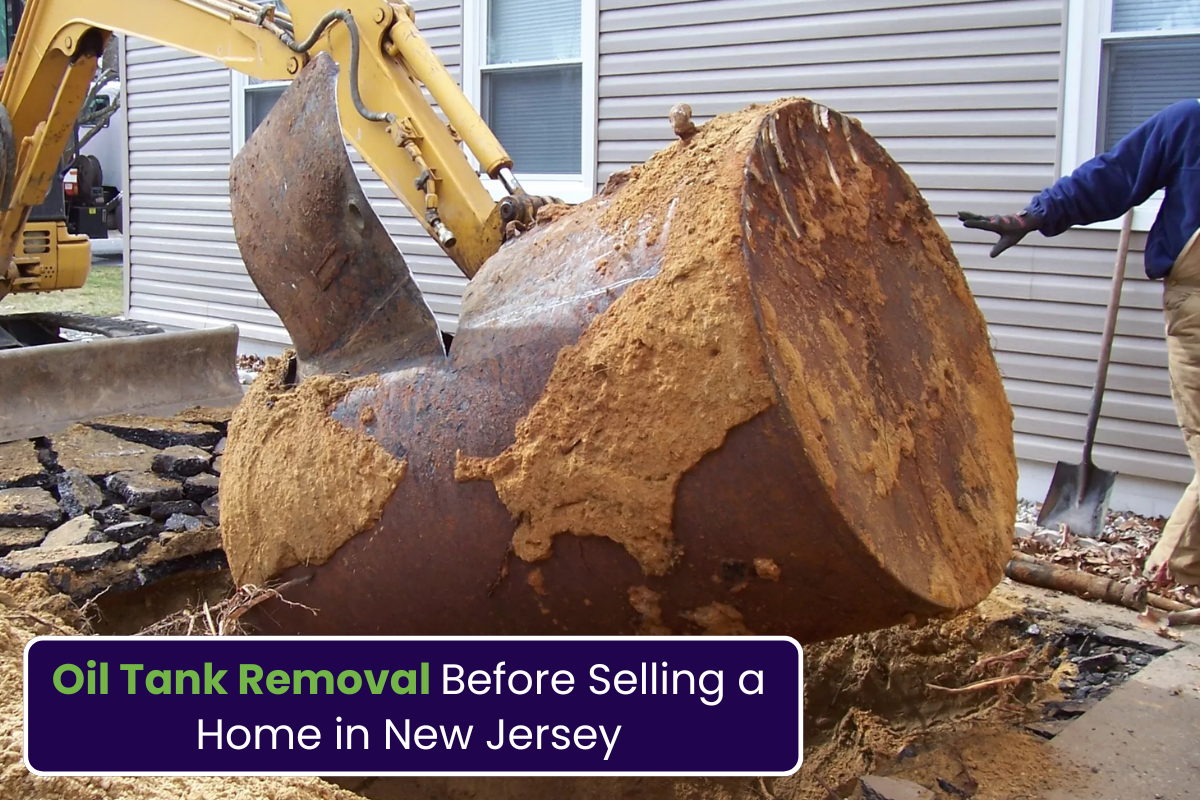
Many homes built decades ago used heating oil stored in underground tanks. While these tanks were once common, older systems can corrode and eventually leak into surrounding soil.
When a leak occurs, heating oil can travel through the soil and eventually affect nearby water sources. This is one of the most common environmental concerns for homeowners dealing with older heating systems.
Improper Waste Disposal
Certain household chemicals, cleaning agents, and oils can also contribute to groundwater pollution when they are disposed of incorrectly. Over time, these substances accumulate in soil layers and move deeper into the ground.
Construction and Land Development
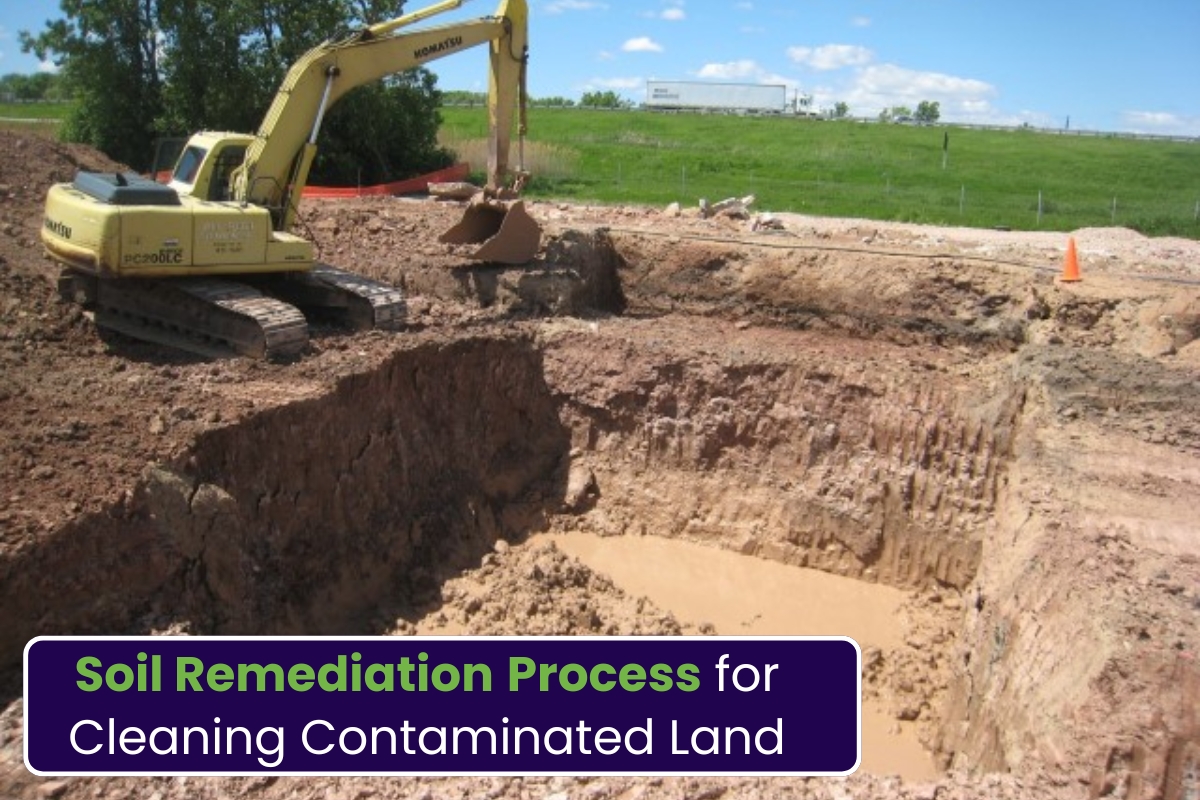
Excavation and land disturbance can expose contaminated soil or release pollutants trapped underground. This can accelerate the spread of pollutants into water sources if environmental safety procedures are not followed.
Signs That May Indicate Environmental Risks for Homeowners
Detecting groundwater issues early can prevent larger environmental and financial problems later. Homeowners should watch for warning signs that may indicate soil or groundwater concerns.
Some common indicators include:
-Strong petroleum or chemical odors around the property
-Oil stains or discolored soil near tank locations
-Changes in water taste or smell
-Unexpected vegetation damage in certain areas of the yard
-Discovery of an abandoned oil tank during property inspections
These warning signs often signal potential environmental risks for homeowners that should be investigated by professionals.
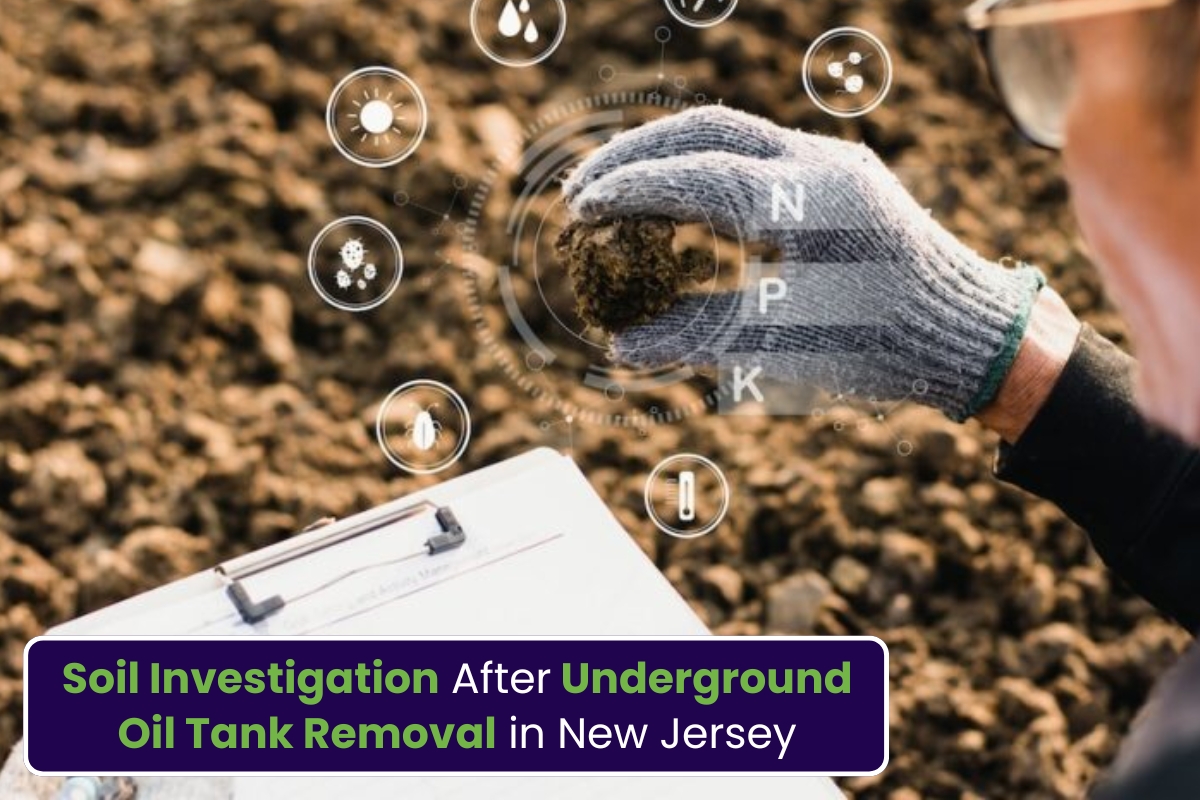
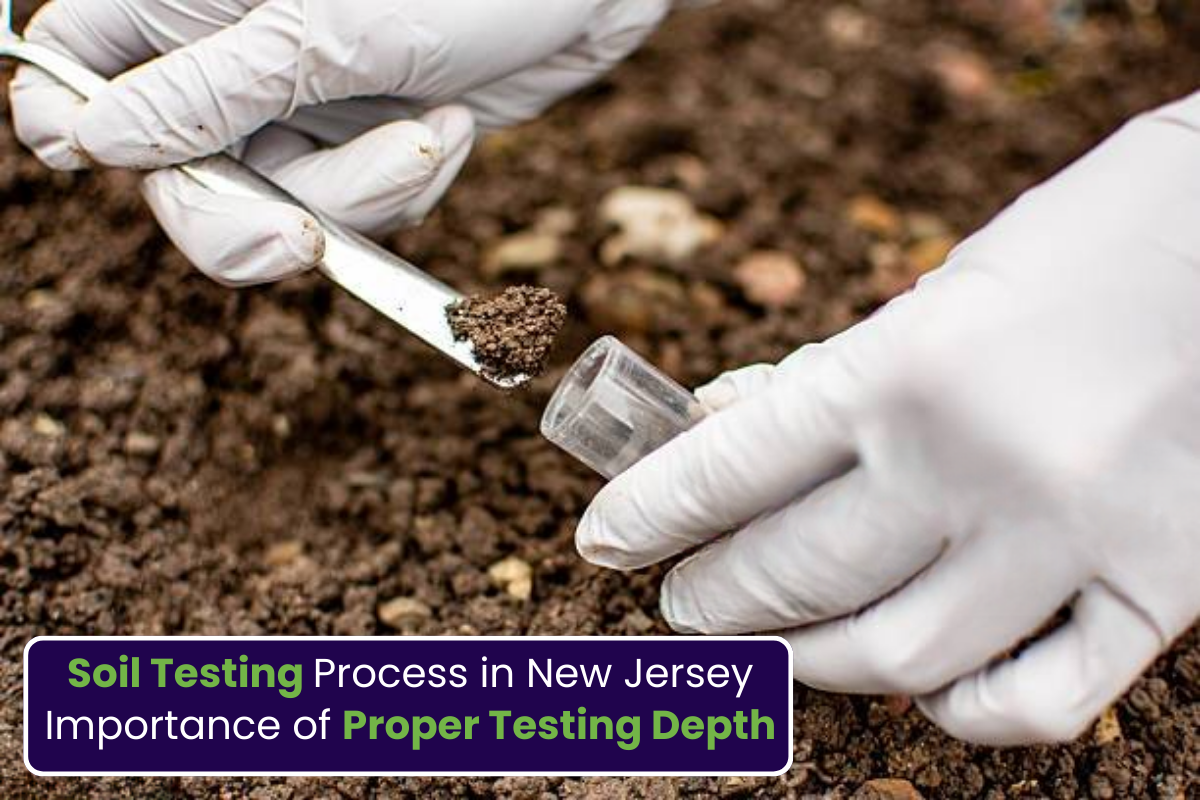
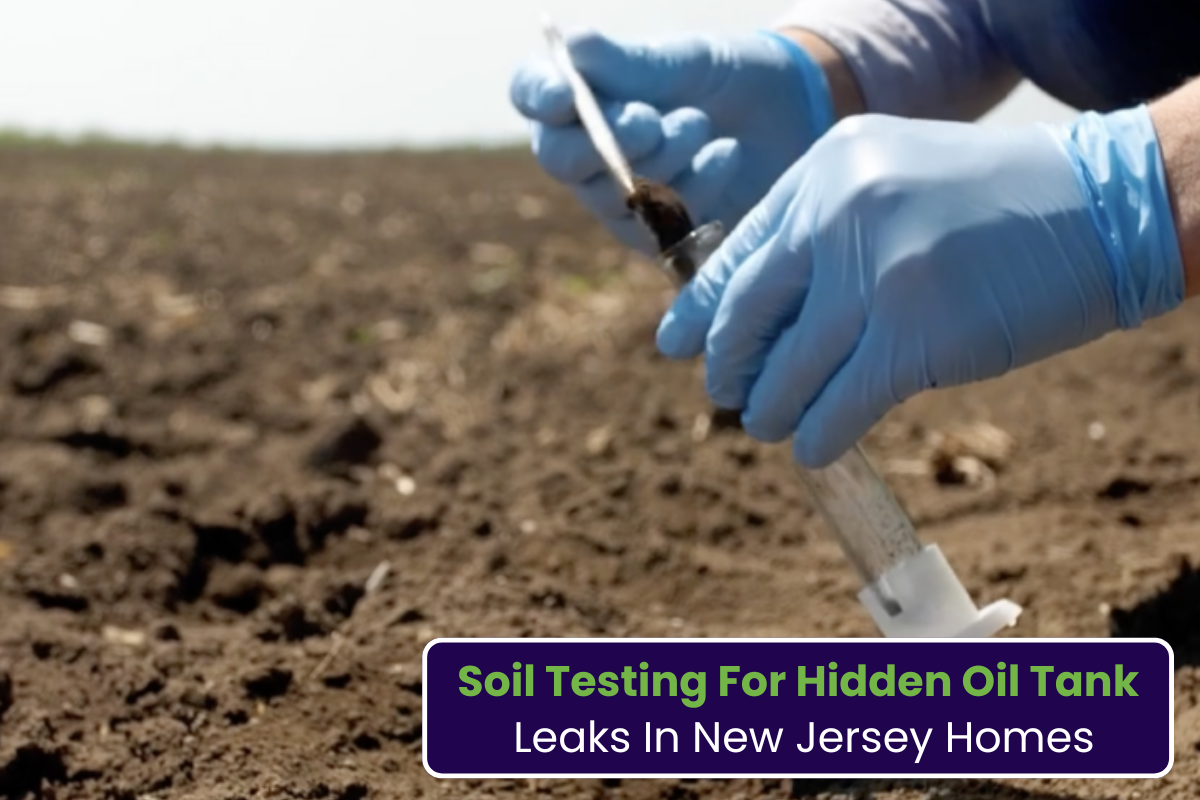
The Importance of Soil Testing for Oil Tanks
When an underground heating tank is suspected of leaking, professional soil testing for oil tanks is one of the most reliable ways to determine whether contamination has occurred.
This testing process involves collecting soil samples from areas around the tank and analyzing them for petroleum compounds or other pollutants. The results help determine whether contamination is present and what steps are needed to resolve the issue.
Accurate testing is especially important during property sales or renovations, as environmental concerns can affect permits, insurance coverage, and property value.
Many homeowners concerned about Groundwater Contamination in New Jersey choose professional testing to confirm whether their property is environmentally safe.
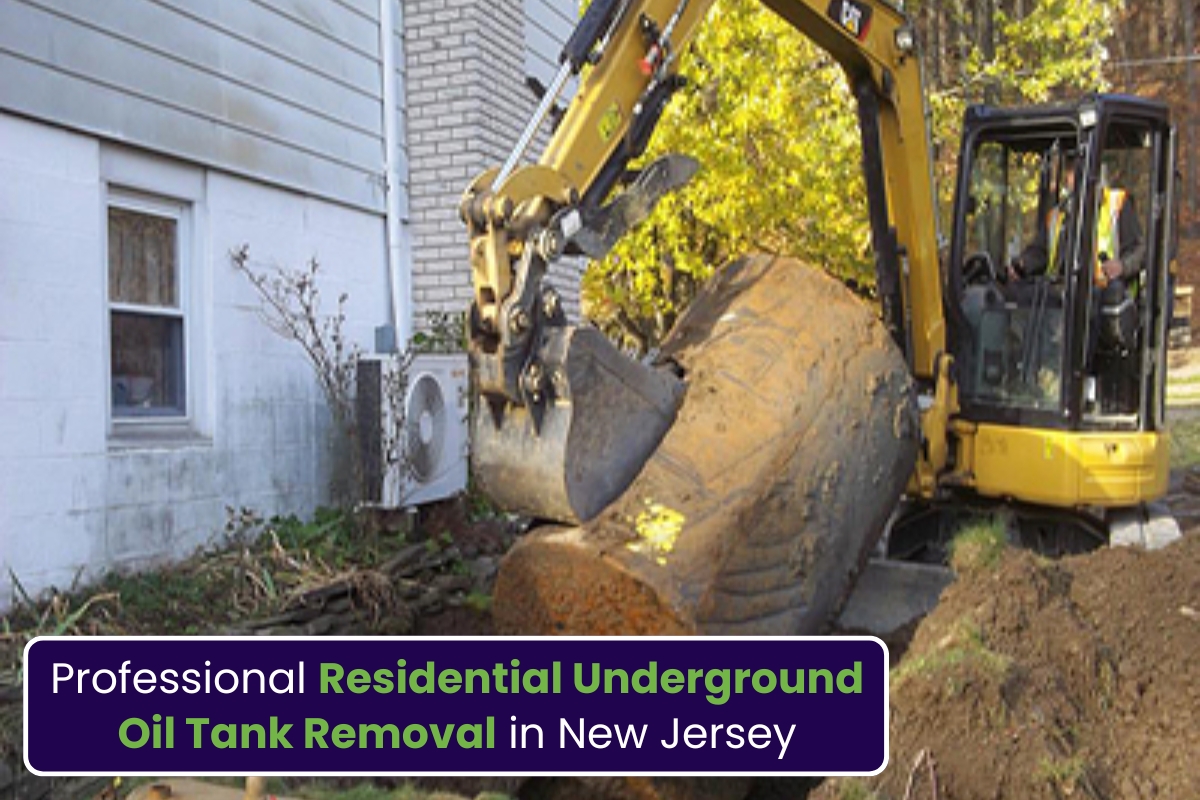
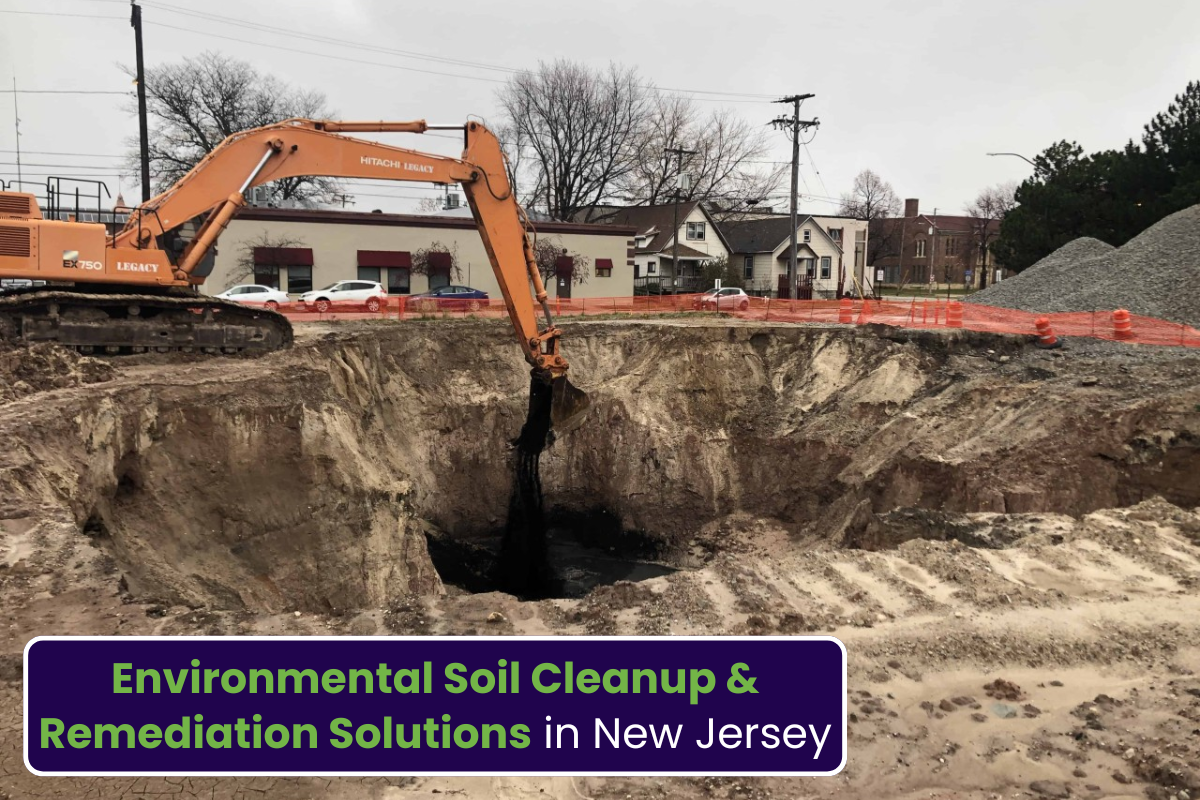
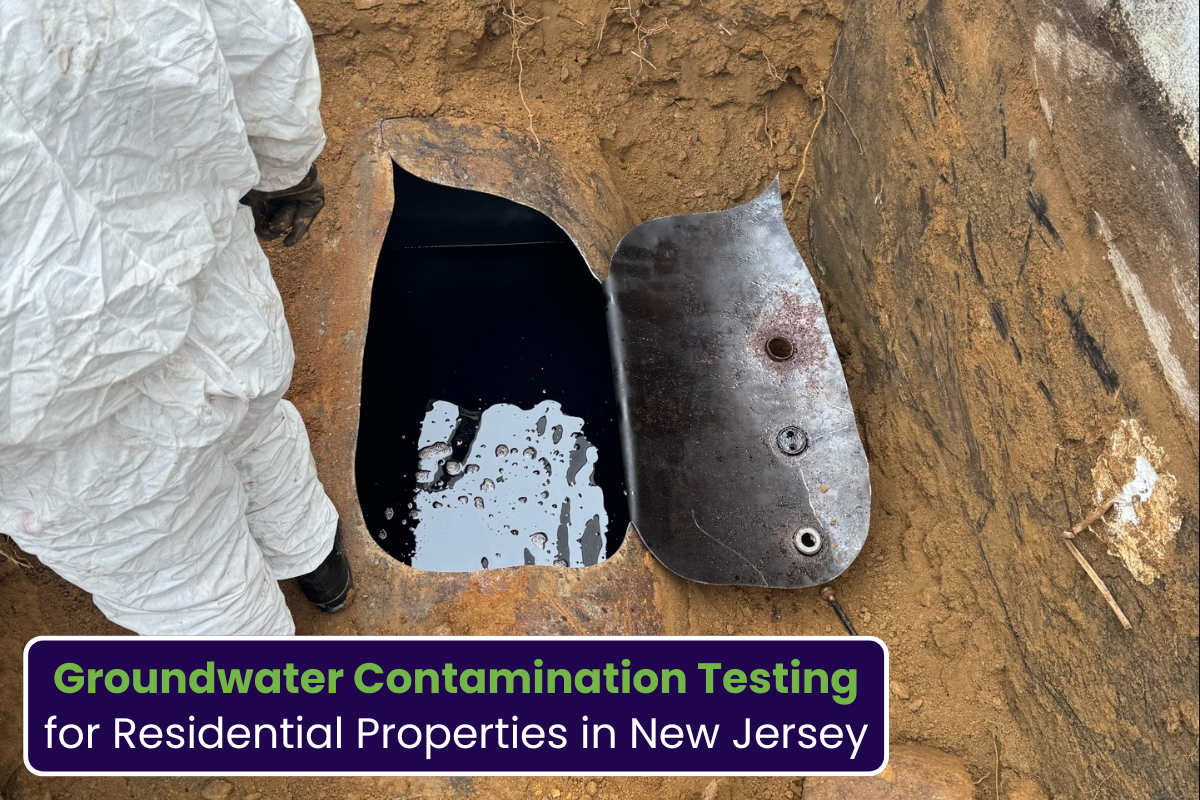
Why Oil Tank Removal in New Jersey Is Often Recommended
Older underground tanks pose a long-term risk even if they have not yet leaked. Over time, corrosion weakens metal tanks and increases the chance of failure.
Because of this, oil tank removal in New Jersey has become a common solution for homeowners looking to eliminate potential environmental risks.
Removing an outdated tank provides several benefits:
-Reduces the chance of soil contamination
-Improves property resale value
-Prevents costly environmental cleanup in the future
-Helps ensure compliance with local regulations
Professional removal services safely extract the tank and evaluate the surrounding soil to confirm whether contamination exists.
Steps Homeowners Can Take to Protect Their Property
Preventing groundwater problems is far easier and less expensive than dealing with environmental cleanup later. Homeowners can take several proactive steps to protect their property.
Schedule Regular Inspections
If a property has an underground tank or previously had one, routine inspections help identify potential issues before they become serious problems.
Test Soil When Buying a Property
Environmental testing during real estate transactions helps ensure buyers are aware of any potential risks before completing the purchase.
Dispose of Chemicals Safely
Proper disposal of oils, fuels, and household chemicals prevents pollutants from entering the soil.
Work with Licensed Environmental Professionals
Environmental specialists can evaluate risk levels and recommend solutions that meet state regulations.
Why Professional Services Are Important
Environmental concerns related to tanks and soil contamination require specialized expertise and equipment. Attempting to handle the issue without professional assistance can lead to inaccurate results or incomplete cleanup.
Experienced environmental professionals understand state regulations, testing procedures, and proper removal methods. Their services help homeowners address issues efficiently while ensuring environmental safety.
Frequently Asked Questions
Q1. What causes groundwater contamination near residential homes?
Common causes include leaking underground oil tanks, improper chemical disposal, industrial pollutants, and aging infrastructure that allows contaminants to seep into soil.
Q2. How do homeowners know if their property may be contaminated?
Warning signs may include petroleum odors, unusual soil discoloration, or discovery of old underground tanks during inspections.
Q3. Is soil testing necessary before removing an underground oil tank?
Yes. Soil testing helps determine whether contamination has occurred and identifies the extent of the problem before removal or remediation begins.
Q4. Can groundwater contamination affect property value?
Yes. Environmental contamination can reduce property value and complicate real estate transactions if it is not properly addressed.
Q5. What is the safest way to handle an old underground oil tank?
The safest approach is professional inspection, environmental testing, and certified tank removal to ensure the property meets environmental safety standards.
Summary
Groundwater protection is an important responsibility for homeowners, especially in regions with older infrastructure and underground heating systems. Understanding the causes and warning signs of contamination allows property owners to act early and prevent long-term environmental damage.
Professional inspections, soil testing, and safe tank removal all play a key role in protecting both property and local water sources. Companies like Simple Tank Services help homeowners identify risks, perform environmental testing, and ensure safe tank removal when necessary. Taking proactive steps today can prevent costly environmental problems and help maintain safe groundwater for future generations.