Are you a New Jersey homeowner wondering, is oil tank removal required in nj before 2026? You are not alone. Thousands of residents face this important decision as regulations and environmental concerns grow.
This guide is designed to answer your questions about oil tank removal requirements, current and upcoming laws, and what steps you should consider before 2026 arrives. We will explore the latest regulations, highlight environmental and financial risks, explain the removal process, discuss costs, and share expert advice.
Read on to get the facts you need to make a confident, compliant, and informed decision for your property.
Understanding Oil Tank Regulations in New Jersey
New Jersey homeowners face complex rules about oil tank removal and closure. To make informed decisions, it is essential to understand the history, current regulations, upcoming changes, and common misconceptions.
History of Oil Tank Use in NJ
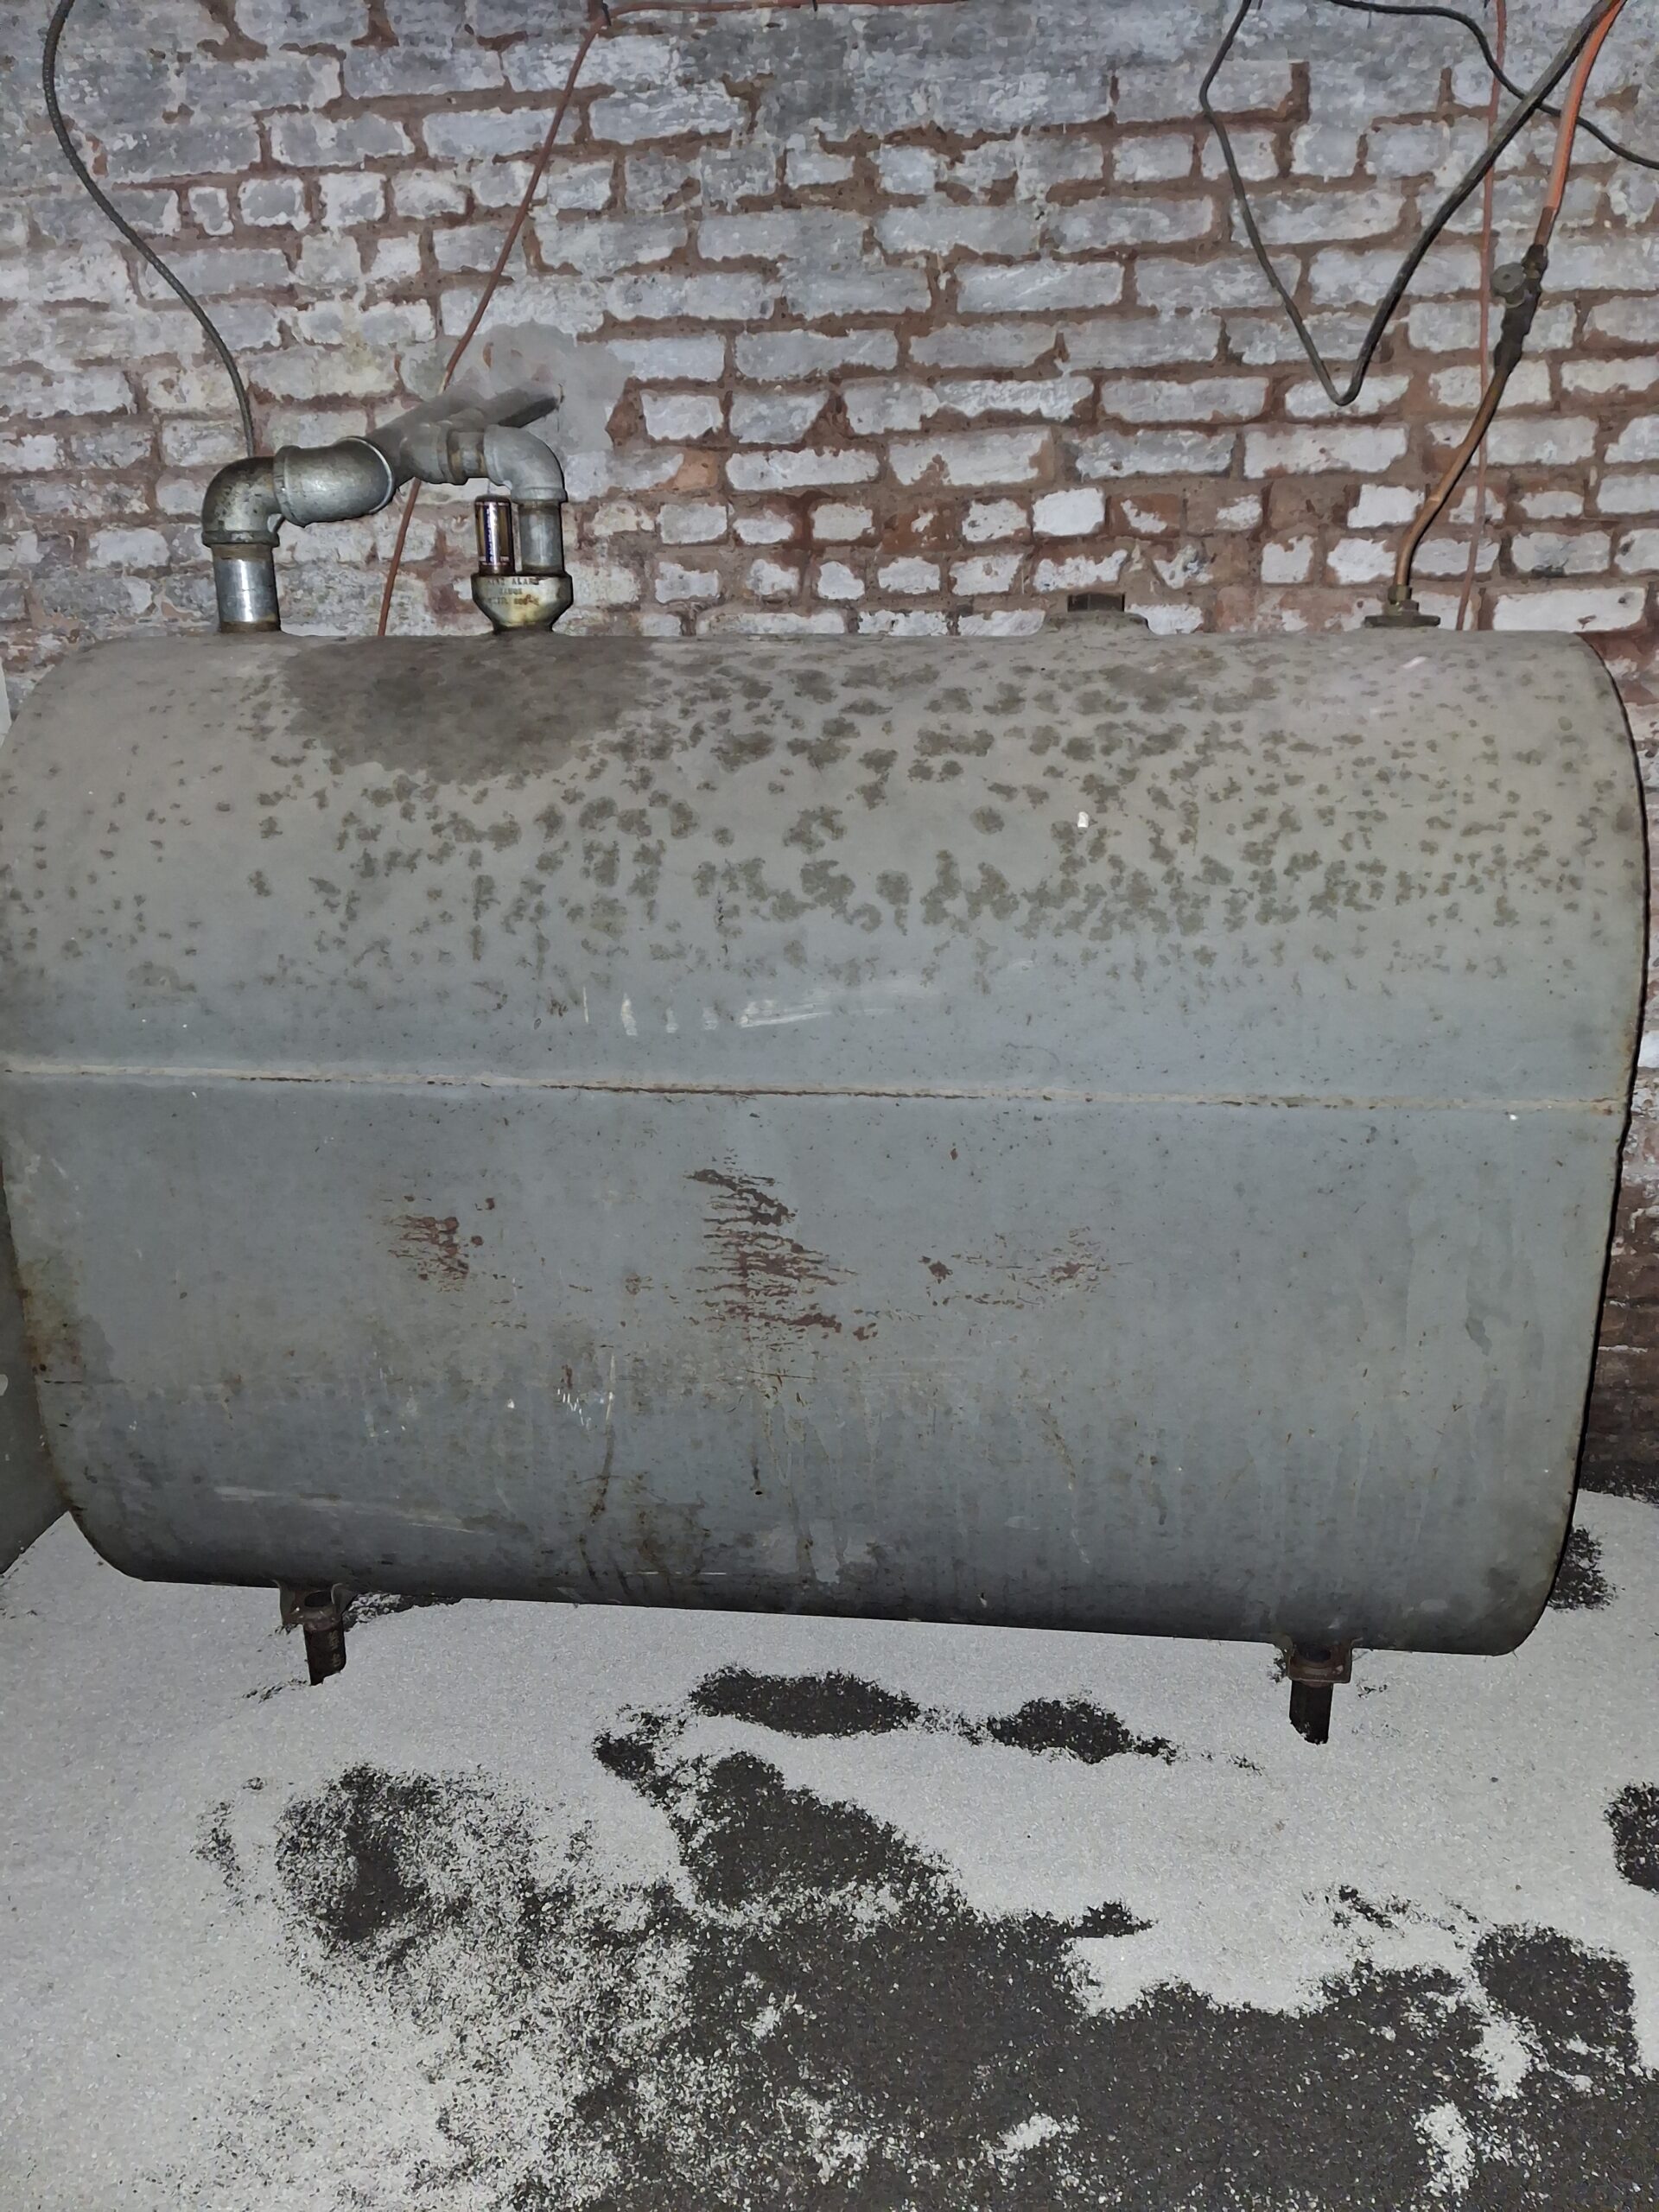
Underground storage tanks (USTs) became popular in New Jersey homes beginning in the mid-20th century. They provided an efficient way to store heating oil safely out of sight. Over time, concerns about leaks and environmental hazards led many homeowners to transition away from oil heat. Despite this shift, by 2020, estimates showed over 100,000 USTs remained in residential properties across the state.
Current State Laws and Local Ordinances
New Jersey Department of Environmental Protection (NJDEP) regulations require the removal or proper closure of abandoned oil tanks. Homeowners must comply with both state and municipal rules. Some towns enforce stricter standards, such as demanding removal before a property can be sold. For anyone asking, is oil tank removal required in nj, the answer depends on your specific situation and location. For a detailed breakdown of these legal requirements, review the Oil tank removal laws in NJ. Staying informed about local ordinances is crucial to avoid surprises during real estate transactions.
Changes Coming in 2026
By 2026, NJDEP is expected to update regulations that will impact oil tank owners. Anticipated changes include more rigorous inspections and stricter enforcement. Legislative proposals from 2023 and 2024 point to possible increases in fines and mandatory timelines for compliance. If you are still wondering, is oil tank removal required in nj after 2026, pay close attention to these evolving standards. Homeowners should prepare for new rules that may affect property value and legal responsibilities.
Is Oil Tank Removal Legally Required?
A common question is, is oil tank removal required in nj for every homeowner? The law does not universally mandate removal, but abandoned or leaking tanks must be removed or properly closed. Disclosure of a tank’s presence is required during real estate transactions. Failing to comply can result in penalties, with fines exceeding $10,000 in some cases. It is wise to address tanks proactively to avoid legal complications.
Environmental and Health Concerns
Oil tank leaks pose serious risks to soil and groundwater. New Jersey ranks among the top states for incidents related to UST contamination. Over 14,000 leaks have been confirmed since 1988. For those concerned about the environment and personal liability, asking is oil tank removal required in nj is about more than just legal compliance. Leaks can threaten drinking water and the health of families and neighbors.
Common Misconceptions
Many believe that if a tank is not leaking, it can be ignored. This is a misconception. Not all tanks must be removed, but leaving them unattended can lead to costly environmental and legal consequences. Out of sight does not mean out of risk.
Environmental and Financial Risks of Leaving Oil Tanks in Place
Leaving an underground oil tank on your property can expose you to significant environmental and financial hazards. Many homeowners ask, is oil tank removal required in nj to protect their property and investment? Understanding the full scope of risks is essential before making a decision.
Soil and Groundwater Contamination
Leaking oil tanks are a leading source of soil and groundwater pollution in New Jersey. Even a small leak can release hazardous substances that seep into the earth, potentially contaminating drinking water supplies. The NJ Department of Environmental Protection (NJDEP) reports that over 60 percent of underground storage tank removals reveal some level of contamination.
If you are wondering, is oil tank removal required in nj to prevent environmental damage, consider that the long-term effects of leaks can linger for decades. Contaminated soil often requires extensive remediation, which can disrupt your property and affect your local community.
Liability and Legal Issues
Homeowners are legally responsible for any damages caused by leaking tanks. This includes the cost of cleaning up contaminated soil and water, which can quickly escalate. Lawsuits from neighbors or municipalities are not uncommon if a leak spreads beyond your property.
For a deeper understanding of how these risks can impact your finances and legal standing, review this resource on the financial risks of leaking oil tanks. If you are still asking, is oil tank removal required in nj to avoid liability, know that addressing tanks proactively is often the best way to limit exposure.
Impact on Property Value and Sales
An undisclosed or unaddressed oil tank can delay or even halt a real estate transaction. Most lenders and buyers will require proof of removal and soil testing before closing a deal. In some cases, property values drop significantly due to the perceived risk of contamination.
When buyers ask, is oil tank removal required in nj for a clean title, the answer is often yes if the tank is abandoned or leaking. Proper documentation and removal can protect your investment and ensure a smoother sale.
Cleanup and Remediation Costs
Remediation expenses after a leak can range from $10,000 to over $100,000. The median cost for cleanup in New Jersey is around $20,000, but complex cases can exceed that amount. The NJ Petroleum Underground Storage Tank Remediation, Upgrade, and Closure Fund (UST Fund) may provide some financial assistance, but the process can be lengthy and funding is limited.
If you are weighing whether is oil tank removal required in nj to avoid unexpected expenses, remember that early action typically results in lower costs and fewer surprises down the line.
Insurance Limitations
Most standard homeowner insurance policies do not cover oil tank leaks or related damage. Specialized coverage is rare and can be expensive. This leaves many homeowners exposed to out-of-pocket costs for cleanup and legal fees.
It is important to verify your policy details and consider the risks before deciding to leave a tank in place.
Real-Life Examples and Statistics
Consider the case of a Bergen County homeowner who faced a $75,000 cleanup bill after a previously undisclosed tank leaked. According to NJDEP data, more than 1,000 new residential tank leaks are reported in the state each year.
These statistics highlight why so many residents ask, is oil tank removal required in nj to avoid such costly scenarios. Ignoring the issue can have lasting financial and legal consequences.
Long-Term Community Impact
Oil tank leaks do not just affect individual properties. Persistent contamination can impact entire neighborhoods, leading to shared environmental problems and increased municipal expenses for cleanup.
By addressing oil tanks proactively, homeowners help protect their families, neighbors, and the broader community.
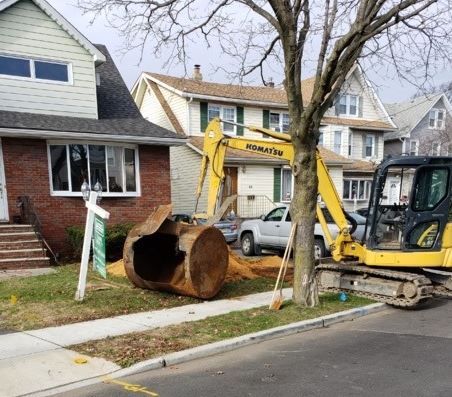
The Oil Tank Removal Process: Step-by-Step
Removing an oil tank in New Jersey is a regulated, multi-step process that demands careful attention to detail. Understanding each phase is essential for homeowners asking, is oil tank removal required in nj, and for ensuring compliance with state and local requirements.
Step 1: Initial Assessment and Locating the Tank
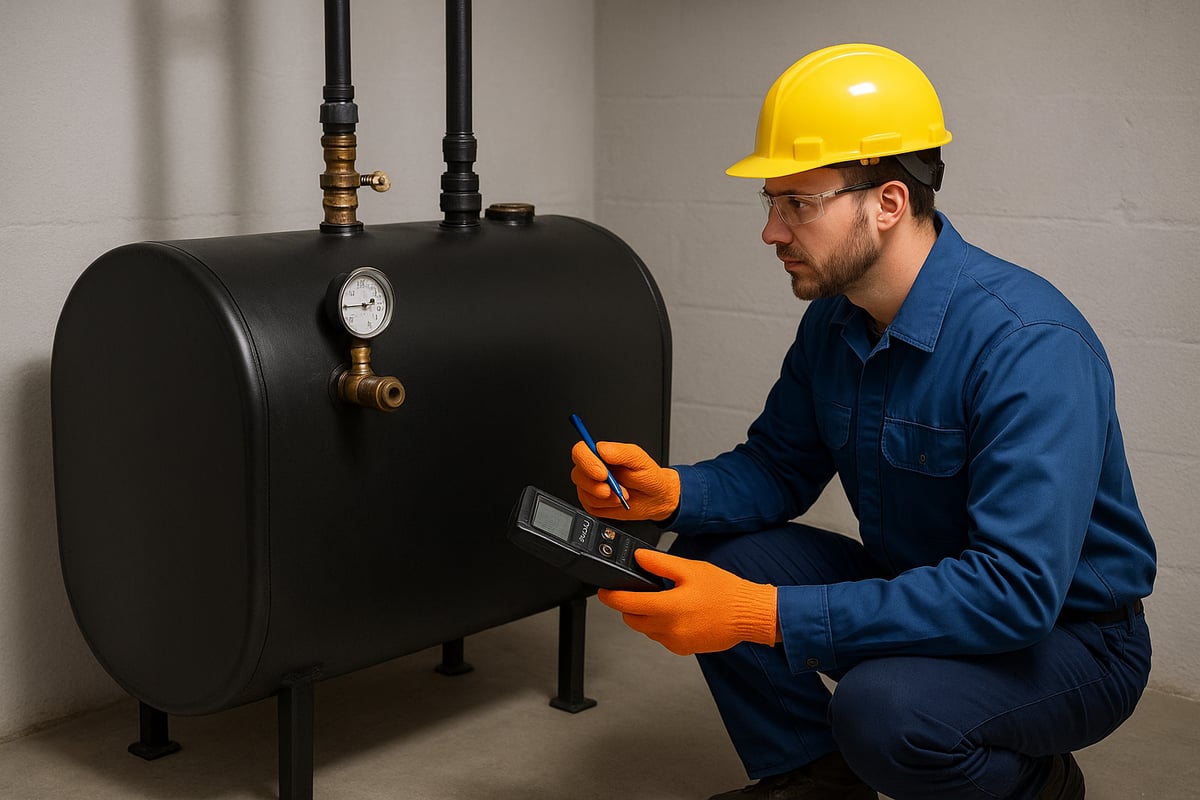
The first step involves a professional assessment to confirm the presence and exact location of the oil tank. Specialists typically use ground-penetrating radar, property records, and visual inspection.
Accurate tank location is crucial. It prevents unnecessary property disturbance and helps determine the safest removal strategy. If you are wondering, is oil tank removal required in nj for your property, a thorough initial assessment will help clarify your legal responsibilities and next steps.
Step 2: Obtaining Permits and Notifications
Before any work begins, necessary permits must be secured from your municipality. Most towns require an excavation permit, and some may need additional documentation.
For regulated tanks, notification to the New Jersey Department of Environmental Protection (NJDEP) is mandatory. Homeowners should check with local officials to ensure every permit requirement is met, as requirements can vary by location.
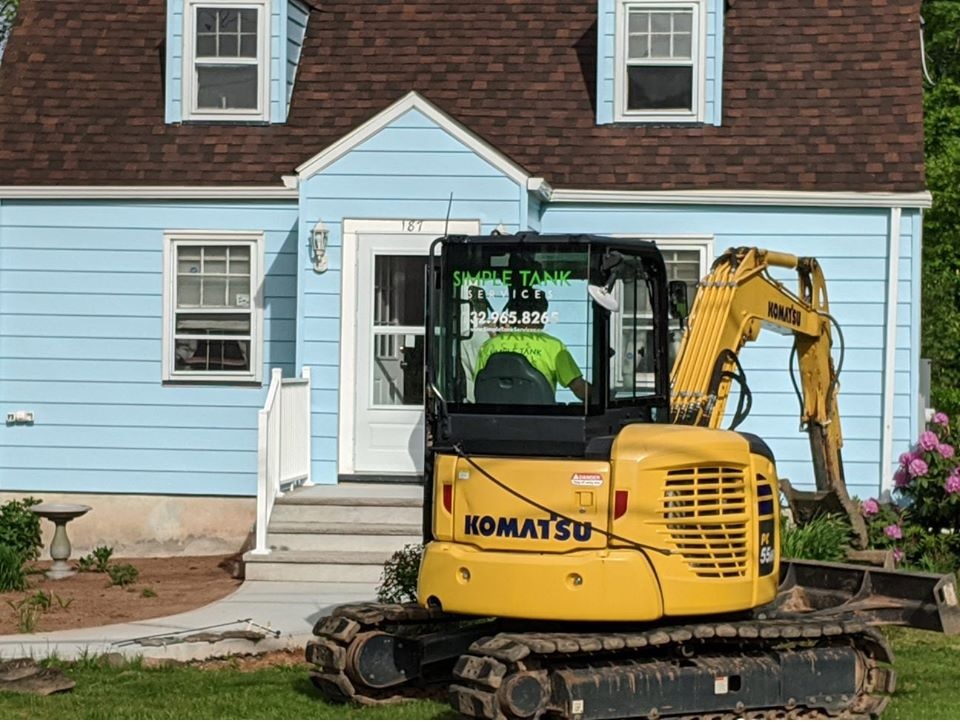
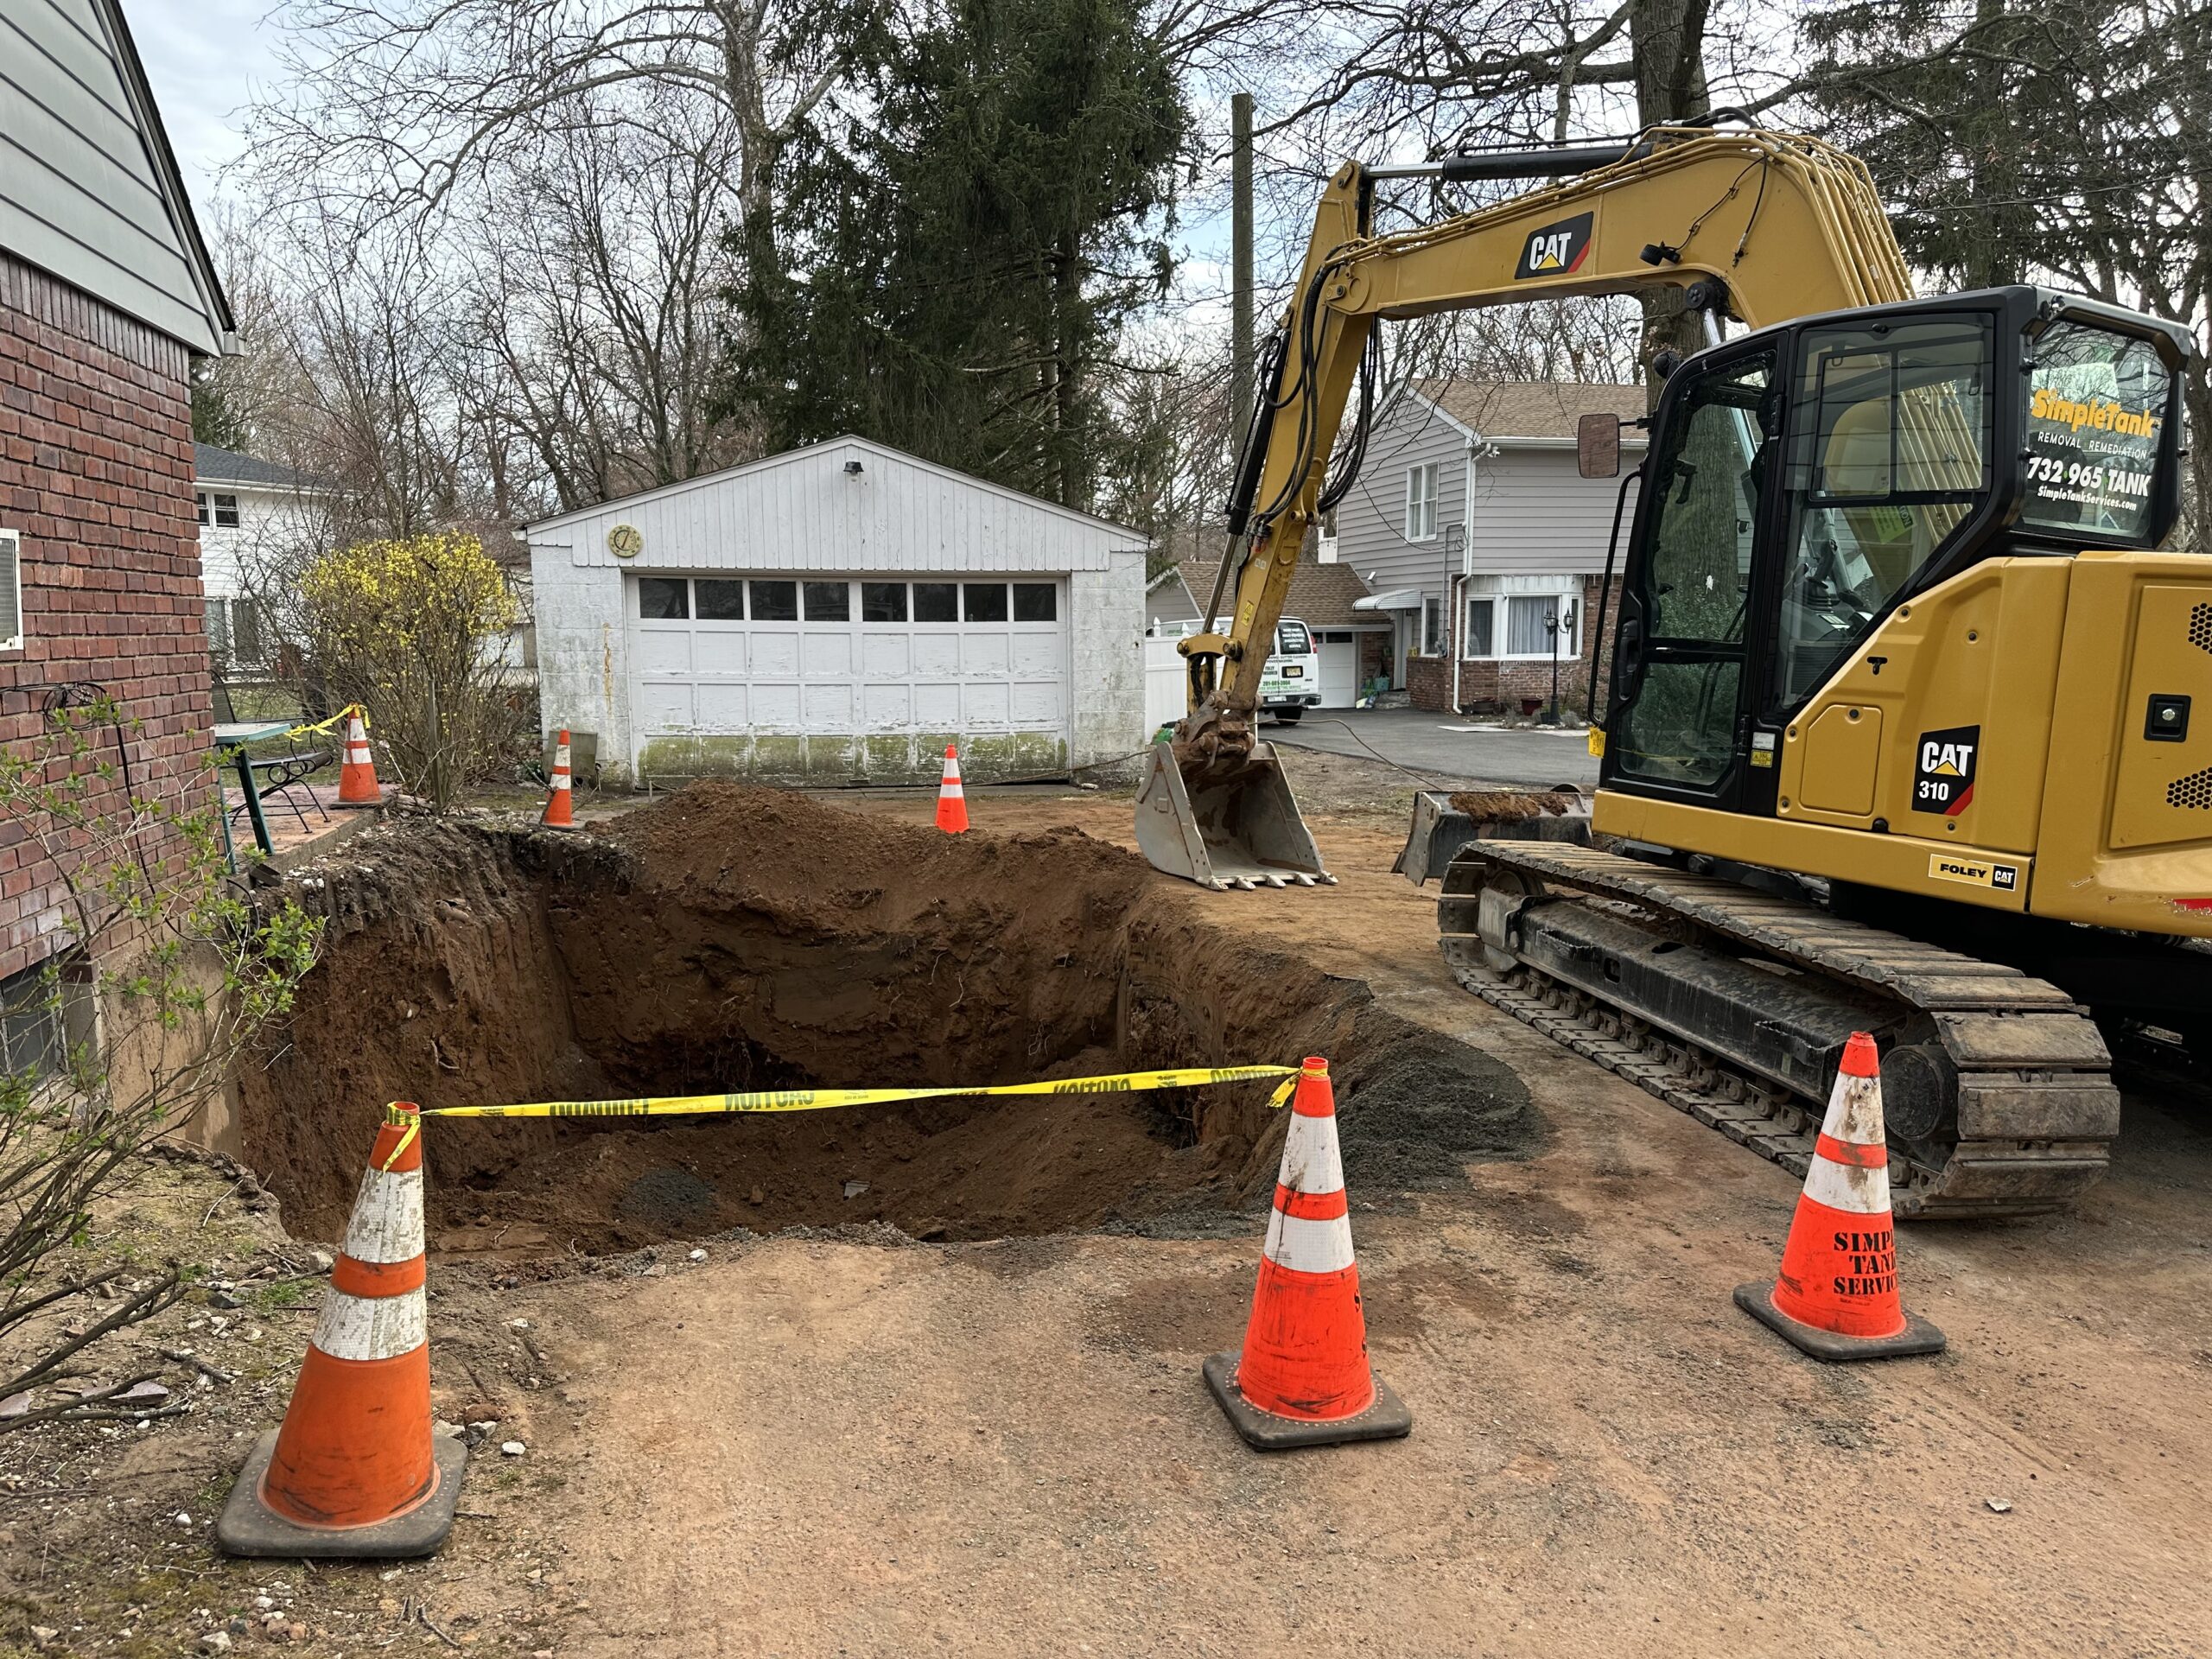
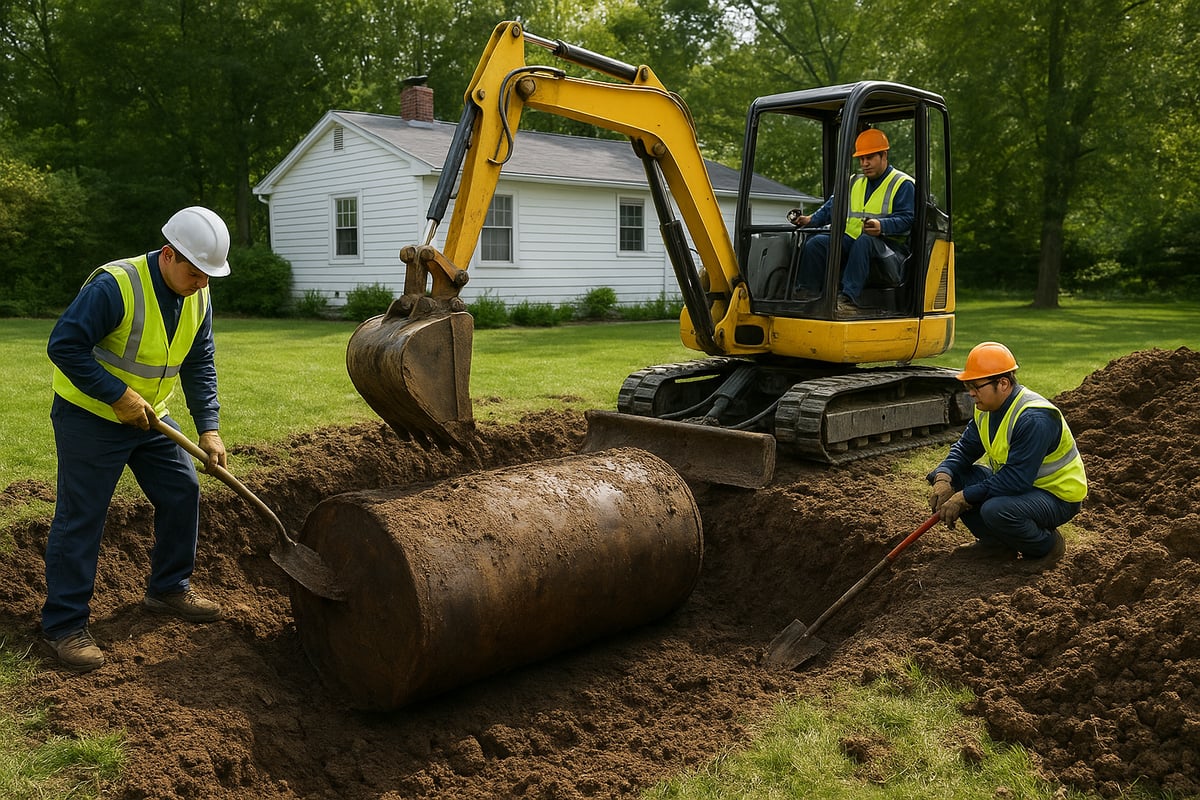
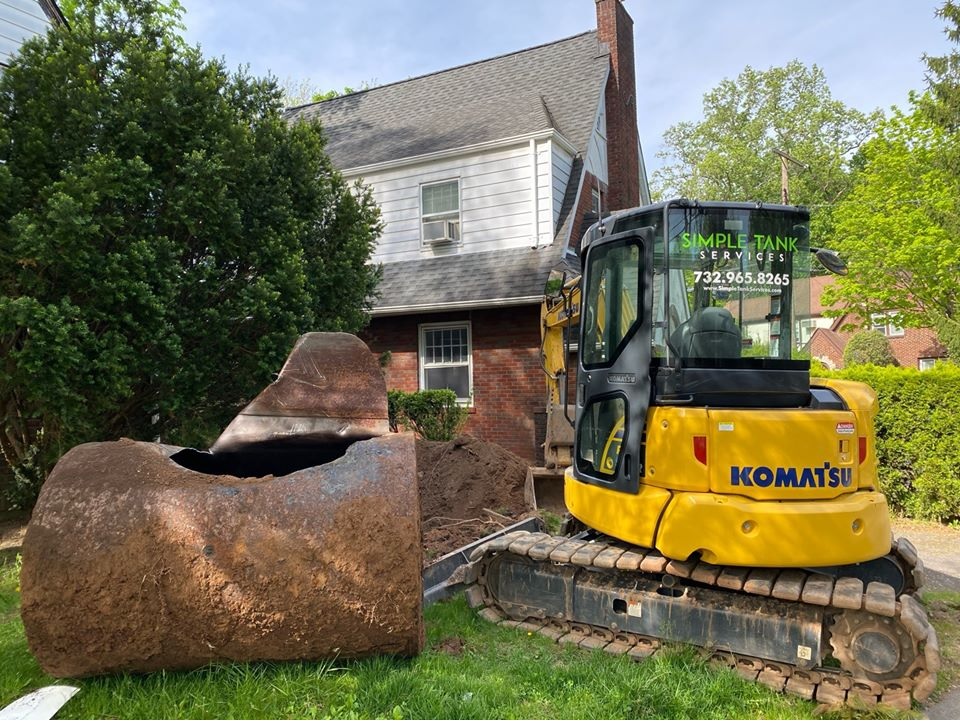
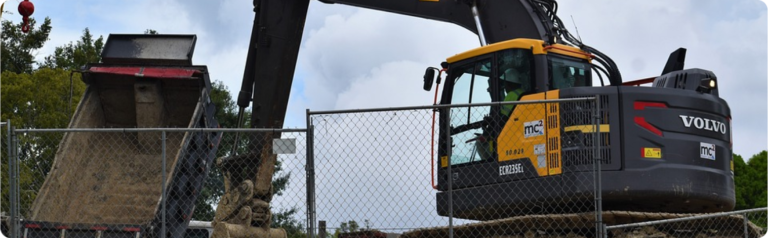
Step 3: Safe Tank Extraction
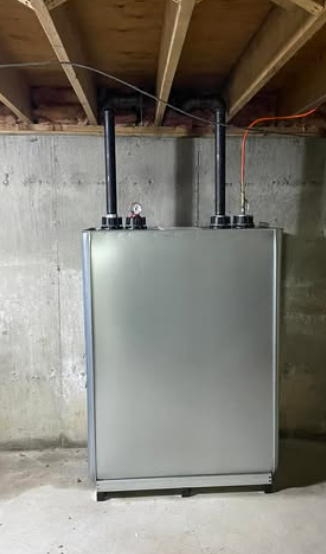
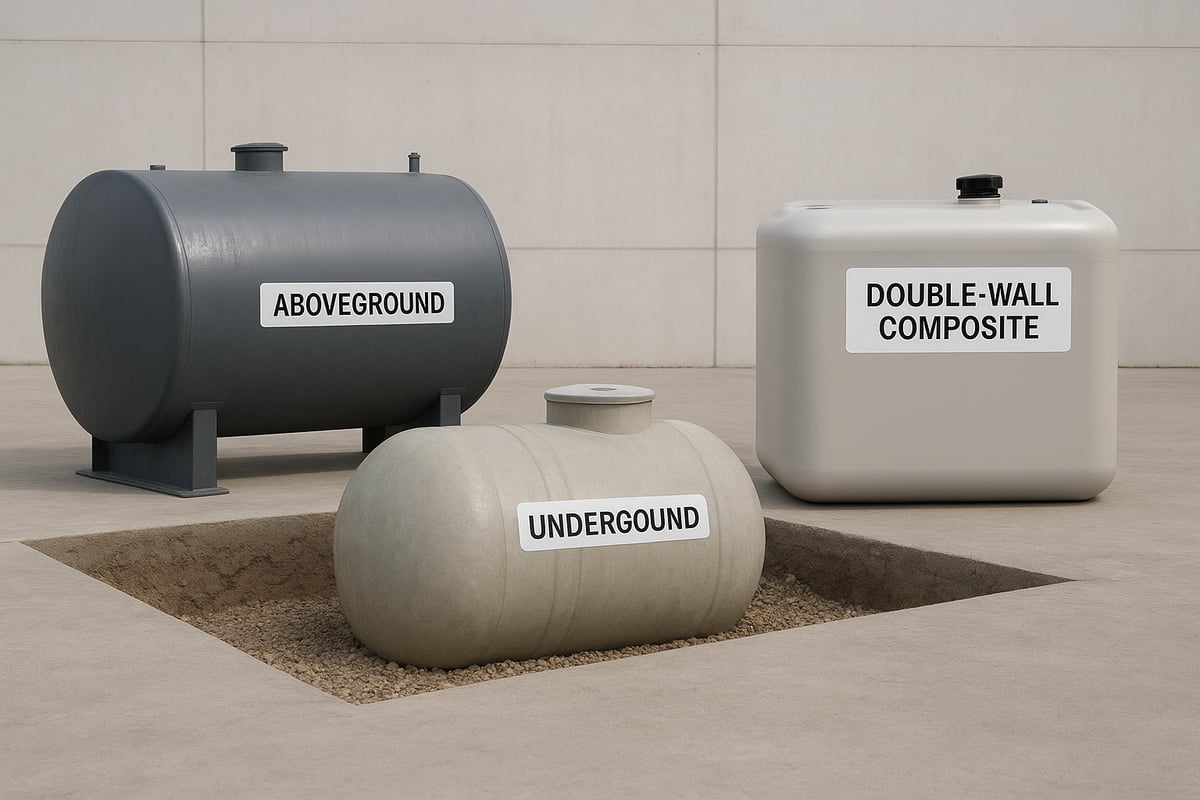
With permits in hand, licensed contractors carefully excavate the area around the tank. For aboveground tanks, removal is often straightforward. Underground tanks require specialized equipment and strict adherence to safety protocols.
Environmental precautions are critical to prevent accidental spills. If you want more detail on how is oil tank removal required in nj is addressed during this step, review the Underground oil tank removal process for an in-depth walkthrough of safe extraction procedures.
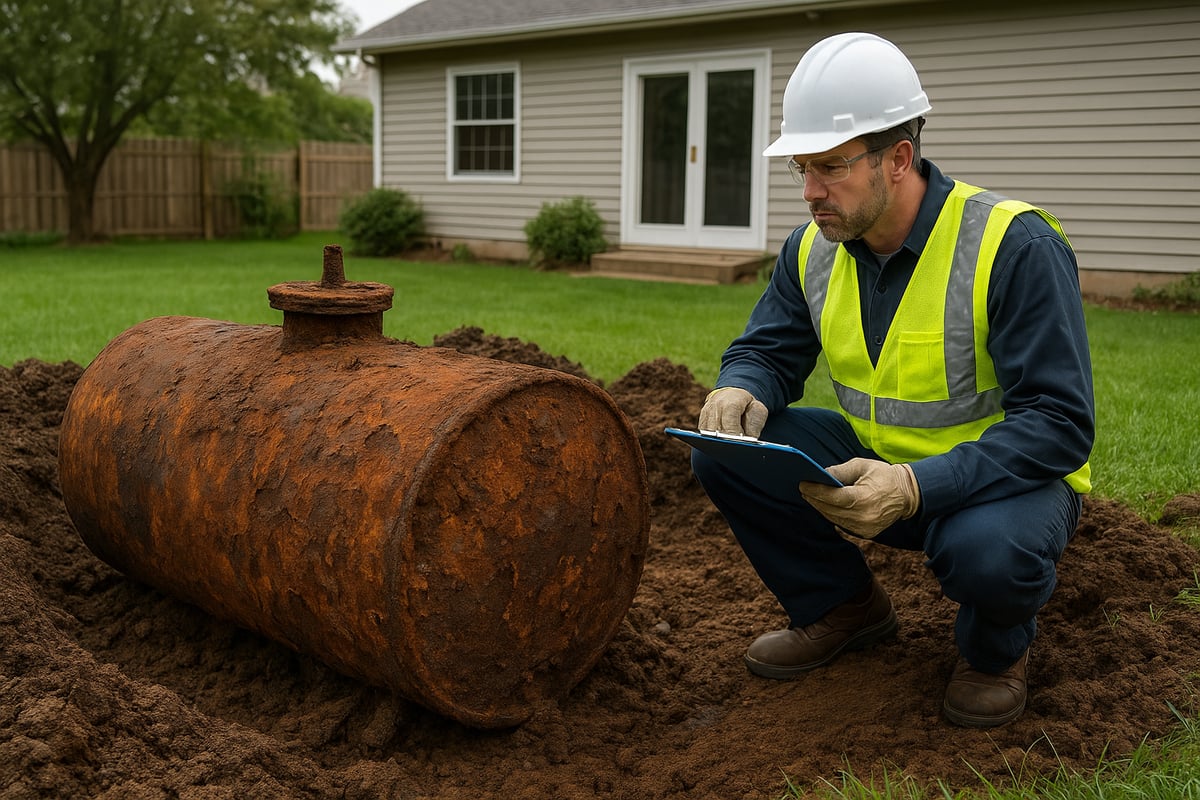
Step 4: Soil Testing and Analysis
After the tank is removed, certified technicians collect soil samples from around the excavation site. These samples are sent to a laboratory to check for petroleum contamination.
Lab results typically arrive within 3 to 5 days. If you are asking, is oil tank removal required in nj because of environmental risks, soil testing provides the definitive answer about potential hazards and next actions.
Step 5: Remediation (If Needed)
If contamination is detected, remediation becomes necessary. This involves removing and properly disposing of polluted soil, sometimes in several stages.
NJDEP oversees the cleanup process and requires detailed documentation. Homeowners must retain all records, as these will be needed for future property transactions or compliance checks.
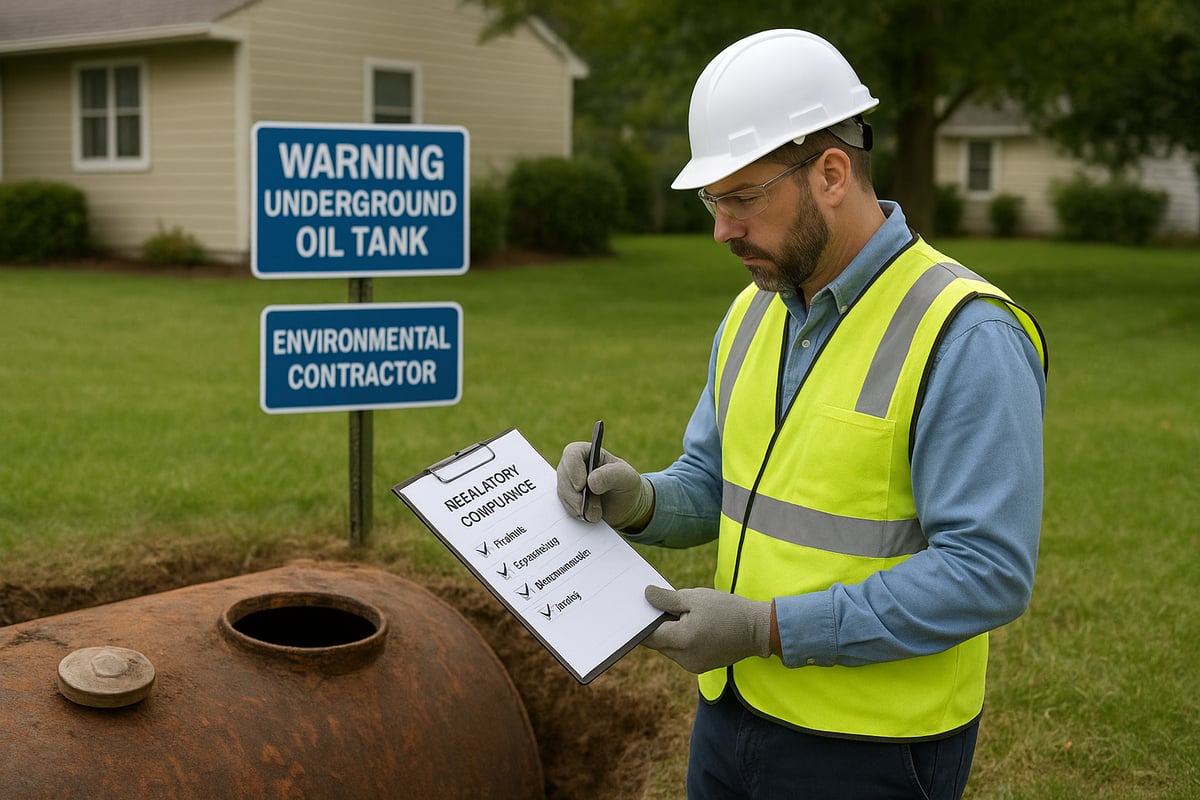
Step 6: Final Documentation and Certification
The final step includes assembling closure reports and requesting a “No Further Action” letter from the NJDEP. This documentation proves the site is safe and compliant.
For those still questioning, is oil tank removal required in nj for their home, having this certification is vital for real estate sales, legal protection, and peace of mind. Always keep copies of every report and letter for your records.
Costs, Timelines, and Choosing a Qualified Contractor
Understanding the costs, timelines, and how to select the right professional is critical if you are asking, is oil tank removal required in nj. Navigating these factors ensures you make informed decisions and avoid unnecessary delays or expenses. Let us break down each aspect so you know what to expect.
Typical Costs for Removal and Remediation
Oil tank removal typically costs between $1,200 and $2,500 for a standard underground tank in New Jersey. If contamination is discovered, remediation expenses can rise dramatically, with median costs hovering around $20,000 but sometimes exceeding $100,000 for severe cases. According to the NJDEP Bulletin on Oil Tank Closure, following proper closure procedures is essential to minimize risks of additional expenses and legal complications.
A summary of average costs:
|
Service |
Typical Cost Range |
|---|---|
|
Tank Removal |
$1,200 – $2,500 |
|
Soil Testing |
$300 – $1,000 |
|
Remediation (if needed) |
$10,000 – $100,000+ |
Planning for these costs can help you avoid surprises if you determine is oil tank removal required in nj for your property.
Timeline for Oil Tank Projects
The timeline for oil tank removal projects is usually brief for straightforward cases. Standard removal takes one to three days, depending on tank accessibility and weather. If contamination is found, remediation and required paperwork can extend the process by one to four additional weeks. NJ regulations require proper documentation and reporting, which also factors into the overall schedule.
Homeowners should factor in possible delays due to permit approvals or unexpected findings. This makes early action crucial if you are considering whether is oil tank removal required in nj before 2026 regulatory changes.
How to Select a Licensed Contractor
Choosing a qualified contractor is vital for compliance and peace of mind. In New Jersey, contractors must be licensed by the NJDEP, ensuring they follow all safety and environmental standards. Always request a fixed-price proposal with detailed terms, and verify the contractor’s licensing and insurance.
Look for companies experienced in residential tank removals and familiar with local ordinances. Asking about their process, equipment, and warranty coverage helps you assess if they are the right fit. If you are still asking, is oil tank removal required in nj, a licensed expert can provide specific guidance for your situation.
Red Flags and Common Pitfalls
Some pitfalls can lead to costly mistakes. Watch for contractors who offer vague pricing or refuse to provide proof of insurance and licensing. Bait-and-switch tactics, where initial quotes balloon due to hidden fees, are unfortunately common.
An example: a homeowner was overcharged after a contractor failed to disclose additional soil disposal fees. Avoiding such situations requires diligence. Always check references and reviews before making a decision.
Questions to Ask Before Hiring
Before signing a contract, ask these questions:
-
How many oil tank removals have you completed in NJ?
-
Can you provide references from recent clients?
-
Do you guarantee your work and remediation results?
-
What type of liability insurance do you carry?
-
Will you handle all permits and NJDEP notifications?
These questions help you determine if the contractor is capable and trustworthy, especially if you are still evaluating, is oil tank removal required in nj for your home.
Simple Tank Services: Fixed-Price Oil Tank Removal in NJ
Simple Tank Services stands out for its transparent, fixed-price contracts and commitment to customer satisfaction. As an employee-owned company, they specialize in residential oil tank removal, soil testing, and full remediation services, assuming liability for cleanup costs.

Their licensed technicians use state-of-the-art equipment and guarantee results. The company also provides educational resources to help you understand soil testing after tank removal, which is a key step in ensuring your property complies with NJ regulations. Their outstanding customer service and clear communication make them a trusted choice for New Jersey homeowners.
Preparing for 2026: What Homeowners Need to Know
Are you preparing for the upcoming changes in New Jersey oil tank regulations? As 2026 approaches, many residents are asking, is oil tank removal required in nj, especially with evolving state policies on the horizon. Understanding what to expect and how to act now can save time, money, and stress.
Anticipated Regulatory Changes and Deadlines
New Jersey is expected to tighten oil tank rules by 2026. Lawmakers and the NJDEP are considering policies that could mandate removal or secure closure of all abandoned tanks. If you are wondering, is oil tank removal required in nj, it is wise to stay updated as regulations may soon require action for compliance.
Some towns may set even earlier deadlines, so check with your local municipality. Missing these deadlines could result in fines or complications if you plan to sell your property.
Proactive Steps for Compliance
The best way to avoid last-minute problems is to act now. Schedule a professional inspection and assessment of your property’s oil tank. Keep thorough records of any tank removal, closure, or status updates, as these will be essential for future transactions.
Taking early action helps ensure you are ready for new requirements and demonstrates responsible homeownership to potential buyers.
Financial Planning and Assistance Programs
Many homeowners worry about the costs involved. If you are searching for answers to is oil tank removal required in nj, it is important to explore available assistance. The NJ Petroleum Underground Storage Tank Remediation, Upgrade, and Closure Fund (UST Fund) may provide partial financial help. Additionally, the NJDEP Unregulated Heating Oil Tank Program streamlines the approval process for residential tank cleanups.
Review local grants or low-interest loans that may be available. Budget for possible out-of-pocket expenses, as not all costs are covered by assistance programs.
|
Assistance Option |
Description |
|---|---|
|
NJ UST Fund |
Partial reimbursement for removal/remediation |
|
Local Grants |
Town-specific financial support |
|
NJDEP UHOT Program |
Streamlined cleanup approval |
Real Estate Implications
Oil tank status can significantly affect property sales. Sellers are legally required to disclose if a tank is present or has been removed. Buyers and lenders increasingly expect documentation showing the property is free of oil tank risks.
Delays or failed sales are common if these records are missing or incomplete. Proactive removal and documentation can make your home more marketable.
Environmental Responsibility and Peace of Mind
Choosing to address your oil tank is not just about compliance, it is also about safety. Many residents ask, is oil tank removal required in nj, because they want to protect their families and neighborhoods. Removing or closing tanks properly reduces the risk of leaks, soil contamination, and costly future cleanups.
By acting now, you gain peace of mind and help ensure a safer environment for your community.
Expert Recommendations for 2026 and Beyond
Consult with NJDEP-certified contractors and stay connected with state and local updates. Experts recommend regular tank assessments and documentation, even if your tank is not currently leaking.
Stay informed about legislative changes and participate in community meetings or forums to understand how new laws could impact your property.
Case Studies: Homeowner Experiences
Some homeowners who acted early had smooth, affordable removals and quick property sales. Others who waited faced unexpected costs or legal issues. Learning from these experiences can help you avoid common pitfalls as 2026 approaches and regulations change.
By understanding the process and requirements, you can make the right choices for your property and financial health.
As we’ve explored, understanding New Jersey’s evolving oil tank regulations and planning ahead for 2026 can help you avoid unexpected costs, protect your property value, and ensure peace of mind for your family. If you want expert support from a team that prioritizes transparency and fixed pricing, we’re here to help you navigate every step of the oil tank removal process. You deserve a solution that’s reliable, straightforward, and fully compliant with state requirements. Ready to take the next step or have questions about your specific situation? Reach out to us today—just Contact Us to get started.