
Removing an oil tank from your property is not as simple as digging it up and hauling it away. It involves a series of crucial steps that ensure safety, compliance with environmental laws, and the protection of your property’s value. Whether you are preparing for an underground or above-ground oil tank removal, taking the right preparatory measures can make the process smoother, faster, and more cost-effective. Here are some expert-recommended tips to help you get your property ready for a safe and efficient oil tank removal.
Understand the Importance of Proper Preparation
Oil tank removal is a complex task that requires careful planning. If not handled correctly, it can lead to soil contamination, fuel leaks, and even regulatory penalties. Proper preparation ensures that the removal process is compliant with local laws and minimizes risks to the environment and property. Before scheduling the job, it’s essential to know the type of tank installed, its location, and its condition. This helps the professionals create a removal plan tailored to your specific property needs.
Hire a Licensed Oil Tank Removal Company
The most crucial step in preparing for oil tank removal is hiring a professional and licensed oil tank removal company. Experienced contractors understand the environmental regulations, safety standards, and technical requirements associated with tank removals. They will inspect your site, determine the best removal strategy, and handle permits or inspections required by local authorities. Working with experts ensures the job is completed safely and efficiently, without unexpected delays or costly mistakes. Always verify that the company is certified, insured, and experienced in both residential and commercial tank removals.
Schedule a Pre-Removal Inspection
A professional inspection before the actual removal can identify potential challenges, such as leaks, corrosion, or soil contamination. During this stage, the technician may use ground-penetrating radar (GPR) or soil testing to assess the tank’s condition. This step is vital because it provides a clear understanding of whether the tank has been compromised and if remediation may be required afterward. A pre-removal inspection also helps the contractor estimate the time and cost involved more accurately.
Secure All Necessary Permits
Oil tank removal often requires permits from local environmental or building authorities. These permits ensure that the removal process complies with environmental safety standards. A professional oil tank removal company usually assists with filing the required paperwork and securing approvals on your behalf. However, as the property owner, you should confirm that all permits are in place before the project begins. Skipping this step can result in fines, delays, or legal complications later on.
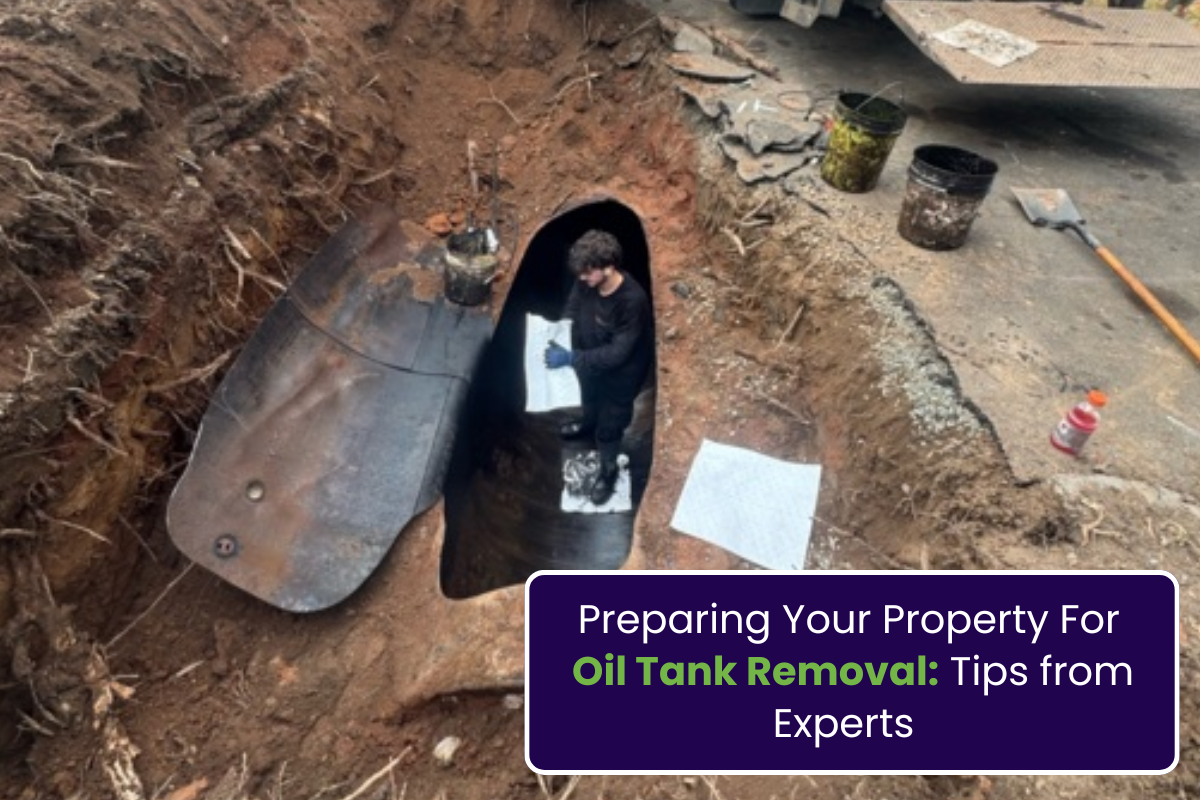
Prepare the Surrounding Area
Before the removal team arrives, make sure the work area is accessible and free from obstacles. Clear away any outdoor furniture, vehicles, or landscaping materials that might obstruct equipment or personnel. If the tank is underground, ensure that the area above it is not covered with heavy structures, such as driveways or decks, which could complicate access. For indoor or basement tanks, clear pathways to allow workers to move safely in and out of the space.
Drain and Clean the Tank
To prevent spills or contamination, the oil tank must be emptied before removal. Professionals will safely pump out any remaining oil or sludge and clean the tank using specialized equipment. This step ensures the tank is safe to transport and minimizes environmental risks. Never attempt to drain or clean the tank yourself — it requires professional-grade equipment and disposal methods to comply with environmental regulations.
Be Ready for Post-Removal Testing
Once the tank is removed, environmental testing is often required to check for soil contamination or leaks that might have occurred over time. If contamination is detected, remediation may be necessary to restore soil quality and ensure your property meets environmental standards. Post-removal testing is not just a regulatory step — it also protects your property value, especially if you plan to sell in the future.
Keep Documentation for Future Reference
After the removal process, your contractor should provide documentation such as inspection reports, environmental test results, and certificates of completion. Keep these records in a safe place — they serve as proof that the tank was properly removed and can be useful during property sales, insurance claims, or future inspections.
Final Words
Preparing your property for oil tank removal requires careful coordination, expert guidance, and adherence to environmental standards. From obtaining the right permits to ensuring proper cleanup and documentation, every step plays a vital role in maintaining safety and compliance. By following these expert tips and working with a trusted oil tank removal company, you can protect your property from potential hazards and future liabilities.
For professional, reliable, and environmentally responsible oil tank removal services, homeowners and businesses alike trust Simple Tank Services, where expertise meets safety and precision.